
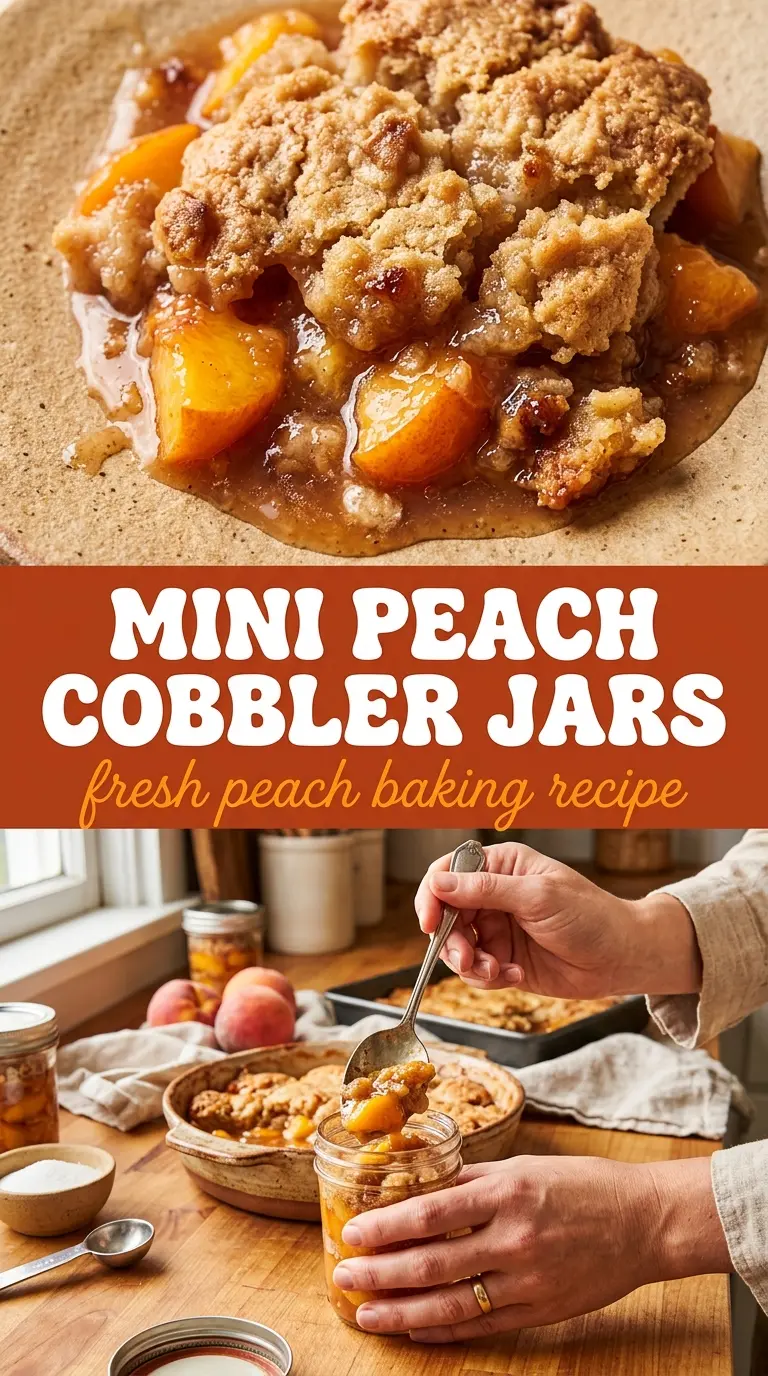
Juicy peaches bubbling under a golden, buttery topping make these mini peach cobbler jars the kind of dessert people reach for before the pan has even cooled. The jars keep each serving neatly portioned, but the real payoff is the contrast: soft, syrupy fruit on the bottom and a tender cobbler cap that turns crisp around the edges in the oven.
What makes this version work is the order of the layers. The melted butter goes in first, then the batter, then the peaches, so the topping bakes up around the fruit instead of sinking into it. A little cinnamon is all you need to pull the peaches into that warm cobbler lane without burying the fruit flavor. Fresh peaches bring the best texture here, but if yours are a little firm, the sugar helps draw out enough juice to keep the filling glossy and spoonable.
Below, you’ll find the small details that matter most: how to keep the jars from overflowing, how to tell when the topping is set, and what to change if your peaches are extra sweet or not quite ripe yet.
The topping baked up light and buttery, and the peaches turned into this perfect syrupy layer at the bottom. I served them warm with vanilla ice cream and everyone kept scraping the jars clean.
Love these personal peach cobbler jars? Save them to Pinterest for the nights when you want warm fruit, a buttery crust, and individual desserts that bake up beautifully.
The Secret to Keeping the Cobbler Topping on Top
Most cobblers fail in one of two ways: the fruit gets watery and thin, or the batter disappears under the filling. The jar method solves both problems if you layer it in the right order. Melted butter on the bottom helps the batter fry a little as it bakes, which gives you those browned edges people fight over. If you dump the peaches in first, the topping turns gummy and you lose that clean cobbler cap.
The other trap is overfilling the jars. Peach juice needs room to bubble, and the batter needs room to rise. Leave space at the top or you’ll get overflow on the pan and a soggy top instead of a crisp, domed finish.
- Butter first gives the batter a rich base and helps the edges brown.
- Batter over butter keeps the cobbler layer separate from the fruit while still letting it rise around the peaches.
- Peaches on top sink just enough during baking to create that classic cobbler layering without turning dense.
What Each Ingredient Is Doing in These Peach Cobbler Jars
- Fresh peaches — They’re the whole point of the dessert, so use ripe fruit with a little give at the stem end. If they’re under-ripe, the filling tastes flat; if they’re too soft, the texture turns mushy. Frozen peaches work in a pinch, but thaw and drain them first so the jars don’t flood.
- Sugar — This sweetens the fruit and pulls out the juices that form the syrupy filling. If your peaches are already very sweet, you can trim a little sugar, but don’t cut it too far or you’ll lose the glossy sauce at the bottom.
- Flour, milk, and melted butter — These build the cobbler batter. The butter must be melted so it settles under the batter and helps the edges bake up rich and crisp. Whole milk gives the best tenderness, but 2% works if that’s what you have.
- Cinnamon — Just enough to warm the peaches without taking over. If you want a deeper spice note, add a small pinch of nutmeg, but keep it restrained so the peach flavor still leads.
Building the Jars So the Batter Bakes Cleanly
Warming the Peaches
Toss the sliced peaches with sugar and cinnamon until the fruit starts to glisten. You’re looking for juice at the bottom of the bowl, not a dry coating. That liquid becomes part of the filling, so don’t skip the tossing step or the dessert will taste like separate layers instead of one cohesive cobbler.
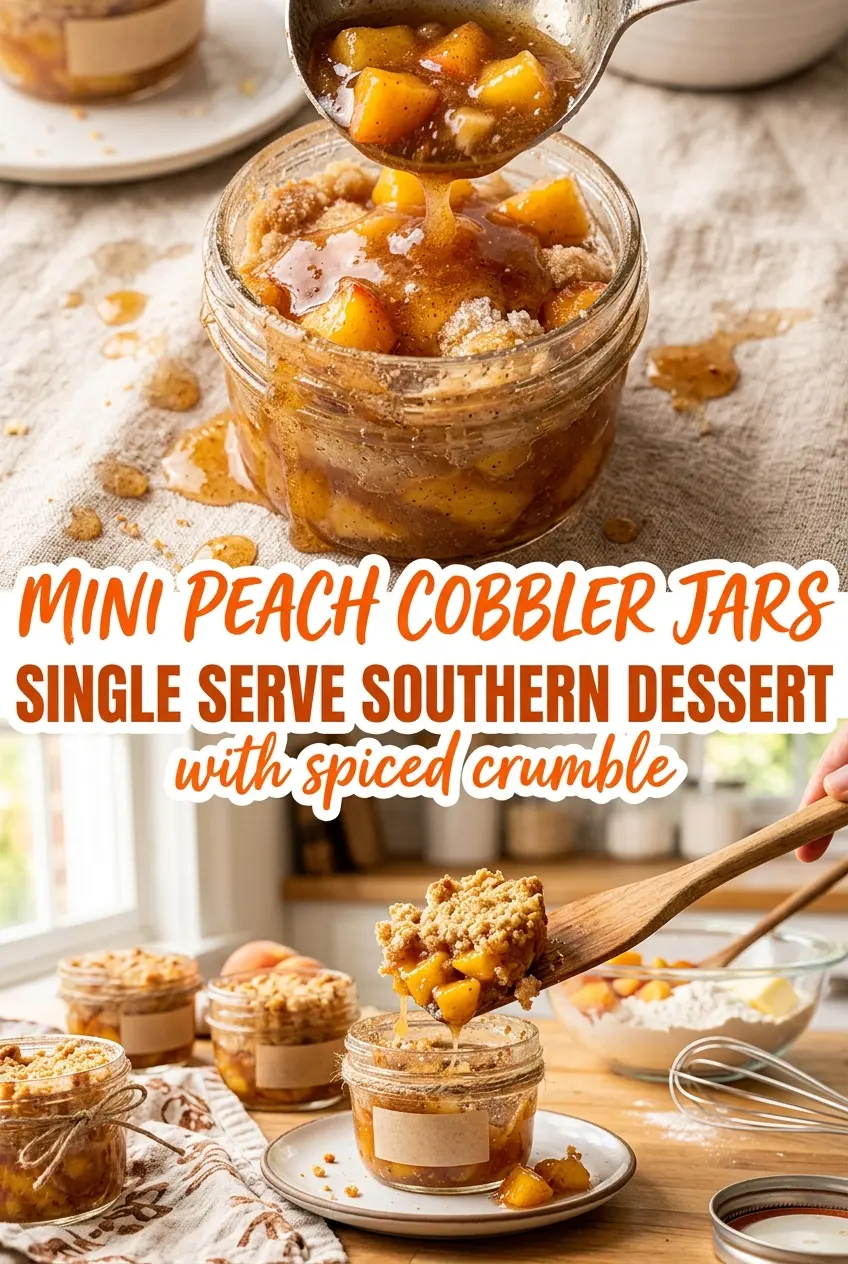
Setting Up the Jars
Divide the melted butter among the jars first. The butter should coat the bottom, not pool halfway up the sides. Use jars that have enough room for the batter to rise and the fruit to bubble; if the jars are packed too full, the topping can spill over before the center sets.
Mixing the Batter
Stir the flour and milk just until the batter comes together. A few small lumps are fine. If you beat it until completely smooth, the topping gets tougher and loses the tender, biscuit-like crumb that makes these jars work.
Baking to the Right Finish
Bake at 350°F until the tops are deeply golden and the filling is bubbling at the edges. The center should look set, not wet and sloshy. If the top is browning before the middle is cooked through, cover loosely with foil for the last stretch so the peaches can finish without scorching the crust.
Make It Dairy-Free Without Losing the Cobbler Feel
Swap the milk for an unsweetened non-dairy milk and use a dairy-free butter that melts cleanly. The topping won’t taste quite as rich, but the structure still works because the batter needs moisture and fat more than it needs dairy specifically.
Frozen Peaches When Fresh Aren’t Available
Use thawed frozen peaches and drain off the excess liquid before mixing them with sugar. Frozen fruit softens faster and releases more water, so draining keeps the filling syrupy instead of watery.
A Sweeter, More Dessert-Forward Version
Add a little extra cinnamon and serve the jars with vanilla ice cream or whipped cream. That turns the warm fruit into a more classic plated dessert, but the jars still keep the portion neat and the topping crisp around the edges.
Storage and Reheating
- Refrigerator: Store covered for up to 3 days. The topping softens as it sits, but the flavor stays good.
- Freezer: Not my first choice. The peaches break down after thawing and the topping loses its best texture.
- Reheating: Warm in a 300°F oven until heated through so the top re-crisps a little. The microwave works fast, but it softens the topping and makes the jar dessert feel heavy.
Answers to the Questions Worth Asking
Mini Peach Cobbler Jars
Ingredients
Equipment
Method
- Toss sliced fresh peaches with sugar and cinnamon in a bowl until the fruit looks glossy and syrupy.
- Divide the melted butter among 4 small mason jars so the bottoms are evenly coated.
- Mix the flour and milk into a thick batter, then pour batter into each jar over the butter.
- Top each jar with the peach mixture so the fruit sits mostly on top.
- Bake the jars at 350F for 30 min, until bubbling around the edges and the top looks golden.