
Chocolate peanut butter overnight oats hit that sweet spot between breakfast and dessert without asking much in return. The oats soften into a thick, spoonable base while the cocoa and peanut butter turn the whole jar into something that tastes richer than the effort it took to make it. You get a cold, creamy texture by morning, with enough body to feel satisfying instead of soupy.
What makes this version work is the way the cocoa and peanut butter are whisked into the milk first. That step matters because cocoa likes to clump and peanut butter likes to stay stubborn; if you stir them straight into dry oats, you end up chasing pockets of powder later. A little maple syrup rounds out the bitterness from the cocoa, and vanilla gives the oats a softer, more dessert-like finish without making them taste fake-sweet.
Below, I’ve added the one texture trick that keeps overnight oats from turning gluey, plus a few smart swaps if you need to adjust the milk or make the jar a little more filling.
The cocoa mixed in smooth and the peanut butter flavor came through without being grainy. I let it sit overnight and it was thick by morning, not watery at all.
Chocolate Peanut Butter Overnight Oats for mornings when you want a creamy, chilled breakfast that tastes like a treat.
The Trick to Keeping Overnight Oats Thick Instead of Gummy
The biggest mistake with overnight oats is treating them like a dump-and-stir breakfast. When cocoa powder and peanut butter go in without first being loosened in liquid, the mixture gets patchy and dense in spots, then oddly thin around the edges after it chills. Whisking the wet ingredients first gives you a smoother base and helps the oats hydrate evenly.
Old-fashioned rolled oats are the right choice here because they soften overnight without collapsing into paste. Quick oats turn soft too fast and lose any bit of chew, while steel-cut oats stay too firm for this timing. The other thing that matters is ratio: too much liquid makes the jar drinkable instead of spoonable, and too little leaves dry clumps at the bottom. This version lands in the middle, where it should.
What Each Ingredient Is Actually Doing in This Dish
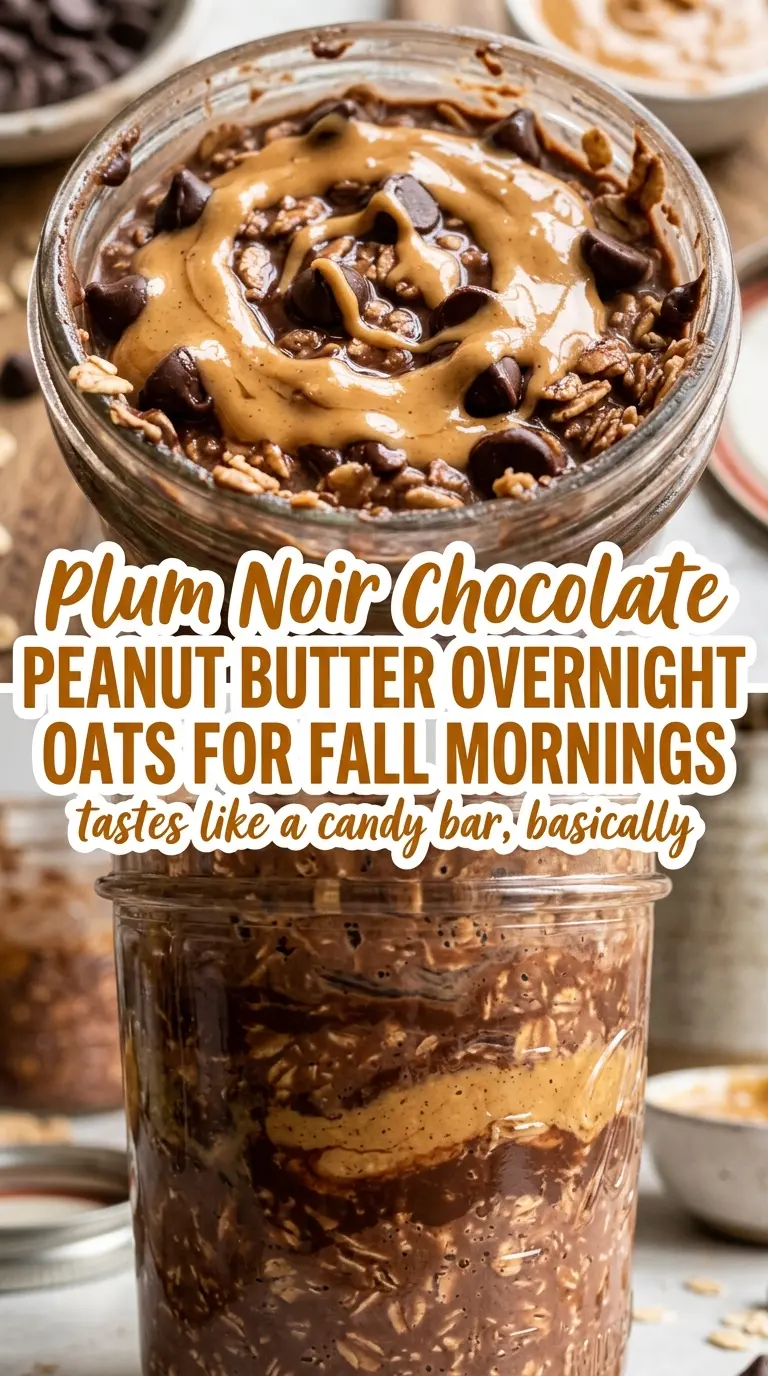
- Old-fashioned rolled oats — They hold their shape overnight and give you that creamy-chewy texture. Quick oats will work in a pinch, but the result is softer and less structured.
- Milk — Any milk works here, including dairy-free options. Oat milk and almond milk both keep the flavor mild, while soy milk adds a little more body.
- Unsweetened cocoa powder — This is where the chocolate flavor comes from, so use unsweetened cocoa rather than hot chocolate mix. Hot chocolate mix adds extra sugar and usually waters down the cocoa intensity.
- Creamy peanut butter — Natural peanut butter can work, but stir it well first so the oil and solids are fully combined. If it’s too stiff, warm it for a few seconds so it blends into the milk instead of clinging in streaks.
- Maple syrup — Just enough sweetness to soften the cocoa’s bitterness. Honey works too, though it brings a different flavor that reads a little warmer and less clean.
- Vanilla extract — It doesn’t make the oats taste like vanilla, exactly; it smooths the chocolate and peanut butter together so the jar tastes rounded instead of flat.
Building the Jar So the Cocoa and Peanut Butter Actually Blend
Whisk the base until it looks smooth, not speckled
Start with the milk, cocoa powder, peanut butter, maple syrup, and vanilla, and whisk until the mixture looks glossy and even. You’re looking for a liquid that’s the color of milk chocolate, not one with dark flecks or peanut butter ribbons floating through it. If the peanut butter resists, warm it briefly or whisk a little longer before adding the oats. That minute of work keeps the texture clean later.
Stir in the oats after the chocolate base is uniform
Once the cocoa mixture is smooth, add the oats and stir until every flake is coated. Don’t overmix until the oats start breaking down; you just want them suspended evenly so they absorb at the same rate. If the mixture looks too loose at this stage, leave it alone. The oats will tighten as they sit, and that thickening happens in the fridge, not on the counter.
Let the fridge do the heavy lifting
Transfer the mixture to a jar or container, cover it, and refrigerate overnight or for at least 4 hours. The oats need time to soften and the cocoa to settle into the liquid, which is why this tastes better after a long chill than after a rushed one. If it still seems loose in the morning, give it 10 to 15 more minutes; the oats often need a little extra time to finish absorbing the liquid.
Finish with toppings that add contrast
Chocolate chips and a drizzle of extra peanut butter give the jar texture and make it feel finished. Add them right before serving so the chips stay distinct instead of melting into the top. If you want a thicker breakfast, a spoonful of yogurt on top works too, but the peanut butter drizzle is what keeps the flavor centered on the name of the recipe.
Three Smart Ways to Adjust This Without Losing the Texture
Dairy-Free With No Change in Method
Use almond milk, oat milk, or soy milk in place of dairy milk. Oat milk gives the creamiest result, while almond milk keeps the flavor lighter. The method stays the same, but a thinner milk like almond may give you a slightly softer set, so let the oats chill the full overnight window.
Make It Higher in Protein
Stir in a scoop of chocolate or vanilla protein powder, then add a splash more milk if the mixture gets too thick. Protein powder absorbs liquid fast, so the oats can turn pasty if you don’t loosen the base. A spoonful of Greek yogurt also works if you want a tangier, richer jar.
Make It Gluten-Free or Use a Different Topping
Use certified gluten-free rolled oats if you need the recipe to stay gluten-free. The texture and timing stay the same, since the oat structure is what matters here. For a crunchier finish, use chopped peanuts instead of chocolate chips, or add both if you want more contrast against the soft oats.
Storage and Reheating
- Refrigerator: Store covered for up to 4 days. The oats will thicken as they sit, so expect a firmer texture on day 2 and day 3.
- Freezer: Not the best choice. Overnight oats tend to break down after thawing and lose the smooth, creamy texture that makes them work.
- Reheating: These are meant to be eaten cold, but you can warm them gently in the microwave if you want a softer breakfast. Add a splash of milk first and heat in short bursts so they don’t dry out or turn gluey.
Answers to the Questions Worth Asking
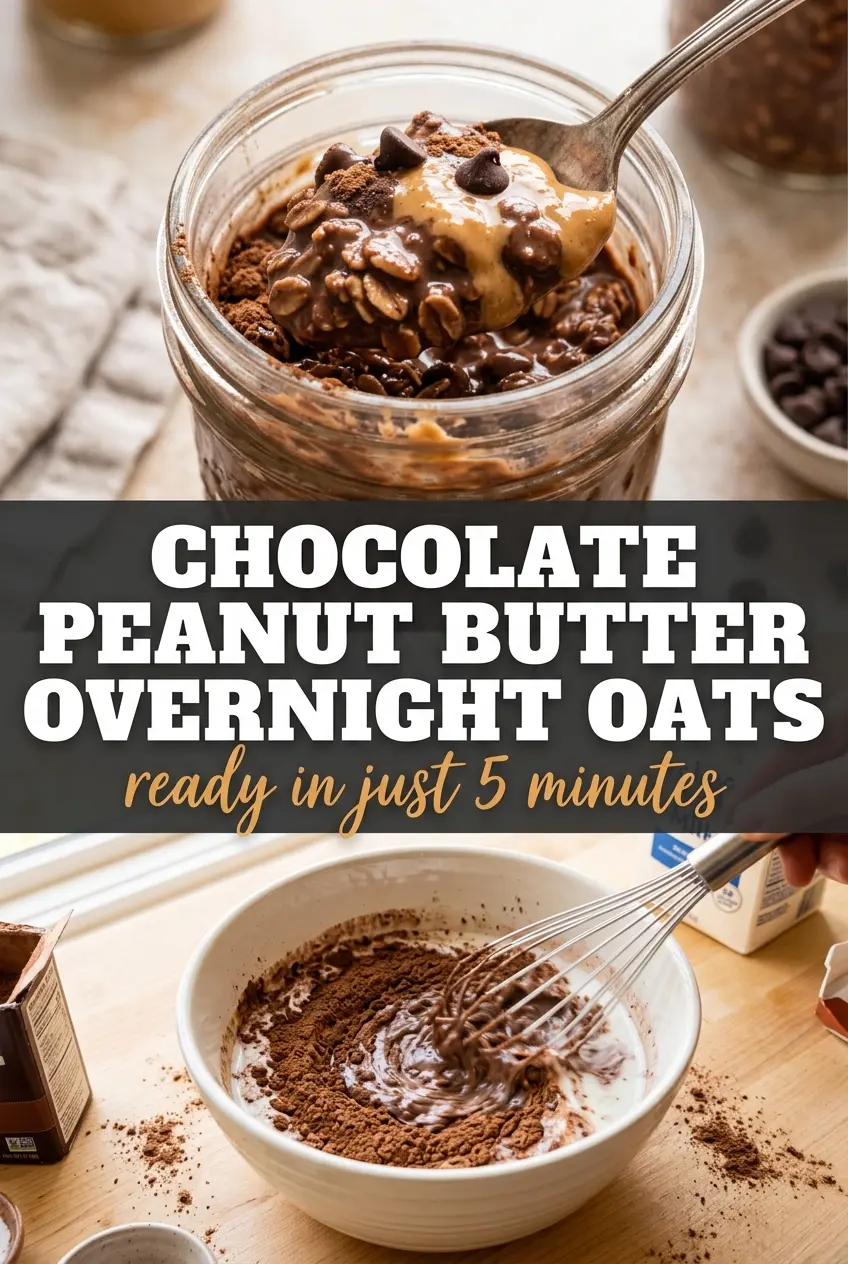
Chocolate Peanut Butter Overnight Oats
Ingredients
Method
- In a bowl or jar, whisk milk, cocoa powder, peanut butter, maple syrup, and vanilla extract until smooth with no cocoa streaks.
- Stir in old-fashioned rolled oats until fully combined, scraping down any dry oats at the bottom.
- Pour the mixture into a jar, cover, and refrigerate overnight (or at least 4 hours) until thickened and creamy.
- Before eating, top with chocolate chips and a drizzle of extra peanut butter for a glossy, candy-like finish.