
Walking tacos hit that sweet spot between fun and practical: crunchy chips, seasoned beef, cold toppings, and zero plates to wash. The best version keeps the chips crisp long enough to get a few bites with serious crunch before they soften under the meat and cheese. That balance is what makes people come back for a second bag.
The trick is simple, but it matters. The beef should be well-seasoned and not watery, or the chips will turn soggy almost immediately. Lightly crushing the chips inside the bag gives you enough room for toppings without turning the whole thing into dust, and piling the cheese on the hot meat helps it melt just enough to bind everything together.
Below, I’ll walk through the little details that make these work for a crowd, plus the topping choices and storage notes that help if you’re building them ahead for a party or game day spread.
The beef stayed juicy without making the chips soggy, and setting the toppings out buffet-style made it easy for everyone to build their own bag. My kids thought this was the best dinner we’ve had in a long time.
Walking tacos are the kind of crunchy, no-plate dinner that disappears fast at parties and tailgates.
The Chips Stay Crunchy Only If the Filling Isn’t Soupy
This is where walking tacos either work or fall apart. The meat needs to be seasoned and cooked down enough that it clings to itself, not swimming in liquid. If the filling is loose, the chips go soft before the first person finishes opening their bag.
Drain excess grease before adding the seasoning, then let the mixture simmer until it looks glossy and thick. You want the beef to spoon cleanly without pooling at the bottom of the bag. That one texture change is what keeps the whole thing handheld instead of turning it into chip mush.
What Each Topping Is Actually Doing in the Bag
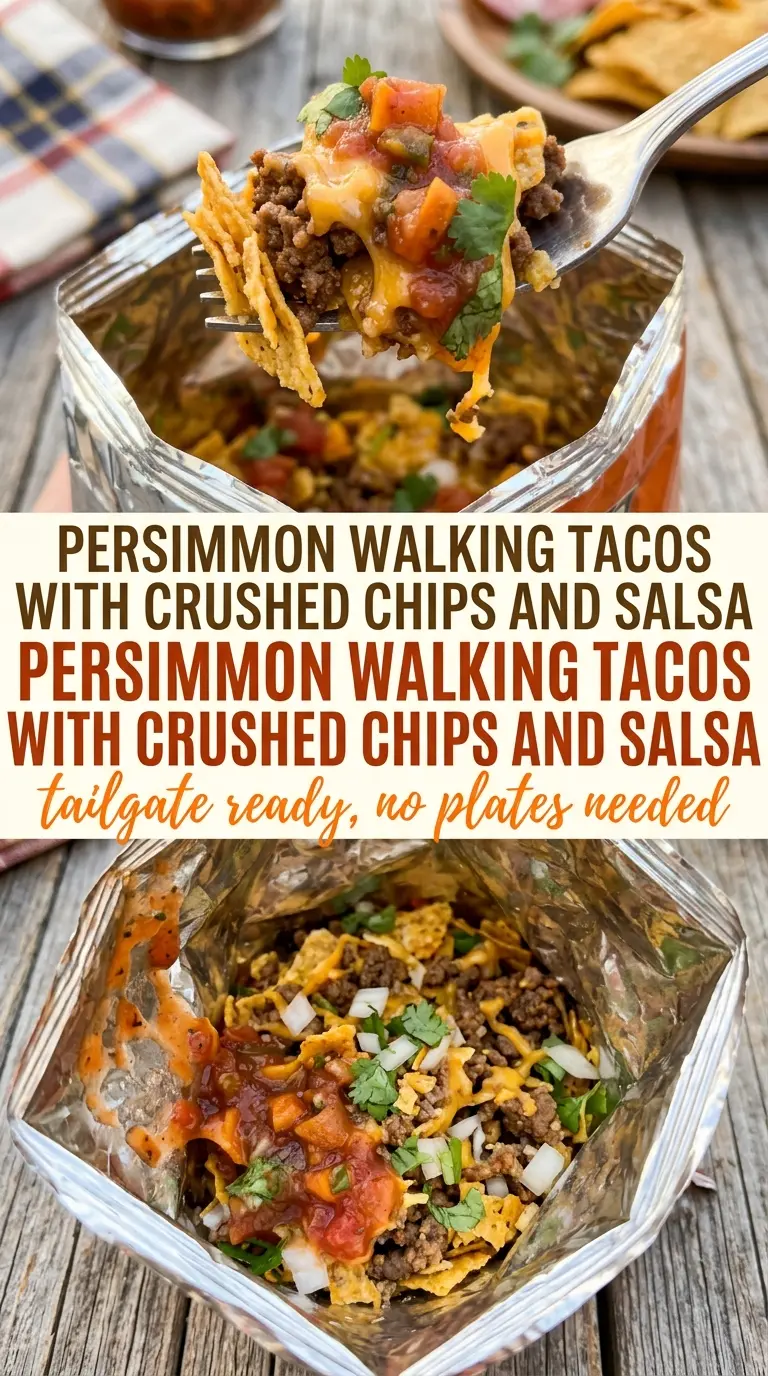
- Ground beef — This is the savory base, and it needs enough seasoning to carry the whole bag. Lean beef works best because you won’t spend as much time draining off grease. If you use a fattier blend, drain it well before the taco seasoning goes in.
- Taco seasoning — The packet gives you the familiar taco flavor fast, but it also helps thicken the meat just enough to sit on the chips. If you’re using homemade seasoning, add a little cornstarch or let the mixture simmer a touch longer so it isn’t watery.
- Individual corn chip bags — The bag is part of the meal. Fritos are classic because they hold up better than many thin chips, and the sealed bag keeps the crunch intact until serving time. Lightly crush them so the toppings spread out instead of sitting on a hard mound.
- Cheddar cheese — Shredded cheese melts best over the hot beef and gives the bite some richness. Pre-shredded cheese works fine here, though freshly shredded melts a little smoother. Put it on right away while the meat is still hot so it softens instead of sitting cold on top.
- Lettuce, tomatoes, salsa, and sour cream — These are your temperature and texture contrast. Add the cold toppings last so they stay crisp and fresh. If you’re serving a crowd, keep salsa and sour cream on the side so the bags don’t turn soggy before people grab them.
Building Walking Tacos Without Crushing the Crunch
Warm the Beef Until It Clings
Brown the beef in a skillet and break it up into small crumbles so it spoons easily into the bags. Once the seasoning goes in, let the mixture simmer long enough for the liquid to reduce and the meat to look saucy but not wet. If you stop too early, the filling slides to the bottom and softens the chips before serving.
Open the Bags, Then Lightly Crush the Chips
Cut or tear open the top of each chip bag, then give the chips a gentle squeeze. You want smaller pieces, not a pile of crumbs, because the crunch is part of the appeal. Too much crushing leaves you with dust at the bottom and no structure for the toppings to sit on.
Stack the Toppings in the Right Order
Spoon the hot beef over the chips first, then add the cheese so it can soften from the heat. After that, layer on the lettuce, tomatoes, salsa, and sour cream. If you dump all the cold toppings directly on the chips first, the bag gets soggy fast and the meat won’t stay centered.
Hand Them Out Fast
Walking tacos are at their best the moment they’re assembled. Set out forks and hand the bags over right away so people get the mix of hot beef and crisp chips before the crunch fades. The longer they sit, the more the steam works against you.
What to Change When You Want a Different Kind of Bag Taco
Turkey or chicken instead of beef
Ground turkey or chicken works well if you want a lighter filling, but it needs a little help because it doesn’t bring as much built-in flavor as beef. Add a drizzle of oil while it cooks and season it generously so it doesn’t taste flat. The result is still hearty, just a little cleaner and less rich.
Vegetarian walking tacos
Use seasoned black beans, refried beans, or a plant-based crumble in place of the beef. Beans bring a softer texture, so keep the mixture thick and don’t overdo the salsa if you want the chips to stay crisp. This version is filling enough for a main dish and still gives you that salty, crunchy bite.
Gluten-free and dairy-free serving
Check the taco seasoning and chips for gluten-free labels, then swap in dairy-free shredded cheese and skip the sour cream or use a plant-based version. The main texture stays the same, but the cheese won’t melt quite as seamlessly, so add it while the beef is piping hot. That keeps the bag feeling cohesive even without dairy.
Set up a topping bar for a crowd
Serve the beef in a slow cooker or covered skillet so it stays hot, then line up the toppings in bowls and let everyone build their own bag. This keeps the chips crisp longer and cuts down on last-minute assembly. It also solves the biggest party problem: people get exactly the toppings they want without you custom-making every bag.
Storage and Reheating
- Refrigerator: Store the cooked beef separately for up to 4 days. The chips and toppings should stay separate until serving, or the texture goes downhill fast.
- Freezer: The seasoned beef freezes well for up to 2 months. Thaw it overnight in the fridge and keep the chips, lettuce, and sour cream fresh instead of freezing them.
- Reheating: Warm the beef in a skillet or microwave until steaming hot, then assemble the bags right before eating. If the filling looks dry, add a splash of water or salsa, not extra oil, so it loosens without turning greasy.
Answers to the Questions Worth Asking
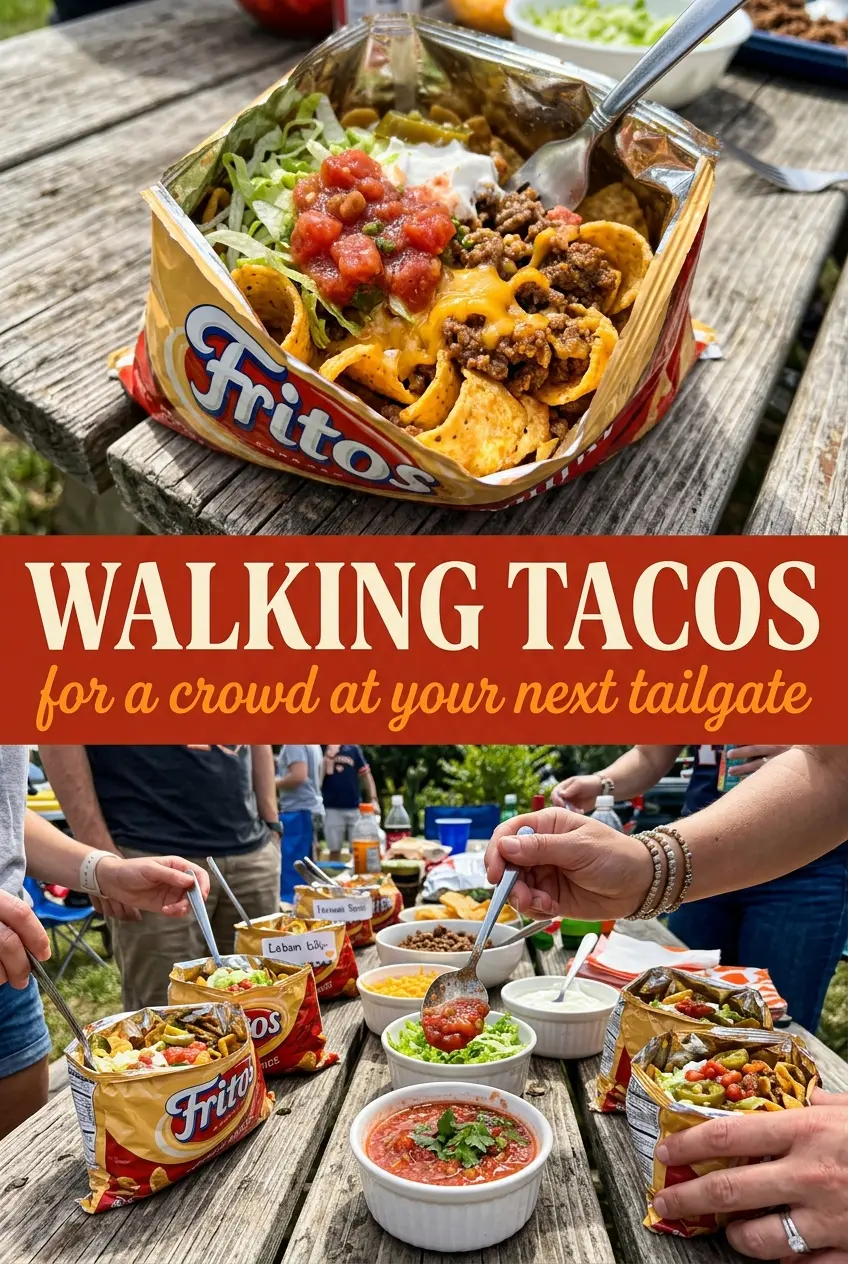
Walking Tacos
Ingredients
Equipment
Method
- Heat a cast iron skillet over medium-high heat, add the ground beef, and cook until browned, 8-10 minutes, stirring and breaking it up so no large chunks remain.
- Reduce heat to medium, stir in the taco seasoning with the amount of water listed on the packet, and simmer until thickened and evenly coated, 2-3 minutes, until you can see specks of seasoning throughout the meat.
- Crush the corn chips inside each individual bag lightly, 10-15 seconds per bag, leaving some larger pieces for extra crunch.
- Cut or tear open the top of each bag, opening it wide enough to add toppings without spilling, and set the open bags upright on a serving tray.
- Spoon the hot seasoned beef into each bag over the crushed chips until the chips are well covered, 1-2 heaping spoonfuls per bag, so the heat can melt the cheese.
- Sprinkle shredded cheddar over the beef in each bag, 1/3 to 1/2 cup per bag, until it visibly covers the surface.
- Add shredded lettuce, diced tomatoes, and salsa into each bag in separate layers so the colors show, 1-2 spoonfuls each, for a fresh, crisp bite.
- Finish each bag with sour cream on top, 1-2 dollops per bag, so it looks creamy against the melted cheese.
- Hand out the bags with a fork and let everyone eat straight from the bag, serving immediately while the cheese is still melted and the chips are crunchy.