
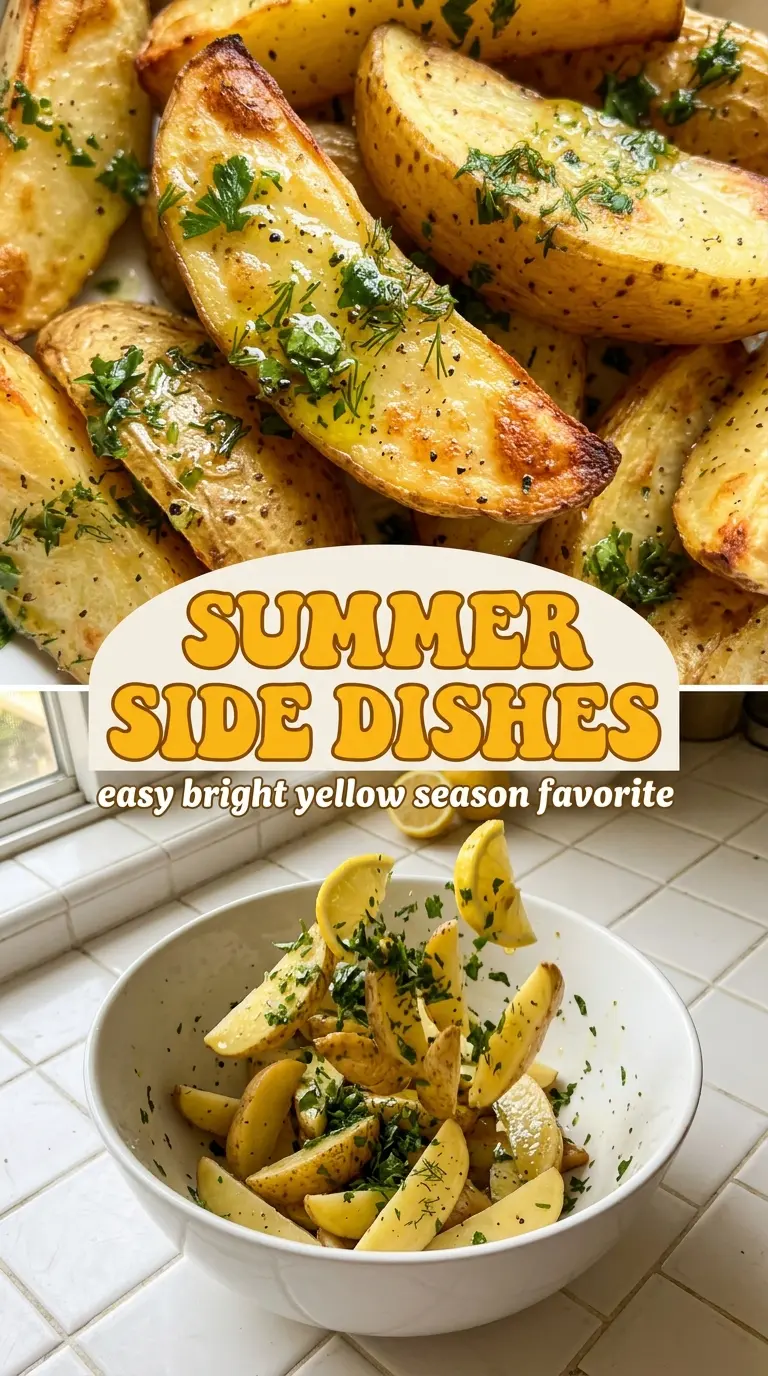
Golden edges, bright color, and a mix of soft and crisp textures are what make a summer side dish worth repeating. The best versions don’t get lost beside the main course; they bring enough contrast and seasoning to hold their own, whether you’re serving grilled meat, roasted chicken, or a simple plate of vegetables and bread.
What makes this kind of dish work is balance. You want enough heat to develop color, enough salt to wake up the vegetables, and enough restraint that nothing turns mushy before it reaches the table. The best results come from prepping ingredients ahead, then cooking in a way that lets each element keep its own shape and flavor instead of collapsing into one soft skillet of sameness.
Below, I’ve laid out the parts that matter most, the mistake that usually ruins the texture, and a few smart swaps if you need to adjust for what’s in your kitchen.
The vegetables got those golden edges without turning watery, and the seasoning was spot-on even after sitting on the table for a bit.
Save these summer side dishes for the nights when you want something colorful, balanced, and easy to serve with almost anything.
The Detail That Keeps Summer Vegetables from Going Soft
The biggest mistake with a side dish like this is crowding the pan or rushing the heat. When vegetables sit too close together, they steam before they brown, and you lose the crisp edges that give the dish its best texture. A little space in the pan changes everything.
Seasoning also matters more than people think. Salt at the right time pulls flavor forward without draining the vegetables before they’ve had a chance to cook. If you add wet ingredients too early, the whole dish can slip into a pale, soft finish instead of the bright, concentrated result you want.
- Cut size — Keep pieces close to the same size so they cook at the same pace. Mixed sizes lead to half-soft, half-crisp results.
- Pan space — Use a large sheet pan or wide skillet so moisture can evaporate instead of pooling.
- Oil — Enough to coat the vegetables lightly, not drown them. Too much oil softens the edges.
What Each Ingredient Is Doing in This Dish
The vegetables are the point here, so freshness matters. Firm produce gives you better color and texture, while tired vegetables tend to collapse before they brown. If you need to use what’s on hand, choose vegetables with similar cook times so one ingredient doesn’t overtake the rest.
Oil helps conduct heat and pull out that caramelized edge, but it should stay in the background. A neutral oil works fine, though olive oil adds a little more character if the vegetables can handle it. Acid, like lemon juice or vinegar, belongs at the end because it sharpens everything without interfering with browning.
- Vegetables — Use the freshest version you can get. This is where texture and flavor begin.
- Oil — Helps with browning and keeps the vegetables from sticking. Use just enough to gloss the surface.
- Acid — Adds lift at the finish. Add it after cooking so it doesn’t dull the browning.
- Seasoning — Keep it simple and adjust at the end. Over-seasoning early can turn harsh as the dish reduces.
Getting the Color Right Without Overcooking the Centers
Building the Hot Surface
Preheat the pan or oven fully before the vegetables go in. If the surface isn’t hot enough, the vegetables release moisture immediately and start steaming. You want to hear a steady sizzle as soon as they hit the pan. That sound tells you browning has started.
Cooking in Enough Space
Spread everything out in a single layer. If the vegetables overlap, the ones underneath go soft first and the rest never get a chance to color. Toss once or twice during cooking, then leave them alone long enough to develop edges. Constant stirring breaks the crust before it forms.
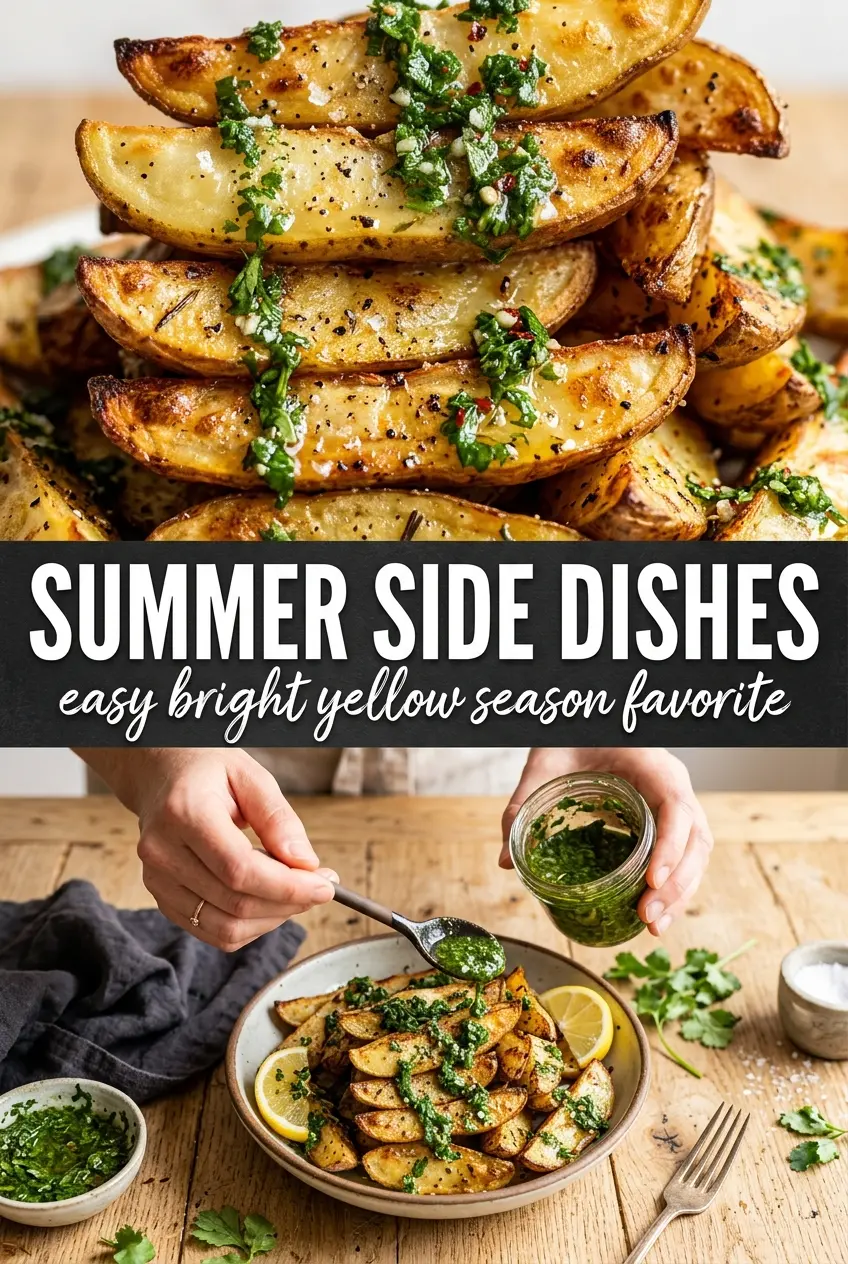
Finishing with Brightness
Add herbs, citrus, or a final pinch of salt after the heat is off. That last step wakes up the whole dish and keeps the flavors from tasting flat. If the vegetables seem done but taste muted, they usually need acid more than more salt.
Three Ways to Make This Work for Your Table
Dairy-Free by Default
Skip any cheese or butter finish and lean on olive oil, herbs, and citrus instead. You lose a little richness, but the vegetables stay cleaner and brighter, which actually suits this kind of side dish well.
Make It Heartier with a Grain
Fold the finished vegetables into quinoa, farro, or rice to turn the side into a meal-sized bowl. The grain catches the juices and seasoning, so nothing feels wasted, and leftovers hold up better the next day.
Low-Carb and Gluten-Free Without Any Workarounds
This style of side already fits both needs naturally as long as you avoid flour-based thickeners or breadcrumb toppings. Keep the focus on high-heat cooking and a clean finish, and the texture stays satisfying without any extra starch.
Storage and Reheating
- Refrigerator: Store in an airtight container for up to 4 days. The vegetables will soften a bit, but the flavor stays good.
- Freezer: Not ideal for freezing. The texture breaks down and turns watery once thawed.
- Reheating: Reheat in a hot skillet or 400°F oven until the edges wake back up. The microwave works in a pinch, but it softens the vegetables and mutes the browned flavor.
Answers to the Questions Worth Asking
Summer Side Dishes
Ingredients
Equipment
Method
- Search for the full directions for summer side dishes and copy each step here in order, keeping all cooking times, temperatures, and cues exactly as written in the source.
- After you paste the real steps, make sure every ingredient you listed appears in at least one instruction step, and remove any placeholder text.