
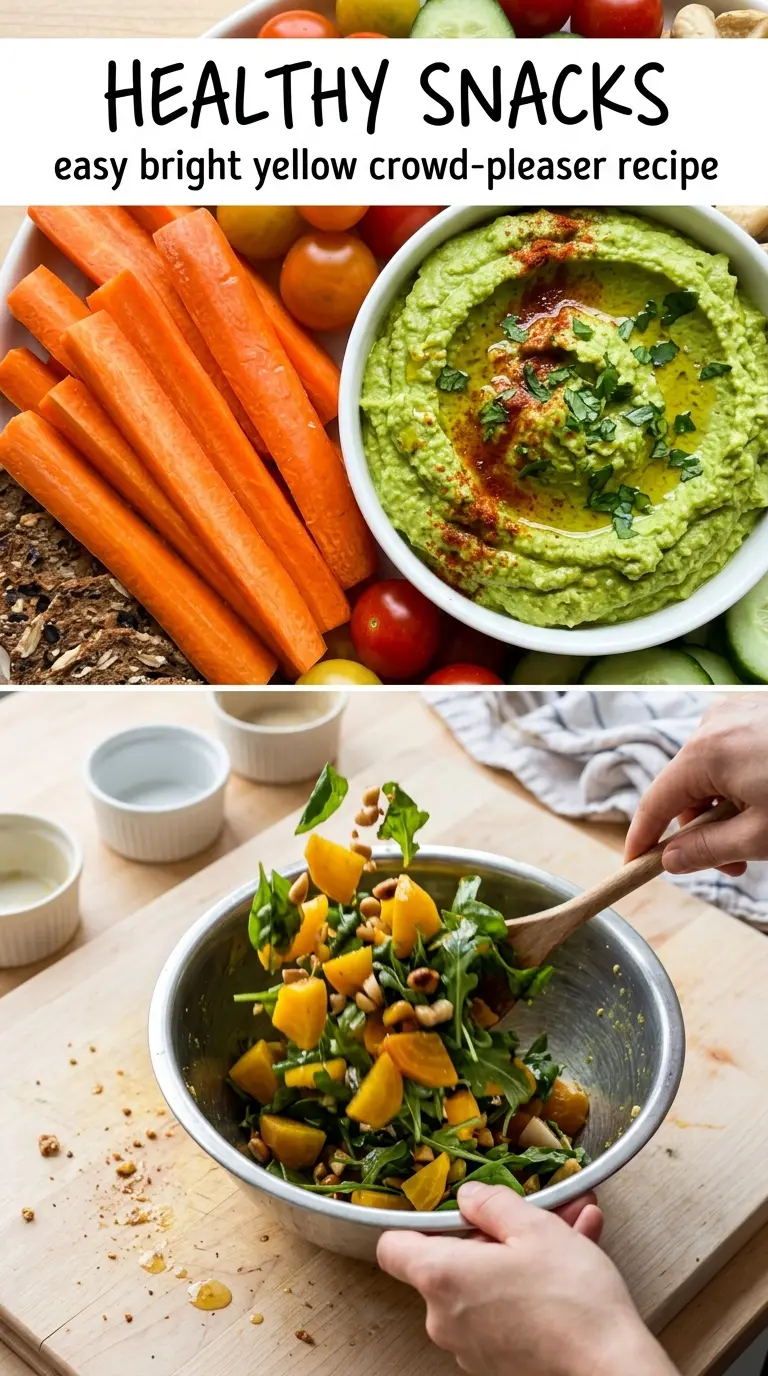
Healthy snacks only work when they taste like something you’d actually want to reach for twice. The good ones have crunch, a little salt, a little sweetness, and enough substance to shut down the 3 p.m. wander into the kitchen. This version lands in that sweet spot: golden edges, bright color, and a mix of textures that keeps every bite interesting instead of chalky or bland.
The trick is building contrast on purpose. A lot of snack recipes lean on one note — all soft, all sweet, all crunchy — and that gets old fast. Here, the ingredients are chosen to hold their shape, season well, and give you a mix that feels satisfying without turning heavy. That means a better texture after baking or mixing, and a snack that still tastes fresh later in the week.
Below, I’ll walk through the detail that makes the biggest difference, the ingredient swaps that still keep the recipe working, and a few ways to adapt it for different diets or meal prep needs.
The texture was exactly what I wanted — crisp on the outside, still tender in the middle, and it held up for lunch the next day without getting soggy.
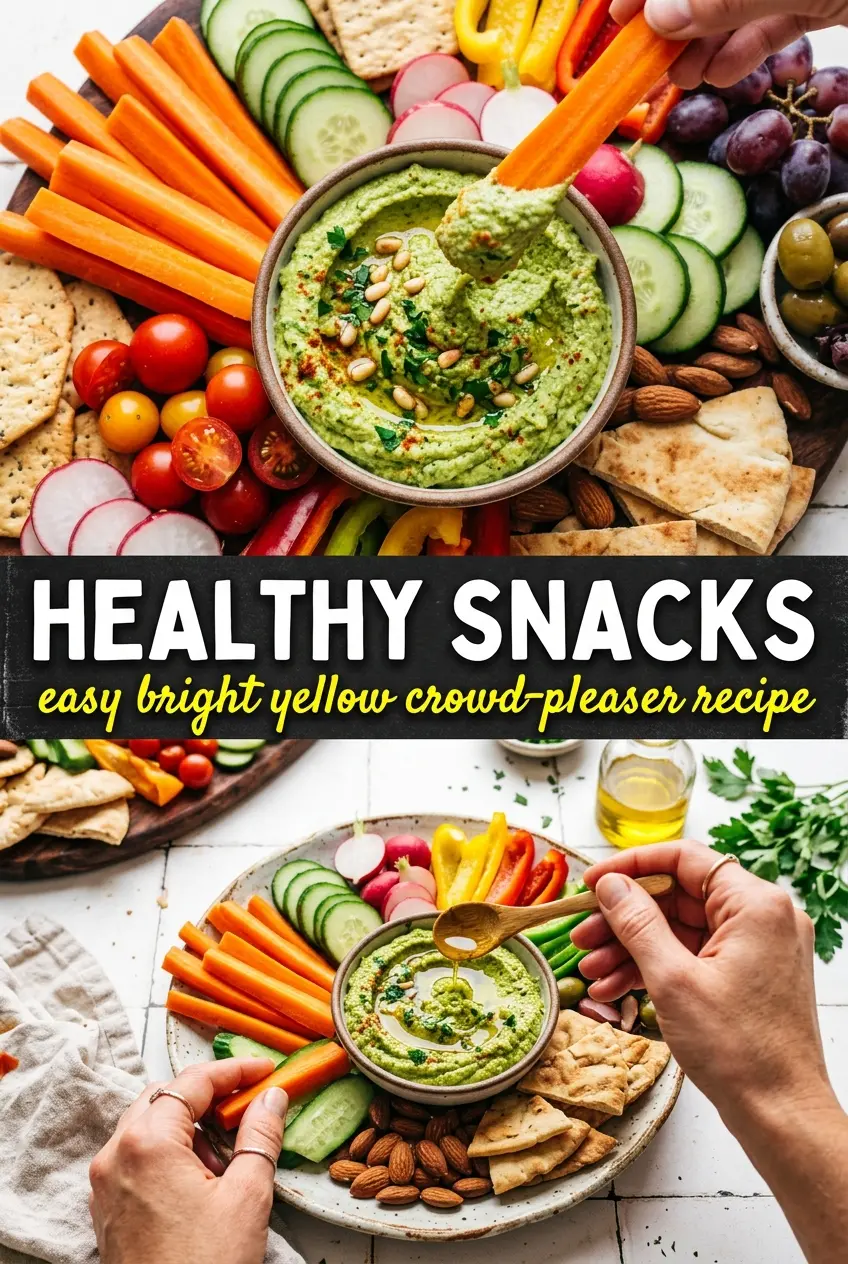
Save these healthy snacks for the days when you need something crisp, colorful, and filling without reaching for packaged food.
Why the Best Healthy Snacks Aren’t Bland or Boring
The biggest mistake with healthy snack recipes is treating them like a compromise. If the texture is soft all the way through or the seasoning is timid, people take one bite and move on. The fix is usually the same: enough heat to build color, enough salt to wake up the ingredients, and enough structure that the snack still feels worth eating after it cools.
This matters even more if you’re making a batch ahead of time. Snacks that taste great straight from the pan can turn limp or muted by the next day if they’re overloaded with moisture. The versions that hold up best are the ones that start dry enough to brown, use ingredients that keep their shape, and get seasoned at the right moment instead of buried under sauces or dressings.
- Golden edges matter. They give you the roasted, toasted flavor that makes a snack feel finished.
- Salt goes in layers. A little at the start and a little at the end tastes cleaner than dumping it all in at once.
- Dry ingredients brown better. Excess moisture is the fastest way to lose texture.
- Cooling changes the bite. Many snacks firm up as they sit, so don’t judge them the second they leave the heat.
What Each Ingredient Is Actually Doing in This Dish
- Crunchy base ingredient — This is what gives the snack structure and makes it feel substantial instead of airy. Use the best version you can get here, because a stale or weak base will never recover in the oven or after mixing.
- Fresh vegetables or fruit — These bring color and brightness, but they also bring moisture. Cut them evenly and pat them dry when needed so they don’t steam the rest of the batch.
- Healthy fat — Olive oil, avocado, nut butter, or another fat carries flavor and helps the edges brown. If you cut it too much, the snack can taste flat and dry.
- Seasoning blend — This is where the snack gets its personality. A good salt-and-spice mix does more than season; it makes the natural sweetness and savoriness of the ingredients stand out.
- Swap notes — If you need a gluten-free version, choose a certified gluten-free crunchy base and keep the rest of the method the same. For dairy-free snacking, skip any creamy add-ins and use oil or nut butter instead.
Getting the Texture Right From the Start
Start With Dry, Even Pieces
Cut everything to a similar size so it cooks at the same pace. If some pieces are tiny and others are large, the small ones burn before the rest are ready. Any ingredient with a lot of surface moisture should be dried well before it hits the pan or bowl. That one habit is the difference between crisp and soggy.
Build Flavor Before the Heat Does
Toss the ingredients with oil and seasoning before cooking, not after. The oil helps the seasoning cling and encourages browning where the food touches the pan or tray. If the snack tastes flat at the end, it usually needed more salt before it went into the oven, not more sprinkled on top afterward.
Pull It When the Edges Turn Deep Gold
Don’t wait for a pale snack to suddenly become crisp in the last minute. Look for browned edges, darker spots where the heat touched the pan, and a surface that looks set rather than wet. That’s the stage where the flavor is concentrated and the texture will hold as it cools.
How to Adapt This for Dairy-Free, Gluten-Free, or Bigger-Batch Snacking
Dairy-Free Swaps That Still Taste Rich
Use olive oil, tahini, or nut butter instead of dairy-based coatings or dips. You’ll lose the mellow creaminess of cheese or yogurt, but you’ll gain a cleaner finish and a snack that still tastes balanced once it cools.
Gluten-Free Without Losing the Crunch
Choose a certified gluten-free base ingredient and check any seasoning blends for hidden flour or malt. The texture should stay just as crisp if the pieces are dry and evenly sized, which matters more than the label on the package.
Scaling Up for Meal Prep
Double the batch only if you can spread it out in a thin layer or work in two trays. Crowding is what causes steaming, and steaming is what ruins the texture you’re trying to preserve.
Storage and Reheating
- Refrigerator: Store for up to 4 days in an airtight container. Expect the texture to soften slightly, especially if there are fresh vegetables or fruit involved.
- Freezer: Some versions freeze well, especially baked ones without creamy elements. Freeze in a single layer first, then transfer to a container so the pieces don’t clump.
- Reheating: Rewarm in a 375°F oven or air fryer until the edges crisp back up. Microwaving is the fastest way to lose the texture, so avoid it unless you don’t mind a softer result.
Answers to the Questions Worth Asking
Healthy Snacks
Ingredients
Equipment
Method
- Prep ingredients ahead so cooking is fast and the tray goes straight into the oven without delays. Adjust seasoning to taste before serving later.
- Preheat the oven to 425°F and line a sheet pan so the snacks bake with golden edges and even browning. Keep the tray ready for immediate baking.
- Arrange the ingredients on the prepared sheet pan with space between pieces so they roast and develop vibrant color. Bake for 25–35 minutes, turning once halfway if browning is uneven, until edges look golden.
- Rest the snacks for 2 minutes off the heat so textures set before you serve or portion for meal prep. Serve warm or let cool completely for grab-and-go snacks.
- Taste and adjust seasoning if needed, then serve immediately for the best contrast of sweet and savory flavors. For meal prep, store portions in the fridge until ready to eat.