
Deep purple elderberries turn glossy and jammy under a crisp, buttery crumble, and that contrast is what keeps a cobbler worth coming back to. The fruit softens into a tart, spoonable layer while the topping bakes into golden crumbs with just enough crunch to hold up under melting ice cream.
This version keeps the ingredient list short on purpose. Cornstarch thickens the fruit juices as they bake, so you get a saucy filling instead of a watery pan of berries, and the cold butter is worked into the flour and brown sugar just until the crumbs look coarse. That small detail is what gives the topping its texture instead of a pasty, bready lid.
Below, I’ve included the one thing that matters most when elderberries are in the oven, plus a few ways to adapt the cobbler if you only have frozen fruit or want to change the topping without losing that rustic finish.
The filling bubbled up thick and jammy, and the crumble stayed crisp even after sitting on the counter for a bit. I used frozen elderberries and it baked up beautifully in 40 minutes.
Like this elderberry cobbler? Save it to Pinterest for the nights when you want a jammy fruit dessert with a crisp brown sugar crumble.
The Trick to Keeping Elderberry Cobbler Jammy, Not Soupy
Elderberries release a lot of juice as they bake, and that’s where cobblers often go wrong. If the fruit goes into the oven without enough thickener, you get a loose, thin pan of syrup under the topping instead of a spoonable filling that settles into itself once it cools. Cornstarch is doing the heavy lifting here because it thickens that juice as it bubbles, which is exactly what you want from a fruit dessert that should hold together on a spoon.
The other mistake is baking it until the top looks done and pulling it too early. You want the filling bubbling at the edges, not just a browned surface. That bubbling is the sign that the cornstarch has activated and the fruit juices have cooked down enough to turn glossy and jam-like.
What Each Ingredient Is Actually Doing in This Dish
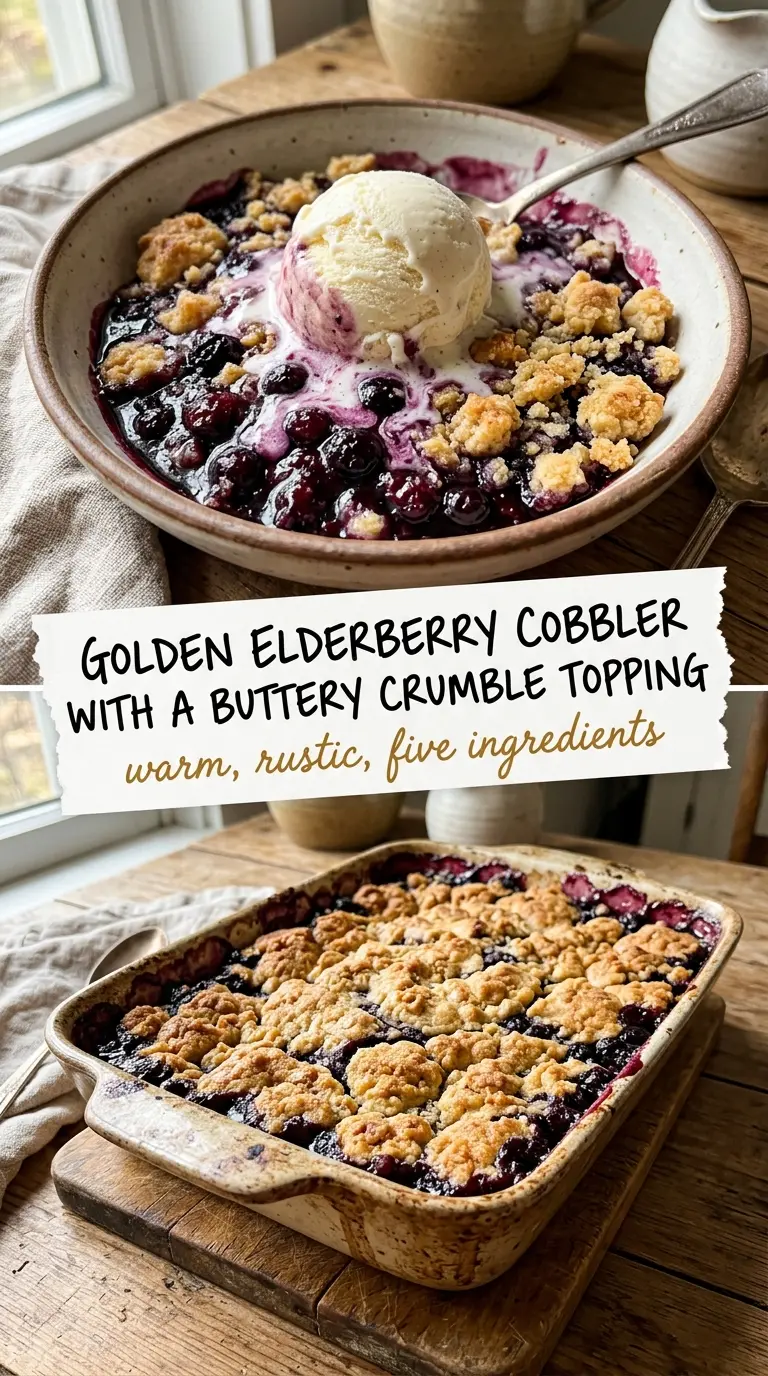
- Fresh or frozen elderberries — Both work well. If you’re using frozen berries, don’t thaw them first; they can go straight into the dish, and thawing only gives you extra liquid to manage.
- Cornstarch — This is what turns the berry juice into a thick filling. Arrowroot can work in a pinch, but cornstarch gives a cleaner, more reliable set in a cobbler like this.
- Cold butter — Cold butter is what keeps the topping crumbly. If it softens too much before baking, the crumble starts to melt together and you lose that crisp, sandy texture.
- Brown sugar in the topping — It adds a deeper, molasses-backed sweetness and helps the crumbs bake up golden. White sugar will sweeten the topping, but it won’t give you the same flavor or color.
Building the Topping So It Stays Crumbly
Preheat the oven to 375°F and grease the baking dish before you do anything else. A hot oven helps the topping set before the fruit has time to flood it, and a lightly greased dish keeps the bubbling juices from sticking at the edges.
Toss the elderberries with the granulated sugar and cornstarch until every berry looks lightly coated, then spread them in an even layer. The goal is not a thick mound; an even layer helps the filling cook at the same rate across the pan. If the berries are piled too deeply, the center can stay loose while the edges overcook.
In a separate bowl, cut the cold butter into the flour and brown sugar until the mixture looks like coarse crumbs with a few larger bits. Those larger bits matter. They bake into little crunchy nubs instead of disappearing into the topping, which gives you better texture after it comes out of the oven.
Sprinkle the crumble evenly over the berries and bake for 35 to 40 minutes, until the top is deeply golden and the filling is bubbling at the edges. Let it cool for 15 minutes before serving so the juices can settle slightly; if you cut in too soon, the filling runs all over the plate instead of staying thick.
Three Practical Ways to Adjust This Cobbler
Using Frozen Elderberries Without Thawing
Frozen berries go in straight from the freezer. Thawing makes them leach juice before they ever hit the oven, which can leave you with a thinner filling. Add 3 to 5 extra minutes if needed, and watch for the edges to bubble before you call it done.
Making It Gluten-Free
Swap the all-purpose flour for a 1:1 gluten-free baking blend that already contains xanthan gum. The topping will still brown and crumble, though it may be a touch more delicate when you scoop it. Keep the butter cold so the mixture holds some structure.
Reducing the Sweetness
Elderberries can be tart, but if yours are especially ripe, you can pull back the granulated sugar slightly. Don’t cut it too much or the filling tastes sharp and flat; sugar here isn’t just sweetness, it rounds out the berries and helps the juices turn syrupy.
Storage and Reheating
- Refrigerator: Store covered for up to 4 days. The topping softens as it sits, but the flavor stays good.
- Freezer: Freeze baked cobbler in portions for up to 2 months. Wrap tightly once cooled; the topping won’t stay crisp, but the filling freezes well.
- Reheating: Warm in a 325°F oven until heated through. The oven brings the crumble back better than the microwave, which turns the topping soggy before the fruit is hot.
Questions I Get Asked About This Elderberry Cobbler
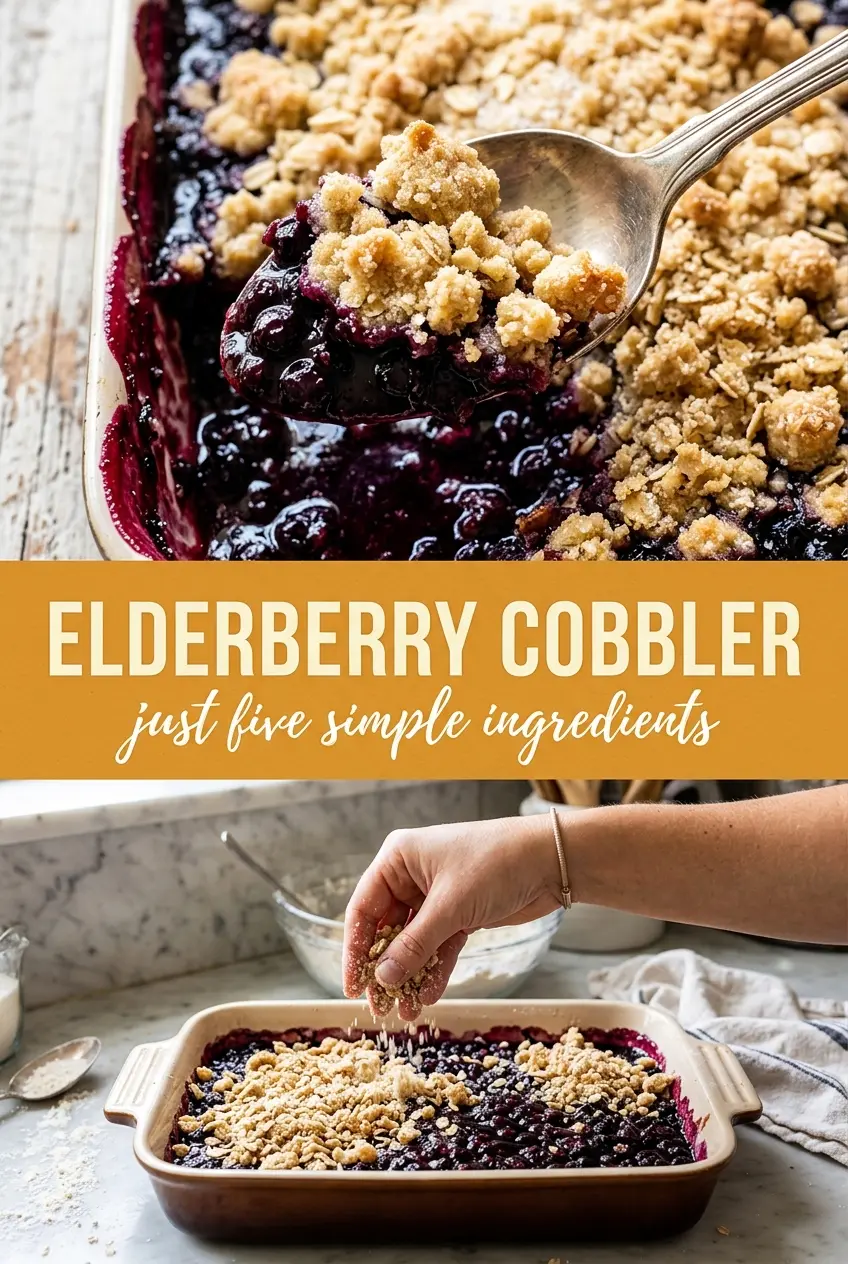
Elderberry Cobbler
Ingredients
Equipment
Method
- Preheat the oven to 375°F and grease a baking dish.
- Toss the elderberries with granulated sugar and cornstarch, then spread evenly in the baking dish.
- Cut the cold butter into the flour and brown sugar until coarse crumbs form.
- Sprinkle the crumble topping evenly over the berries.
- Bake for 35-40 minutes at 375°F, until the topping is golden and the filling bubbles at the edges.
- Cool for 15 minutes before serving.