
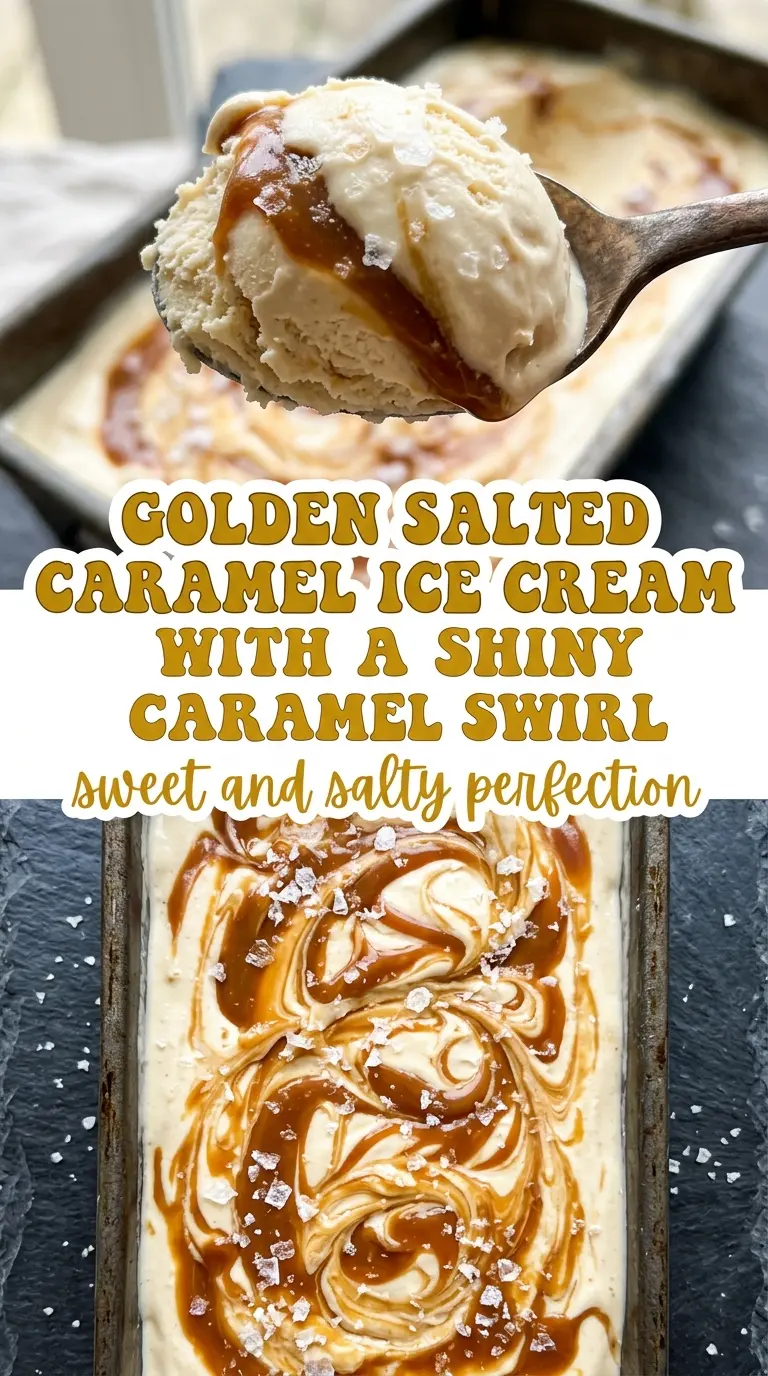
Salted caramel ice cream hits the sweet spot between creamy and intense in a way plain vanilla never quite can. The caramel stays silky instead of icy, and the flaky salt sharpens the whole scoop so every bite tastes like more than just sugar and cream. When it’s done right, you get ribbons of deep amber caramel tucked through a base that stays soft enough to scoop without feeling heavy.
The key is cooking the caramel far enough for real flavor before the cream goes in, then cooling it completely so it doesn’t melt the whipped base. I like using a no-churn style here because it keeps the texture light and gives the caramel a clean swirl instead of blending it into the whole batch. The salted finish matters too — a little flaky salt lifts the caramel and keeps the sweetness from flattening out.
Below, I’ll walk you through the small details that keep the caramel smooth, the swirl distinct, and the finished ice cream scoopable straight from the freezer.
The caramel set up glossy and smooth, and the salty swirl cut the sweetness just enough. I let it freeze overnight and it still scooped beautifully the next day.
Save this salted caramel ice cream for the nights when you want a scoopable no-churn dessert with real caramel ribbons and a proper salty finish.
The Reason the Caramel Stays Swirled Instead of Disappearing
The biggest mistake in salted caramel ice cream is adding warm caramel to a base that isn’t ready for it. If the caramel is even a little hot, it melts the whipped cream and thins out the condensed milk, which turns your swirl into a beige blur. Cooling the caramel completely is what keeps those ribbons distinct.
The other thing that matters is texture. This is a no-churn base, so the whipped cream has to hold stiff peaks before you fold it in. Soft peaks won’t give the ice cream enough structure, and the caramel will sink instead of sitting in layers. When the base is airy and the caramel is cool, the swirl stays visible and the finished ice cream scoops cleanly.
What Each Ingredient Is Doing in This Salted Caramel Ice Cream
- Granulated sugar — This is the backbone of the caramel. White sugar gives you that clean amber flavor and the right melt without extra flavor notes getting in the way.
- Water — Just enough to dissolve the sugar evenly at the start. It helps prevent hot spots, but once the syrup starts boiling, don’t stir it hard or you can encourage crystallization.
- Heavy cream — One cup goes into the caramel for richness and to stop it from tasting sharp or burnt. Warm it first so the caramel doesn’t seize when it hits the pan; cold cream shocks the sugar and can make lumps that are harder to smooth out.
- Flaky sea salt — This is what turns the caramel from sweet to balanced. Add it after the cream, then taste the caramel once it cools a bit; some flaky salts are stronger than others.
- Heavy whipping cream — Cold cream whips into the airy structure that replaces an ice cream machine here. The colder it is, the faster it reaches stiff peaks, which matters because overwhipped cream turns grainy and starts to look buttery.
- Sweetened condensed milk — This gives the base sweetness, body, and that soft frozen texture. There isn’t a direct swap if you want the same no-churn result; anything thinner will freeze harder and lose the creamy scoop.
Building the Swirl Without Breaking the Base
Cooking the Caramel to the Right Color
Combine the sugar and water in a saucepan and cook over medium heat until the syrup turns a deep amber color, not just pale gold. That color is where the flavor lives. If you pull it too early, the caramel tastes flat and overly sweet. If you let it go too far, it turns bitter in seconds, so stay close and watch the color more than the clock.
Whisking in the Cream Without Seizing the Pan
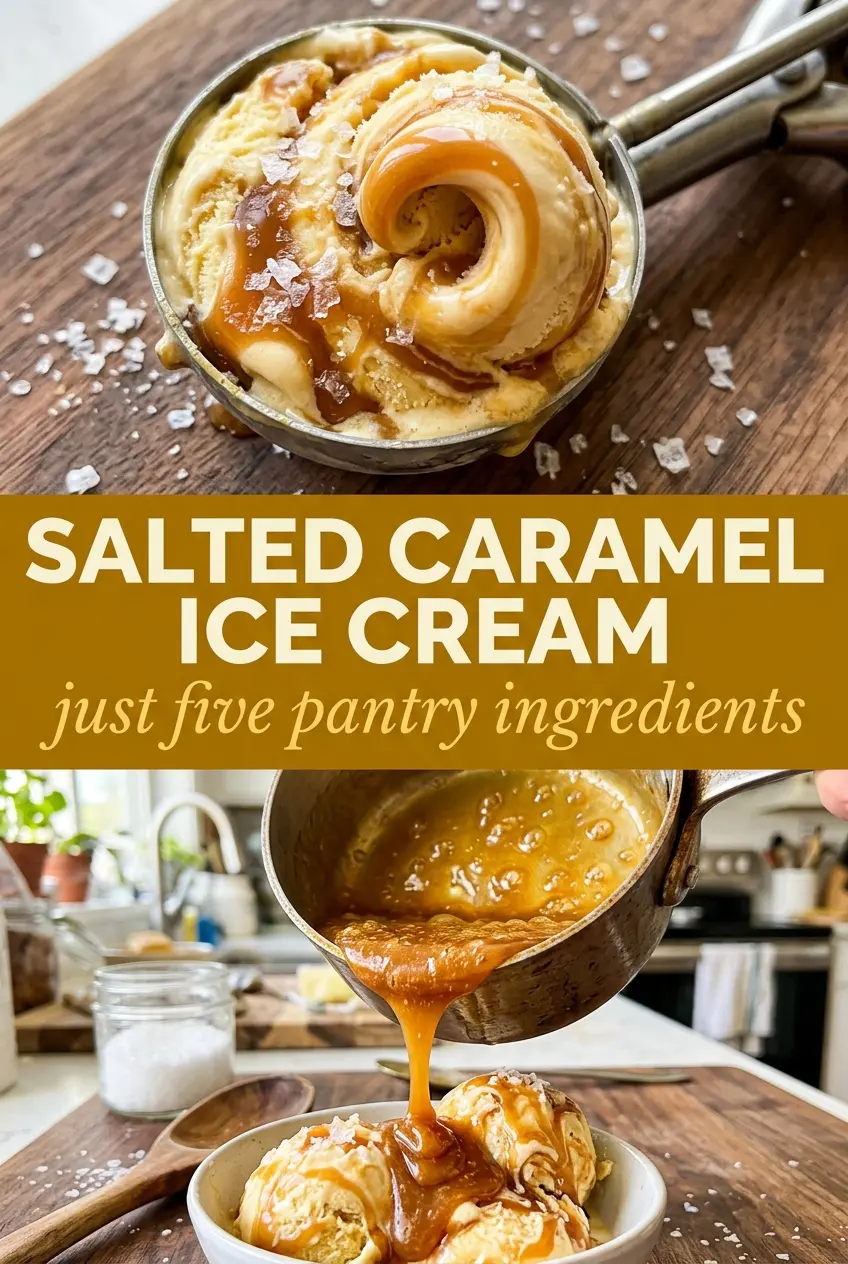
When the caramel reaches the right color, slowly whisk in the warmed cream. It will bubble hard, and that’s normal. The important part is to keep whisking until the mixture turns smooth again. If the caramel clumps, the cream was too cold or it was added too fast; let it sit on low heat for a moment and whisk patiently until the pieces melt back in.
Folding and Swirling for the Final Texture
Whip the cold cream to stiff peaks, then fold it into the condensed milk gently so you don’t knock out the air. You want the base thick and billowy before the caramel goes in. Add most of the cooled caramel and stop folding as soon as you see ribbons. Overmixing turns the whole thing tan instead of keeping the marbled look, and that’s the difference between a swirl and a fully blended batch.
Freezing Until It Scoops Cleanly
Scrape the mixture into a loaf pan, then drag the remaining caramel across the top with a knife. That last swirl gives you the pretty finish and a few concentrated pockets of caramel on top. Freeze it for at least 6 hours, but overnight is even better if you want neat scoops. If it feels rock hard, let it sit at room temperature for 5 to 10 minutes before serving.
Three Ways to Adjust This Without Losing the Caramel Swirl
Make it dairy-free with coconut cream
Use full-fat coconut cream in place of the heavy cream in the caramel and the whipped base. The texture stays creamy, but you’ll pick up a light coconut note that changes the flavor in a pleasant way. It’s the best dairy-free option here because it still whips and freezes with enough body to hold the swirl.
Use espresso salt for a deeper edge
Replace a small pinch of the flaky salt with finely ground espresso powder if you want the caramel to taste darker and less candy-like. The coffee doesn’t make it taste like coffee ice cream; it just sharpens the caramel and adds a little bitterness that plays well with the condensed milk.
Add chopped chocolate for a crunchier version
Stir in a handful of finely chopped dark chocolate at the very end if you want texture against the soft base. The chocolate hardens slightly in the freezer and gives you little shards instead of a fully smooth scoop. Use small pieces so they distribute evenly and don’t clump in one corner of the pan.
Storage and Reheating
- Refrigerator: Don’t store this in the fridge; it will melt into a loose cream and lose the frozen structure.
- Freezer: Keeps well for up to 2 weeks in a loaf pan covered tightly with plastic wrap and foil. After that, the texture starts to pick up ice crystals at the edges.
- Reheating: Not applicable. For serving, let the pan sit on the counter for 5 to 10 minutes so the caramel ribbons soften enough to scoop cleanly. Don’t microwave the whole pan or the swirl will melt unevenly.
Answers to the Questions Worth Asking
Salted Caramel Ice Cream
Ingredients
Equipment
Method
- Heat granulated sugar and water in a saucepan over medium heat until deep amber, swirling occasionally, about 8-10 minutes. Visual cue: the color should turn glossy amber and smell caramel-like, not dark brown.
- Carefully whisk the warmed heavy cream into the hot caramel; it will bubble. Continue whisking until smooth, then stir in flaky sea salt.
- Let the caramel cool completely before using for swirling. Visual cue: it thickens slightly and is no longer hot to the touch.
- Whip the cold heavy whipping cream until stiff peaks form. Visual cue: when you lift the whisk, peaks stand upright without drooping.
- Fold the whipped cream into the sweetened condensed milk until fully combined. Visual cue: the mixture looks thick, creamy, and evenly lightened.
- Swirl in most of the cooled caramel, then pour the mixture into a loaf pan. Reserve a few spoonfuls of caramel for the top.
- Swirl the remaining caramel over the surface using a knife, then smooth nothing—leave ribbon streaks on top. Visual cue: distinct caramel ribbons visible at the surface.
- Freeze in the loaf pan for at least 6 hours before scooping. Visual cue: the ice cream should be firm enough to scoop straight from frozen.