
Apple fritter bread bakes up with a tender crumb, pockets of cinnamon-spiced apples, and those little ribbons of brown sugar that melt into the loaf and leave behind a bakery-style swirl. The glaze on top finishes it the way a good fritter should taste: sweet, a little sticky, and best eaten when the loaf is still just slightly warm.
What makes this version work is the layering. The apples get tossed with cinnamon, nutmeg, and a bit of brown sugar first, so they bring their own syrupy moisture into the bread instead of just baking as plain fruit. The batter stays simple and sturdy, which matters here because a delicate batter can collapse under the weight of juicy apples and turn gummy in the center.
Below, I’ll walk through the parts that matter most: how to keep the apples from sinking, when to tent the loaf so the top doesn’t overbrown, and how to glaze it so the finish looks as good as it tastes.
The apples stayed tender and the bread baked up moist all the way through. I tented it with foil like you suggested and the top came out perfect instead of too dark.
Save this apple fritter bread for the mornings when you want cinnamon apples, a soft crumb, and that sweet glaze without frying a thing.
The Reason the Apples Stay in the Loaf Instead of Sinking
When fruit sinks, it’s usually because the batter is too thin, the pieces are too big, or the loaf pan gets filled in one heavy dump. This recipe avoids all three problems. The batter is thick enough to hold the apples in place, and the apples are layered with brown sugar in between two batter deposits, which gives them support instead of letting them fall straight to the bottom.
The other thing that matters is moisture control. Diced apples release juice as they bake, and that’s great for flavor as long as you don’t overload the loaf with giant chunks. Small, even dice soften at the same rate as the bread around them, so the center bakes through instead of turning wet and dense around raw apple pockets.
- Small dice, not big chunks — Aim for apple pieces that are close in size so they cook evenly.
- Brown sugar on the apples — It draws out a little juice and turns the fruit into a syrupy layer that tastes like fritter filling.
- Two layers of batter — That structure keeps the apples suspended through the loaf instead of all settling at the base.
- Foil if needed — If the top starts getting dark before the center is set, tent it after about 45 minutes so the crust doesn’t overbake.
What the Apples, Spices, and Batter Each Bring to the Table
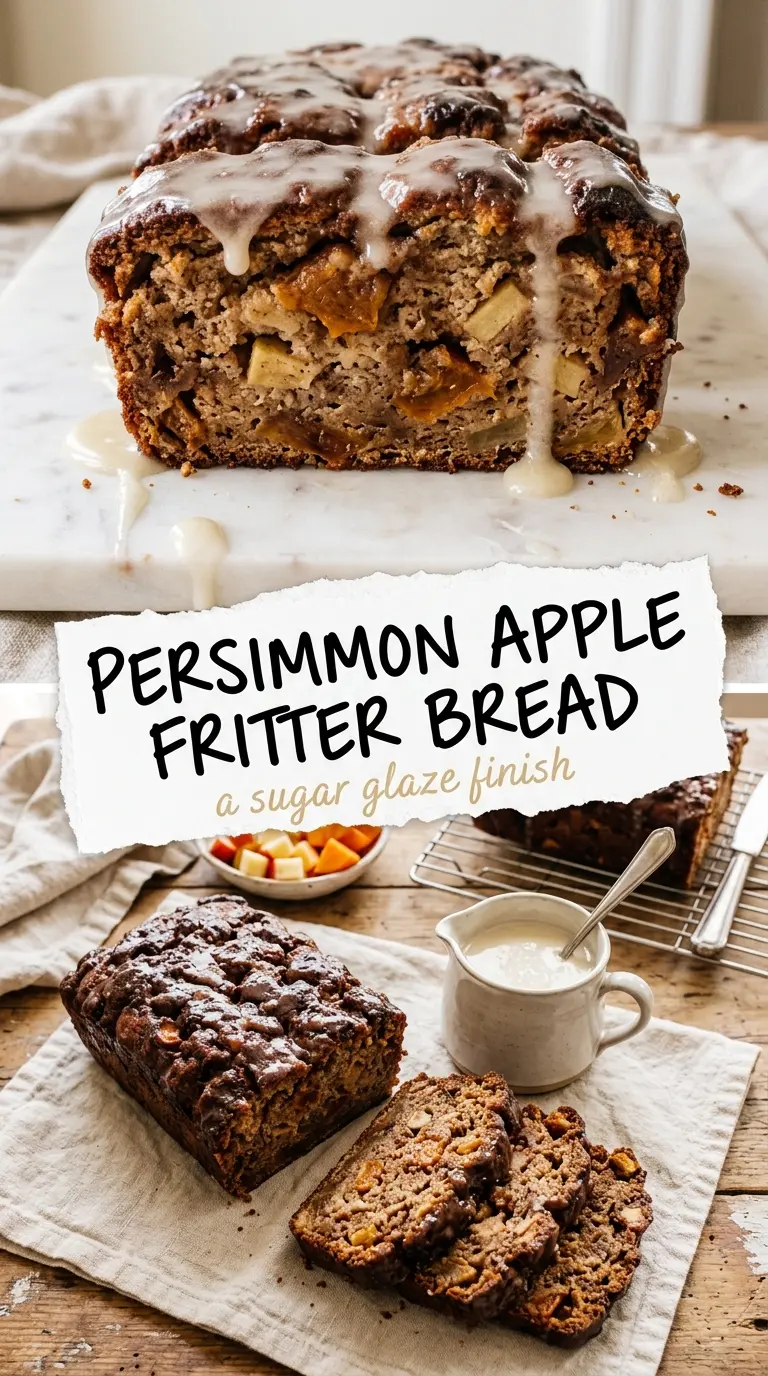
- Apples — A firm baking apple holds its shape better here than a mealy one. If all you have is a sweeter soft apple, dice it a little larger and expect a softer, more jammy interior.
- Brown sugar — This does more than sweeten. It melts into the apples and creates those sticky pockets that make the loaf taste like an apple fritter instead of plain quick bread.
- Cinnamon and nutmeg — Cinnamon carries the main spice note, while nutmeg adds a warmer edge underneath. Skip the nutmeg if you want, but don’t replace it with more cinnamon or the loaf can taste flat.
- Vegetable oil — Oil keeps the crumb moist for days and gives this loaf that soft bakery texture. Melted butter works, but the loaf will be a little firmer once cooled.
- Milk — Regular milk is enough here. Whole milk gives the richest crumb, but 2% works fine, and even non-dairy milk can stand in without changing the structure much.
Layering the Loaf So It Bakes Up Soft, Not Dense
Mix the batter until it just comes together
Stir the dry ingredients together first, then add the eggs, oil, and milk and mix until the batter is smooth. Stop as soon as the flour disappears. If you beat it hard or keep stirring after it’s combined, the loaf turns tight and rubbery instead of tender.
Build the loaf in two rounds
Spoon in half the batter, then add half the apple mixture and brown sugar. Repeat with the rest. That layering matters because it spreads the fruit through the loaf and keeps the top from becoming a heavy apple cap while the bottom bakes plain.
Bake until the center is set, not just the top
The loaf needs about 55 to 60 minutes in a 350F oven, but ovens vary. The top should be deep golden and the center should spring back lightly when touched. If a toothpick comes out with wet batter, give it more time; if it has only a few moist crumbs, it’s done. Tent with foil after 45 minutes if the crust is coloring too fast.
Glaze only after the loaf cools
Whisk the powdered sugar and milk until smooth, then drizzle it over a cooled loaf. If the bread is still hot, the glaze melts right off and disappears into the top instead of setting in that pretty white finish. A thicker glaze gives you a bakery-style look, while a thinner one seeps a little into the crumb.
How to Adapt This for Different Kitchens and Diets
Make it dairy-free
Swap the milk for an unsweetened non-dairy milk like almond or oat. The loaf still bakes up tender because the structure comes from the eggs, flour, and oil, not the dairy.
Use pears instead of apples
Firm pears can step in if that’s what you have on hand. They cook softer and a little juicier than apples, so the loaf will taste more delicate and the fruit layer will be less crisp-tender.
Turn it into muffins
Divide the batter into a lined muffin tin and top each portion with a little of the apple mixture. Bake until the centers spring back, which usually takes far less time than a loaf. You’ll get more browned edges and less of that soft middle slice texture.
Storage and Reheating
- Refrigerator: Store covered for up to 4 days. The crumb stays moist, but the glaze will soften a bit.
- Freezer: Freeze slices tightly wrapped for up to 2 months. Thaw at room temperature before reheating so the glaze doesn’t get sticky and slide off.
- Reheating: Warm a slice in the microwave for 10 to 15 seconds or in a low oven until just warmed through. Long reheating dries out the edges and makes the glaze disappear into the bread.
Answers to the Questions Worth Asking
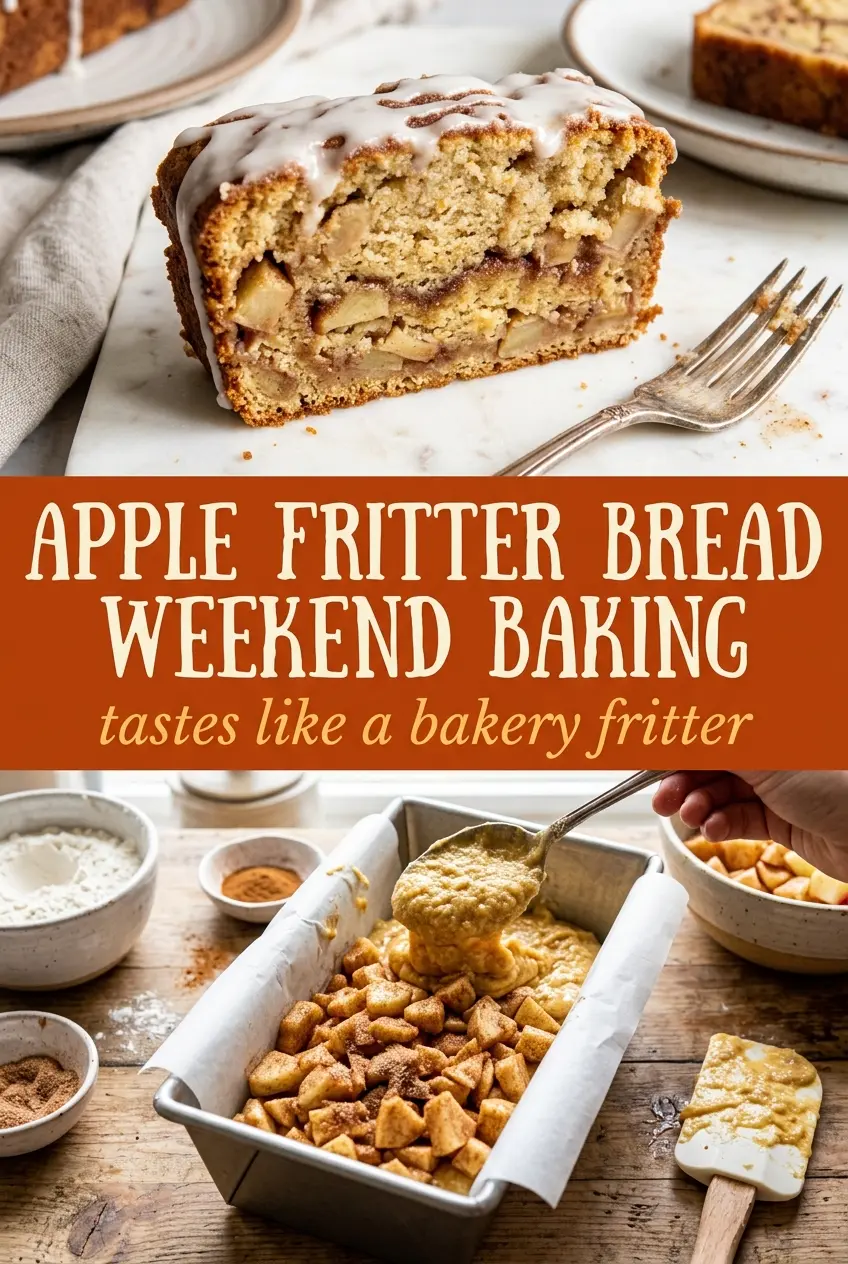
Apple Fritter Bread
Ingredients
Equipment
Method
- Preheat the oven to 350F and grease a 9x5-inch loaf pan.
- Set the greased pan aside so you can build the loaf quickly.
- Toss the diced apples with cinnamon, nutmeg, and 1 tablespoon of brown sugar; set aside.
- Leave the apples at room temperature while you mix the batter.
- Combine the flour, granulated sugar, baking powder, and salt in a mixing bowl.
- Add the eggs, vegetable oil, and milk, then mix until a smooth batter forms.
- Spoon half the batter into the prepared pan and top with half the diced apples and half the remaining brown sugar mixture.
- Repeat with the remaining batter, apples, and brown sugar mixture.
- Bake for 55-60 minutes, tenting with foil after 45 minutes if the top browns too quickly.
- Cool the loaf in the pan briefly, then cool completely before glazing.
- Whisk the powdered sugar and milk together until smooth.
- Drizzle the glaze over the cooled loaf and let it set before slicing.