
Golden edges, a tender center, and that first forkful where sweet and savory meet in the same bite — that’s what makes this dish earn repeat status. It lands in the sweet spot between comforting and a little special, with enough texture to keep each bite interesting and enough balance to keep you going back for another spoonful.
What makes it work is the way the ingredients are handled, not just what goes in the pan. Building color first gives you the deep, savory notes that keep the dish from tasting flat, and keeping an eye on moisture early protects the final texture from turning soft or muddled. The result is the kind of meal that feels like more effort than it actually takes.
Below, you’ll find the small choices that make this recipe dependable — the step that builds flavor, the ingredient swap that still gives you good results, and the part that keeps everything tasting fresh instead of heavy.
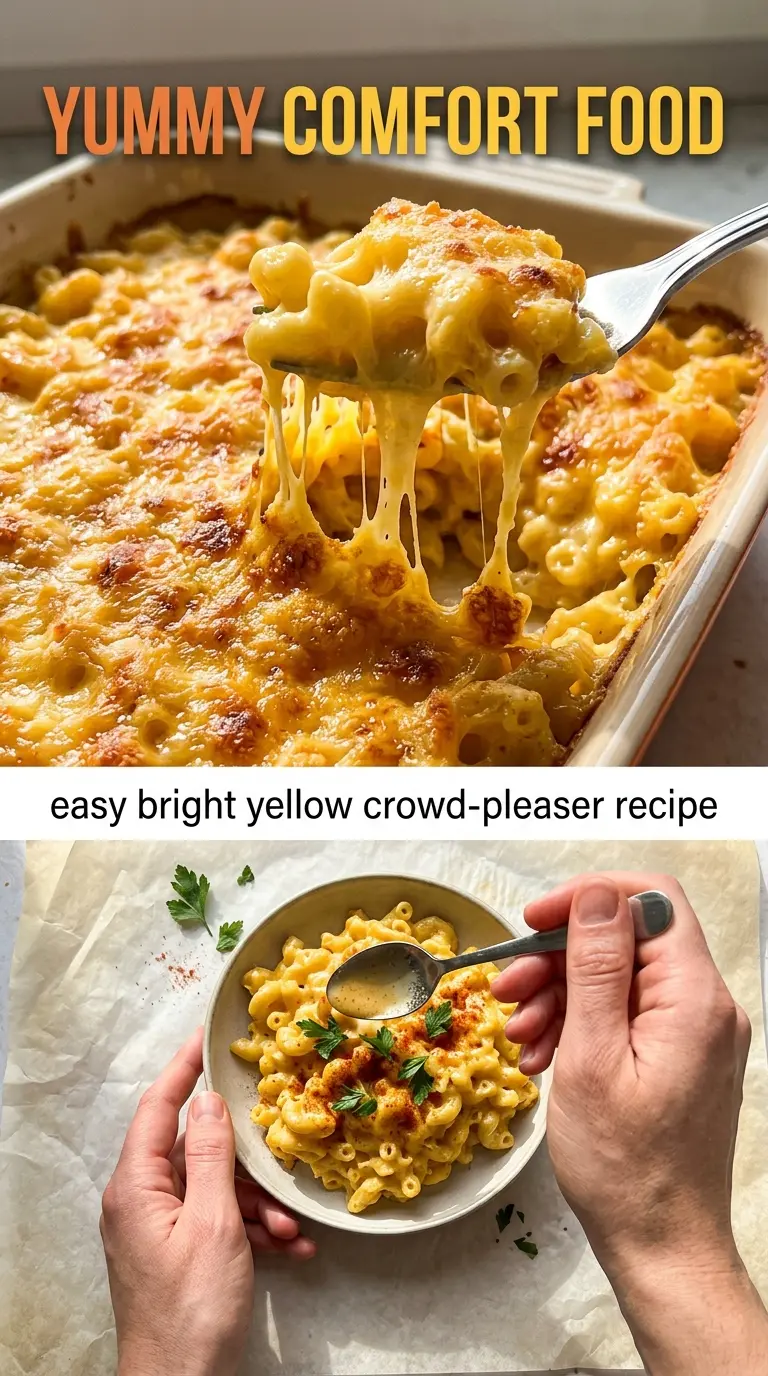
The edges got beautifully golden and the center stayed tender, not soggy. I also loved that the sweet and savory balance held up even after reheating the next day.
Save this Yummy Comfort Food for nights when you want golden edges, balanced sweet-savory flavor, and an easy win at the table.
The Part That Keeps It Golden Instead of Mushy
The biggest mistake with a comfort dish like this is letting moisture take over before the food has a chance to brown. Once the pan gets crowded or the heat drops too fast, you stop building flavor and start steaming everything. That’s how you lose the edges that make the whole thing worth eating.
Color is not decoration here. It’s the difference between something that tastes round and savory and something that tastes flat. Give the main ingredients enough space to pick up real browning, and don’t rush the last few minutes if you want the texture to stay defined.
What Each Ingredient Is Actually Doing in This Dish
The ingredients here work best when each one has a job. Anything that adds sweetness should be balanced by something with salt, acid, or depth, because comfort food falls apart fast when every note leans in the same direction.
- Main ingredients — These give the dish its body and texture. Use the best version you reasonably have, because this is where the final bite lives or dies. If you swap in a leaner or softer option, expect less browning and a gentler finish.
- Sweet element — This is what gives the dish that comforting edge without making it one-dimensional. Honey, maple, or another sweet component can work depending on what you have, but use the smallest amount first and build up. Too much and the dish turns sticky instead of balanced.
- Savory base — Broth, seasoning, or a salty component keeps the whole thing from tasting flat. If you need a shortcut, use a good store-bought version and concentrate it a little longer in the pan so the flavor doesn’t disappear into the rest of the dish.
- Fresh finish — Herbs, citrus, or another bright note matter more than people think. They wake up the heavier flavors right at the end, which is especially important if you’re serving this after it has sat for a few minutes.
Building the Flavor Before the Final Simmer
Getting the Browning Right
Start by giving the main ingredients enough space to sear instead of pile up. If the pan is crowded, the steam has nowhere to go and you lose the crisp edges that carry the flavor. Listen for a steady sizzle and watch for the surface to turn deep gold before you move anything around.
Layering the Sweet and Savory Notes
Add the sweeter ingredients after the base has some color so they don’t scorch. That timing keeps the sweetness grounded instead of sharp. If the pan looks dry or the seasoning tastes thin at this stage, it usually means the heat was too low and the browning never really started.
Finishing Without Losing Texture
Let the last part of the cook happen gently. Hard boiling or aggressive stirring breaks down the texture and blurs the contrast that makes the dish satisfying. Pull it back as soon as everything is coated and heated through, then let it rest briefly so the flavors settle.
How to Adapt This for Different Tables
Dairy-Free Version
Skip any dairy finish and use a richer broth or a little olive oil to round things out instead. You’ll lose some creaminess, but the dish keeps its structure and the savory-sweet balance stays intact.
Gluten-Free Adjustment
Use a gluten-free thickener or skip flour entirely and reduce the liquid a little longer. The key is patience in the pan, because thickening by reduction gives you a clean finish without the graininess some starches can bring.
Make It Heartier
Add extra vegetables that can take on color, like onions, mushrooms, or peppers. Cook them down first so they don’t dump water into the pan later. That keeps the final texture hearty instead of soupy.
Storage and Reheating
- Refrigerator: Store in an airtight container for up to 4 days. The texture tightens a little as it chills, but the flavor holds up well.
- Freezer: It freezes best if the texture isn’t heavily sauce-based. Cool completely, portion it out, and freeze for up to 2 months.
- Reheating: Warm it slowly over medium-low heat with a splash of water or broth if needed. High heat is the usual mistake here — it dries out the edges before the center is hot.
Answers to the Questions Worth Asking

Yummy Comfort Food
Ingredients
Equipment
Method
- Heat the oven to 425°F. Line a sheet pan so the chicken and vegetables roast with golden edges.
- Toss the baby potatoes on the sheet pan with olive oil, paprika, cumin, salt, and black pepper until evenly coated. Spread into a single layer for better browning.
- Arrange the chicken thighs on the pan and rub with minced garlic plus any remaining spice mixture. Keep chicken close to the potatoes so drippings season everything.
- Roast for 15 minutes at 425°F. Stop when the potatoes look slightly crisp at the edges.
- Whisk honey, soy sauce, and apple cider vinegar in a small bowl. Mix until the honey loosens and the sauce looks glossy.
- Add broccoli florets and cherry tomatoes around the chicken. Pour the honey-soy glaze over the chicken and vegetables.
- Return to the oven and roast 15 to 20 minutes at 425°F. Roast until the chicken is cooked through and the edges of vegetables look browned.
- Broil on high for 2 to 3 minutes to deepen the caramelized glaze. Watch closely so the honey darkens without burning.
- Rest the pan for 3 minutes before serving. This helps the sauce cling and keeps the chicken juicy.
- Taste and adjust seasoning with more salt or pepper if needed. Serve hot for the best contrasting textures.