
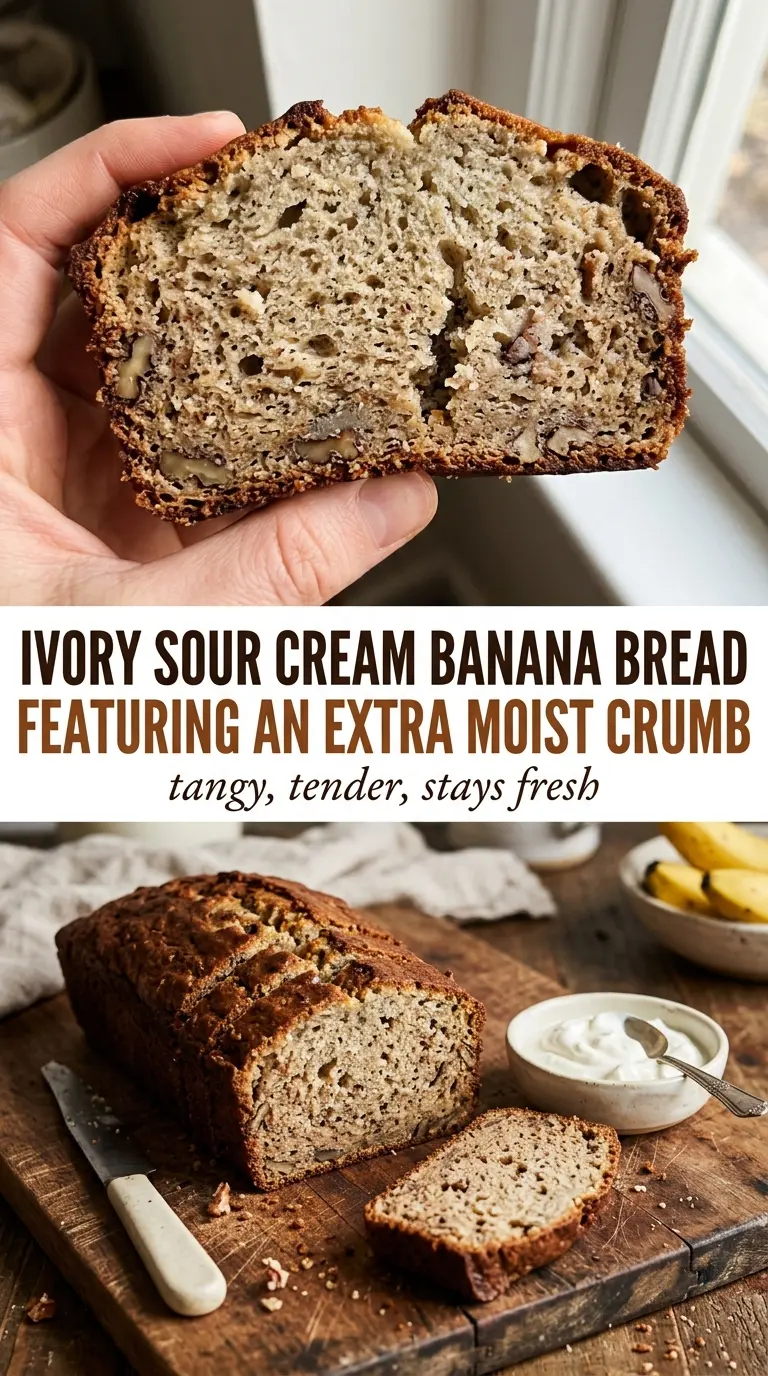
Sour cream banana bread bakes into a loaf that stays tender for days, with a moist crumb and a soft, even slice that doesn’t fall apart under the knife. The tang from the sour cream keeps the sweetness in check, so the banana flavor tastes fuller instead of flat. It’s the kind of quick bread that disappears one slice at a time, then somehow manages to be just as good the next morning.
The texture comes from a simple balance: very ripe bananas for flavor and moisture, melted butter for richness, and sour cream for the extra tenderness that plain milk or yogurt won’t quite match. The batter stays straightforward on purpose. No mixer, no creaming, no extra steps that dry things out before the oven even starts doing its job. Stir it gently and stop as soon as the flour disappears. That’s the difference between a loaf that bakes up soft and one that turns tight and bready.
Below, I’ve included the small details that matter most here, including why the sour cream earns its place and how to keep the crumb light even with a very moist batter. There’s also a quick storage note, because this is one of those loaves that stays genuinely good for several days if you wrap it right.
The sour cream made the crumb so soft, and it was still moist on day 4 without getting gummy. I also liked that the banana flavor stayed front and center instead of tasting overly sweet.
Save this sour cream banana bread for the days when you want a one-bowl loaf that stays soft and moist for days.
The Small Trick That Keeps This Loaf Soft Instead of Dense
Banana bread gets dense when the batter is overmixed or the banana-to-flour balance gets thrown off. Sour cream helps here because it adds moisture and tenderness without thinning the batter the way a splash of milk would. That means you get a loaf that feels rich and plush, not wet or heavy.
The other thing that matters is the bananas themselves. They need to be deeply ripe, with lots of brown spotting and soft flesh, because under-ripe bananas don’t bring enough sweetness or flavor to stand up to the sour cream. If your bananas are still a little firm, the loaf will taste more like plain quick bread with banana in it instead of the warm, full banana flavor people actually want.
What Each Ingredient Is Actually Doing in This Dish
- Very ripe bananas — These do the flavor work and contribute most of the moisture. Frozen and thawed bananas work too, as long as you drain off any excess liquid before mashing.
- Sour cream — Full-fat sour cream gives the most tender crumb and the cleanest tang. Plain Greek yogurt works in a pinch, but the loaf will be a touch less rich and a little tighter.
- Butter — Melted butter keeps the method simple and gives the loaf a soft, bakery-style richness. If you use oil instead, the crumb will stay moist but lose some of that buttery flavor.
- All-purpose flour — This keeps the loaf sturdy enough to slice without being dry. Too much flour is the quickest way to ruin the texture, so spoon it in lightly or weigh it if you can.
Mixing the Batter Without Knocking the Air Out
Start With the Wet Ingredients
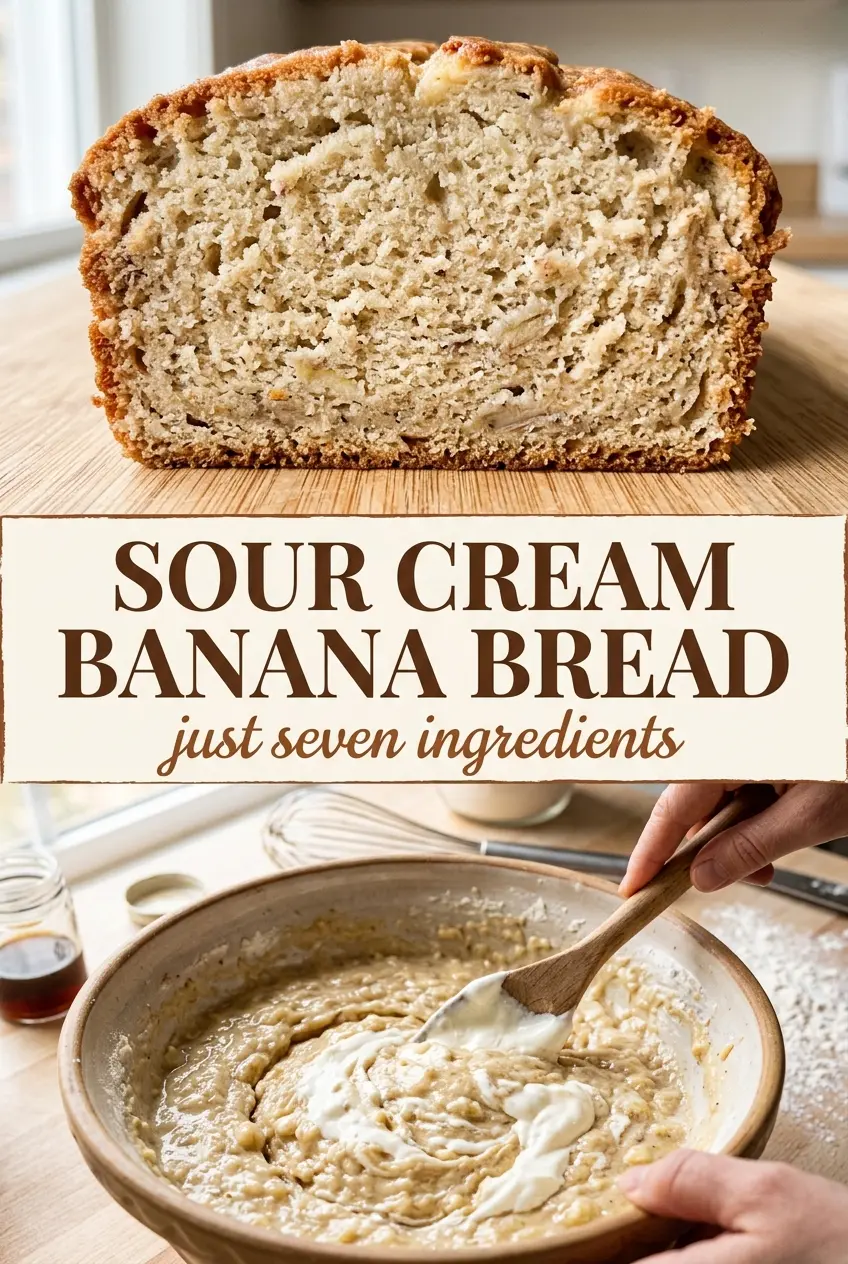
Whisk the bananas, melted butter, sugar, egg, and sour cream until the mixture looks mostly smooth with just a few small banana bits left. That’s the point where the batter has enough structure without being whipped full of extra air. If the butter is too hot, it can scramble the egg or turn the sour cream grainy, so let it cool for a few minutes after melting.
Fold in the Flour Last
Add the flour and baking soda together, then fold just until the streaks disappear. A few floury patches are better than an overmixed batter, because overworking the flour develops gluten and makes the loaf chewy instead of tender. The batter will look thick, and that’s exactly what you want.
Bake Until the Center Springs Back
Pour the batter into a greased loaf pan and bake at 350°F until a toothpick comes out clean from the center, usually 55 to 60 minutes. The top should be deeply golden and the middle should feel set when you press it lightly. If the top browns too quickly before the center is done, lay a loose piece of foil over it for the last 10 to 15 minutes.
Make It With Greek Yogurt Instead of Sour Cream
Plain full-fat Greek yogurt works well if that’s what you have. The loaf will still be moist, but it won’t have quite the same rich, velvety finish as sour cream. Use the same amount and choose unsweetened yogurt so the sugar level stays balanced.
Turn It Into a Dairy-Free Loaf
Use a neutral oil instead of butter and a thick dairy-free yogurt in place of sour cream. The crumb will stay soft, but the flavor loses a little of the buttery depth. Pick an unsweetened yogurt with some body so the batter doesn’t turn watery.
Make It a Little Less Sweet
Drop the sugar to 1/2 cup if your bananas are extra ripe and you prefer a more breakfast-style loaf. The texture stays the same, but the banana flavor comes through more clearly and the crust bakes up a little less caramelized.
Storage and Reheating
- Refrigerator: Store tightly wrapped for up to 5 days. The crumb firms up a little in the fridge, so bring slices back to room temperature before serving.
- Freezer: Wrap individual slices and freeze for up to 3 months. Thaw at room temperature or overnight in the fridge so the bread doesn’t turn soggy.
- Reheating: Warm slices in the toaster oven or microwave just until heated through. Overheating dries out the edges and makes the center feel gummy instead of soft.
The Questions People Ask Before They Bake Banana Bread
Sour Cream Banana Bread
Ingredients
Equipment
Method
- Preheat the oven to 350°F and grease a loaf pan with a light coating so the bread releases cleanly.
- Whisk together the mashed bananas, melted butter, sugar, egg, and sour cream until smooth, with no large streaks remaining.
- Fold in the flour and baking soda until just combined, stopping as soon as no dry pockets show.
- Pour the batter into the prepared loaf pan and smooth the top so it bakes evenly.
- Bake for 55-60 minutes at 350°F, until a toothpick inserted in the center comes out clean and the loaf looks set and lightly golden on top.
- Cool in the pan for 10 minutes, then transfer to a wire rack to finish cooling before slicing.