
Tiny pancakes hold onto all the things that make breakfast worth packing: a tender crumb, golden edges, and a size that fits neatly into little hands without falling apart. A good silver dollar pancake lunchbox shouldn’t feel like a compromise. It should taste like a stack you’d be happy to eat at the table, just smaller, softer, and easier to tuck into a container with fruit and a little syrup for dipping.
The trick is keeping the batter light and the pancakes small enough to cook through before the outsides dry out. A little sugar helps with browning, but the real key is not overmixing once the wet and dry ingredients come together. Stop as soon as the flour disappears. A few lumps are better than a dense, bready pancake, and the short cook time keeps the centers fluffy instead of rubbery.
Below, I’ll show you the texture cue that tells you it’s time to flip, plus the lunchbox packing trick that keeps them from getting soggy before midday.
The pancakes stayed soft even after sitting in the lunchbox for a few hours, and the little size made dipping in syrup way less messy. My daughter usually ignores breakfast, but she ate every last one with berries.
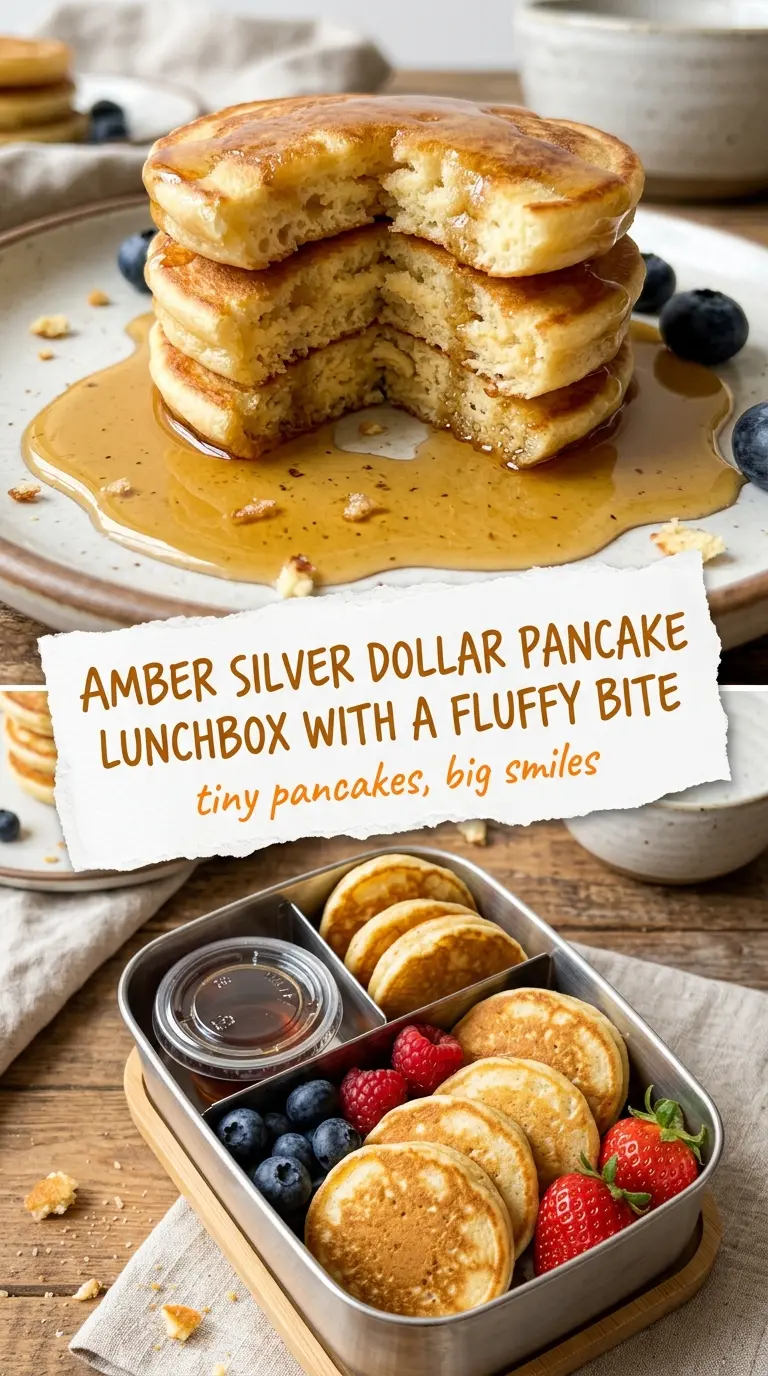
Silver Dollar Pancake Lunchbox stacks pack soft, golden pancakes that stay tender for dipping and grabbing on the go.
The Flip Happens Before the Tops Look Dry
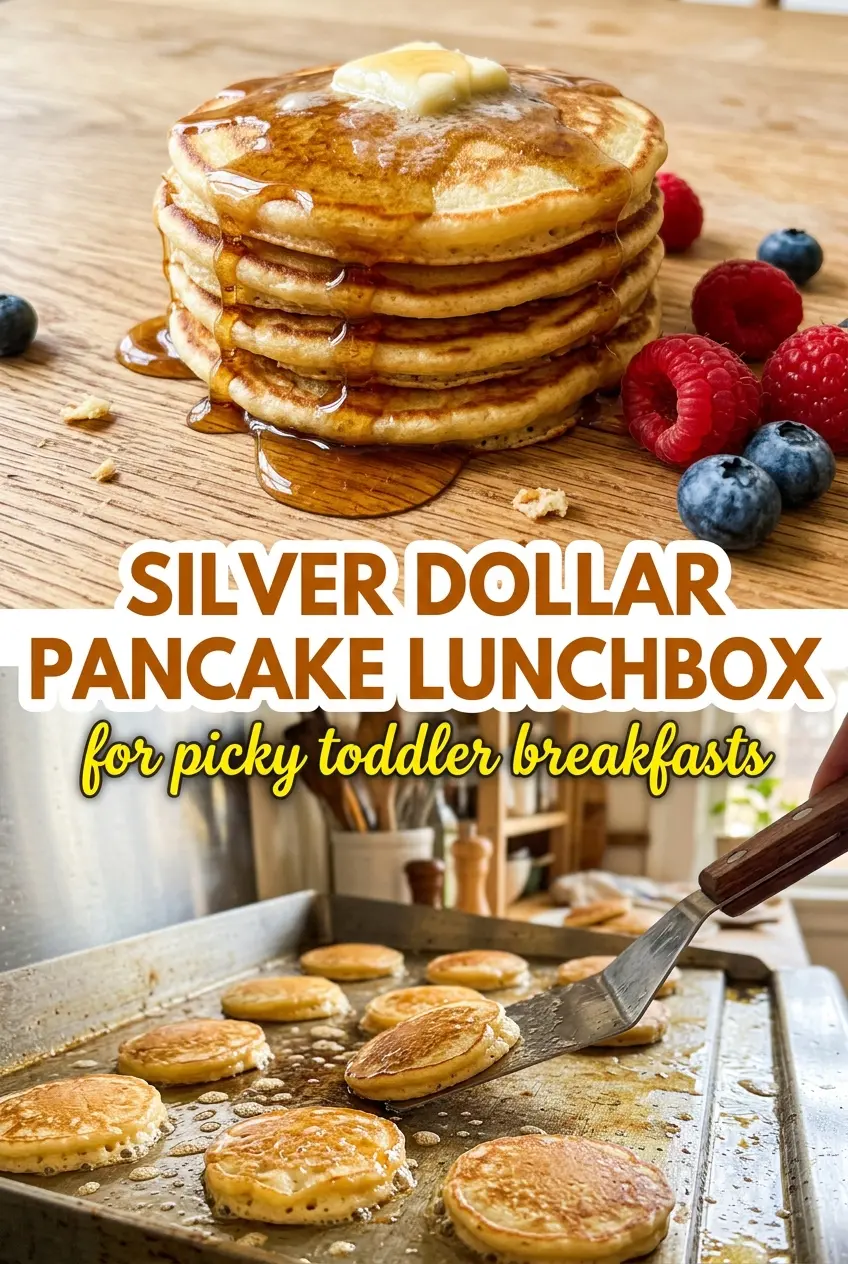
Most pancake batches go wrong because people wait too long to turn them. By the time the top looks fully set, the first side has already gone from golden to dry. For silver dollar pancakes, the window is smaller. You want bubbles popping on the surface and the edges looking matte, not wet, then flip while the centers still look slightly glossy. That gives you a soft middle without overcooking the outside.
Keeping the pancakes small matters just as much as the timing. If you drop big spoonfuls, the centers lag behind and the outside takes on too much color before the middle cooks through. A teaspoon or small cookie scoop gives you the size you need for even cooking and lunchbox-friendly portions. Medium heat is the sweet spot here. Too hot and the sugar scorches before the inside sets.
What Each Ingredient Is Actually Doing in These Pancakes
- All-purpose flour — This gives the pancakes their structure without making them heavy. If you swap in whole wheat flour, expect a denser pancake with a slightly nuttier taste; a half-and-half mix keeps the texture lighter.
- Milk — Milk loosens the batter enough to spread into neat rounds and keeps the crumb tender. Any dairy milk works here, and an unsweetened non-dairy milk can stand in, though the pancakes may brown a little differently.
- Egg — The egg binds everything and helps the pancakes puff. If you skip it, the pancakes turn more fragile and less springy, which matters in a lunchbox.
- Melted butter — Butter brings flavor and helps the inside stay soft. Use real butter if you can; the difference shows up in both taste and tenderness. For dairy-free pancakes, a neutral oil works, but you lose some richness.
- Baking powder — This is what gives you the lift that makes a small pancake eat like a proper pancake instead of a little hotcake. Fresh baking powder matters more than a fancy flour here.
How to Keep the Centers Soft and the Edges Golden
Mix the Batter Until It Just Comes Together
Whisk the dry ingredients first so the baking powder gets distributed evenly, then add the wet ingredients and stir only until the flour disappears. The batter should look a little lumpy. That’s normal. If you beat it smooth, the gluten tightens up and you end up with pancakes that chew more than they fluff.
Cook Small Pancakes on a Lightly Buttered Griddle
Heat the pan over medium, not high, and add just enough butter to coat the surface. Drop small spoonfuls of batter and leave space between them so you can flip cleanly. If the butter is browning too fast or smoking, the pan is too hot and the pancakes will darken before the centers cook through.
Flip on the Bubble-and-Matte Cue
After 1 to 2 minutes, look for bubbles across the top and edges that have gone from shiny to set. Slide a thin spatula underneath and turn them in one quick motion. The second side usually cooks faster than the first, so watch for light golden color instead of waiting for deep browning.
Pack Them So They Stay Lunchbox-Friendly
Let the pancakes cool for a few minutes before packing so steam doesn’t collect in the container. If you stack them while they’re hot, the bottoms soften and the tops go gummy. Keep syrup in a separate small cup or tightly sealed container, then tuck berries alongside so the lunchbox stays neat.
Three Easy Ways to Make These Work for Different Lunches
Dairy-Free Pancakes That Still Stay Tender
Swap the milk for unsweetened non-dairy milk and use neutral oil instead of butter. The pancakes will still cook up soft, but they’ll lose a little of the buttery flavor, so I like to serve them with fruit and syrup for extra richness.
Gluten-Free with a 1:1 Baking Blend
A cup-for-cup gluten-free flour blend works well here because the pancakes are small and cook quickly. Let the batter rest for 5 minutes before cooking so the flour hydrates; that helps prevent a gritty texture and gives you a more even crumb.
Make-Ahead for Busy Mornings
Cook the pancakes fully, cool them on a rack, then pack them once they’re no longer steaming. The texture stays soft in the fridge, and a quick warm-up brings them back to life without drying out the edges.
Storage and Reheating
- Refrigerator: Store in an airtight container for up to 3 days. They soften a little, which actually works well for lunchboxes.
- Freezer: Freeze in a single layer, then transfer to a freezer bag for up to 2 months. Separate layers with parchment so they don’t stick together.
- Reheating: Warm in the microwave in short bursts or in a low oven until just heated through. High heat dries them out fast, so don’t chase browning when all you need is warmth.
Answers to the Questions Worth Asking
Silver Dollar Pancake Lunchbox
Ingredients
Equipment
Method
- Whisk together all-purpose flour, sugar, baking powder, and salt until evenly combined.
- Whisk together milk, egg, and melted butter, then pour into the dry ingredients and stir just until no dry streaks remain.
- Heat a griddle over medium heat, then lightly butter the surface.
- Drop small spoonfuls of batter onto the griddle to form silver dollar-sized pancakes.
- Cook for 1–2 minutes until the bottoms are golden and bubbles form on the surface.
- Flip and cook for 1–2 more minutes until golden and cooked through.
- Pack the pancakes into a lunchbox with maple syrup for dipping and fresh berries on the side.