
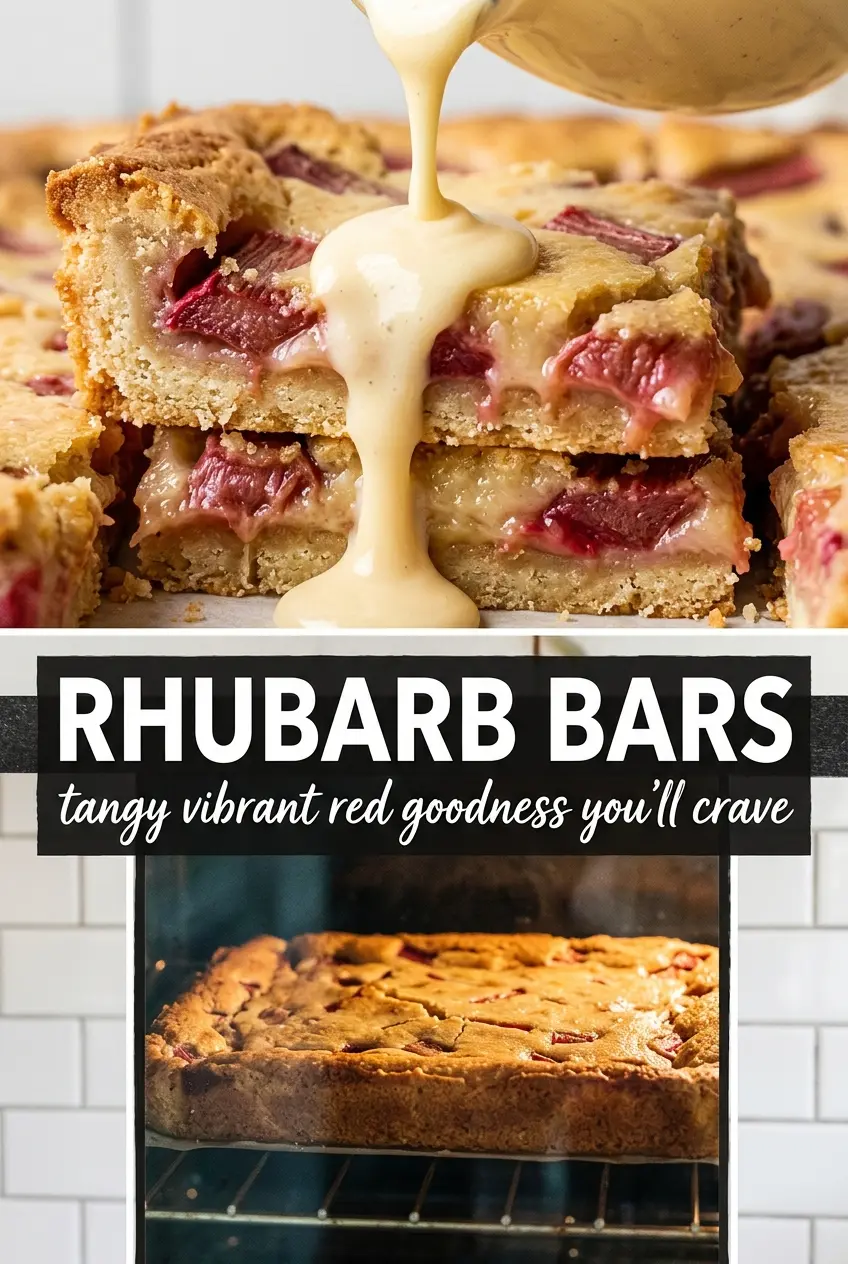
Tangy rhubarb bars hit that sweet spot between crisp, buttery, and sharp enough to wake up your mouth. The filling stays bright and jammy instead of turning dull and muddy, and the top bakes into a golden layer that gives just enough when you cut into it. That contrast is what keeps these bars from tasting flat or one-note.
The trick is in treating the rhubarb like the strong-flavored fruit it is. You need enough sugar to soften the tartness, but not so much that the filling turns syrupy and leaks through the crust. A little starch helps the fruit set, and a sturdy buttery base keeps the bars neat enough to slice after they cool.
Below, I’ll walk through the one step that keeps the crust from getting soggy, plus a few smart swaps if your rhubarb is especially juicy or you want to change up the top.
The rhubarb filling set up beautifully and the crust stayed crisp under the fruit, even after chilling overnight. My kids kept sneaking pieces because the sweet-tart balance was spot on.
These rhubarb bars have that crisp buttery base and tart pink filling that slices cleanly once cooled, so they’re perfect for baking ahead.
The Trick to Keeping Rhubarb Bars Crisp Underneath
Rhubarb releases a lot of juice as it bakes. That’s the main reason bars with a fruit layer can turn soft on the bottom or slide apart when you cut them. The answer isn’t piling on more flour until the filling tastes chalky. It’s giving the fruit enough starch to thicken naturally and baking the crust long enough that it starts setting before the filling goes in.
If your bars usually come out wet in the middle, the crust is probably too pale when the filling is added. You want a base that looks set at the edges and faintly matte across the surface. That head start gives the fruit a firm place to sit instead of soaking straight into raw dough.
- Rhubarb — Fresh stalks give the best texture and the cleanest tart flavor. Frozen rhubarb works, but thaw it first and drain it well so the filling doesn’t get watery.
- Sugar — This balances the sharpness of the rhubarb and helps draw out juice in a controlled way. Don’t cut it too hard or the bars can taste aggressive instead of bright.
- Cornstarch or flour — This is what turns the fruit juices into a sliceable filling. Cornstarch gives a cleaner set; flour is a little softer and more old-fashioned.
- Butter — Use real butter in the crust and crumble topping if you want that rich, sandy finish. It’s what gives the bars their structure and that crisp, bakery-style bite.
Building the Base and Setting the Fruit Layer
Pressing the Crust
Mix the crust until it looks like damp crumbs, then press it firmly and evenly into the pan. Loose patches bake unevenly, and that’s where the filling sinks through. A flat-bottomed measuring cup helps you compact the layer without overworking it. Bake it just until the edges start to color and the surface loses its raw shine.
Thickening the Rhubarb Filling
Toss the rhubarb with the sugar and starch until every piece looks lightly coated. The mixture should look glossy, not soupy, before it goes into the pan. If your rhubarb is especially wet, let it sit for a few minutes, then spoon off any puddle that collects at the bottom. That keeps the filling from turning thin after baking.
Finishing with the Crumble Top
Scatter the topping over the fruit in a loose, even layer. You want some gaps so steam can escape and the topping can dry into crisp crumbs instead of doughy clumps. Bake until the top is deeply golden and the fruit is bubbling at the edges. If you pull it too early, the filling won’t fully set and the center will cut messy.
Make Them Gluten-Free
Swap the flour in both the crust and topping for a good 1:1 gluten-free baking blend. The bars will still hold together, though the topping may be a little more delicate and sandy. Let them cool completely before slicing so the filling has time to firm up.
Use Strawberries with the Rhubarb
Replace part of the rhubarb with chopped strawberries for a softer, sweeter filling. Strawberries add perfume and extra juice, so keep the starch in place and bake until the center is bubbling. The bars will taste rounder and less sharply tart.
Make Them Dairy-Free
Use a solid plant-based butter that bakes like stick butter, not a soft tub spread. The texture will be close, but the flavor may be slightly less rich and the crust a touch less crisp. Chill the pan after pressing in the crust if the dough feels soft.
Storage and Reheating
- Refrigerator: Store in an airtight container for up to 5 days. The crust softens slightly after the first day, but the bars still slice well.
- Freezer: These freeze well. Wrap individual bars tightly and freeze for up to 2 months, then thaw in the fridge so the topping doesn’t sweat.
- Reheating: Eat them cold or let them come to room temperature. If you want the crust a little firmer, warm a slice for a few minutes in a low oven. The common mistake is microwaving too long, which turns the filling loose and makes the bottom soggy.
Answers to the Questions Worth Asking
Rhubarb Bars
Ingredients
Equipment
Method
- Heat the oven to 350°F and line a sheet pan with parchment paper, leaving overhang for easy lifting.
- Wash and chop the rhubarb into 1/2-inch pieces, then pat very wet pieces lightly dry so the filling sets well.
- Toss the chopped rhubarb with granulated sugar, cornstarch, and cinnamon in a bowl until the fruit looks evenly coated.
- Let the mixture sit for 5 minutes while you make the crust so some juices start to form.
- In a bowl, combine flour, brown sugar, salt, and baking powder.
- Cut in the cold butter until the mixture looks like coarse crumbs, with a few pea-size pieces remaining for crunch.
- Stir in vanilla extract, then add the egg and mix just until the dough looks crumbly and holds together when pressed.
- Press about half of the crust mixture evenly into the lined pan to form the bottom layer.
- Spread the rhubarb filling over the crust, then sprinkle the remaining crust mixture evenly on top.
- Bake at 350°F for 25-35 minutes, until the top is golden and the filling is bubbling at the edges.
- Cool the bars for 20 minutes before lifting and slicing so the filling thickens and holds clean lines.