
Crisp waffle cups turn into the kind of party treat kids point at first: glossy ruby-red rims, a confetti spill of rainbow sprinkles, and a crunchy shell that stays snappy under ice cream. The charm here is in the contrast. You get a sturdy edible cup with a sweet coating that hardens fast, so the sprinkles stay put instead of sliding into a mess on the plate.
What makes these work is timing. Candy melts are forgiving, but they still need short bursts in the microwave and a good stir between each one so they stay smooth instead of seizing. Dip and sprinkle while the coating is still shiny; wait too long and the sprinkles won’t stick evenly. I also like keeping the cups upright on parchment, because gravity is not kind to drippy candy coating.
Below you’ll find the small details that keep the rims neat, plus a few easy ways to swap colors for different party themes without changing the method.
The candy coating set up fast and the sprinkles stayed exactly where I put them. My daughter had two ice cream scoops in hers and the cup stayed crunchy all the way to the bottom.
Rainbow Dipped Waffle Cups bring the crunch, the color, and the easiest birthday-party wow factor.
The Trick to Keeping the Candy Shell Smooth and the Sprinkles in Place
The biggest mistake with dipped waffle cups is rushing the coating. Candy melts look ready before they are, and if they still have little lumps, those lumps turn into a thick rim that slides instead of clinging cleanly. The goal is a thin, glossy layer that hugs the edge of the cup and sets fast enough to lock in the sprinkles before they start drifting.
Another thing that matters here is where you dip. You only need the rim, not the whole cup, and the narrower the coating band, the neater the finish. Too much candy melt makes the cup heavy and can crack the wafer when it hardens. A quick turn in the sprinkles while the coating is wet gives the best coverage without turning the whole thing into a crumbly mess.
What the Candy Melts and Sprinkles Are Really Doing Here
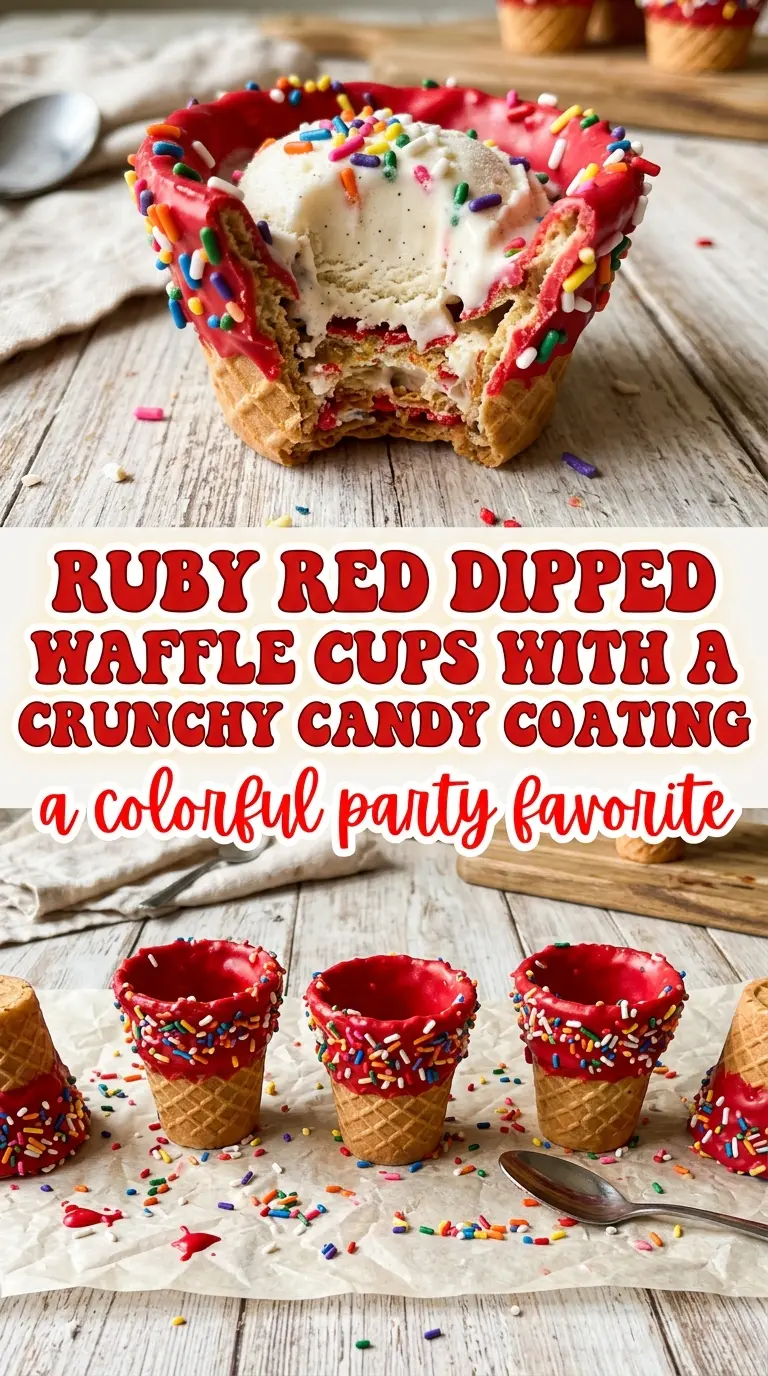
The candy melts are the structure. They harden into a glossy shell that grips the waffle cup and gives the sprinkles something to stick to. White chocolate can work in a pinch, but it softens differently and usually needs more careful melting; candy melts are the easier, cleaner choice for a party project like this.
The sprinkles are more than decoration. They add texture right where the first bite lands, which helps the rim feel special instead of just sweet. Use classic rainbow jimmies for the best hold. Tiny nonpareils can look pretty, but they roll off faster and tend to create a mess on the tray.
- Waffle cups — These need to be crisp and sturdy. If they feel stale or soft, they won’t hold up once you dip the rim and fill them with ice cream. Keep them dry right up until you use them.
- Red candy melts — These melt smoothly and set firmly, which is exactly what you want. If your coating seems too thick, stir in a tiny bit more melted candy of the same type rather than trying to thin it with anything wet.
- Rainbow sprinkles — Use a generous amount so the rim gets a full coat. Jimmies stick best because they press into the candy shell without disappearing into it.
The Few Minutes That Make These Party-Ready
Melting the Candy Without Overheating It
Put the candy melts in a microwave-safe bowl and heat them in short bursts, stirring after each one. The edges may look soft before the center does, so keep stirring until the whole bowl turns smooth and glossy. If the candy starts to look thick or grainy, it was heated too hard; at that point, a little more gentle stirring is better than another long blast in the microwave.
Coating the Rim
Dip only the top edge of each waffle cup into the melted candy, then lift it straight out and give it a small turn so the coating levels off. A thin band is better than a heavy one. If you push the cup too deep, the coating can run down the sides and the finished cup looks messy instead of festive.
Adding the Sprinkles Before the Shell Sets
Roll the dipped rim in rainbow sprinkles immediately after coating it. The candy has a short working window, and once it starts to dull, the sprinkles won’t grab evenly. Set each cup upright on parchment right away so the coating hardens in place instead of pooling along one side.
Letting Them Harden Cleanly
Give the cups about 10 minutes to set before filling them. They should feel firm to the touch and no longer tacky. If you rush this part, the shell can smudge when you add ice cream, and all that neat color work ends up on your fingers instead of the cup.
How to Change the Colors, Make Them Kid-Friendly, or Prep Ahead
Swap the Candy Melt Color for Any Theme
Red is bright and playful, but the method stays the same with any candy melt color. Blue, yellow, pink, or green all work the same way and let you match school colors, holidays, or a birthday palette. The coating sets with the same crisp finish no matter which shade you choose.
Make Them Dairy-Free Without Changing the Texture
Most candy melts are already dairy-free, but always check the package if that matters for your table. This swap keeps the same snap and shine, which is why candy melts beat a melted chocolate coating for a simple allergy-friendly version. Use dairy-free ice cream inside if you want the whole dessert to match.
Use Different Sprinkles for Different Effects
Rainbow jimmies give the cleanest, most reliable finish, but you can swap in themed sprinkles for a different look. Confetti shapes read larger and louder, while sanding sugar gives a finer sparkle with less crunch. Just avoid heavy toppings that fall off before the shell sets.
Storage and Reheating
- Refrigerator: These are best made the same day, but the dipped cups can sit at room temperature in a dry spot for 1-2 days. The waffle cup stays crisp if it isn’t exposed to humidity.
- Freezer: Freezing isn’t a good fit here. The cold can create condensation when the cups come back to room temperature, and that softens the waffle texture.
- Reheating: No reheating needed. If the coating softens from warmth, chill the cups briefly to firm them back up, and keep in mind that adding ice cream too early is what usually starts the melting.
Questions I Get Asked About This Recipe

Rainbow Dipped Waffle Cups
Ingredients
Equipment
Method
- Melt the red candy melts in a microwave-safe bowl in 20-second bursts, stirring between each, until smooth and glossy.
- Keep the coating warm and fluid while you work, reheating in short 10-second bursts if it thickens.
- Dip the rim of each waffle cup into the melted candy coating, turning the cup to coat evenly around the edge.
- Immediately roll the dipped rim in rainbow sprinkles before the coating sets, pressing lightly so sprinkles adhere.
- Place the cups upright on parchment paper and let the coating harden for about 10 minutes.
- Fill with your favorite ice cream and serve right away for maximum crunch.