
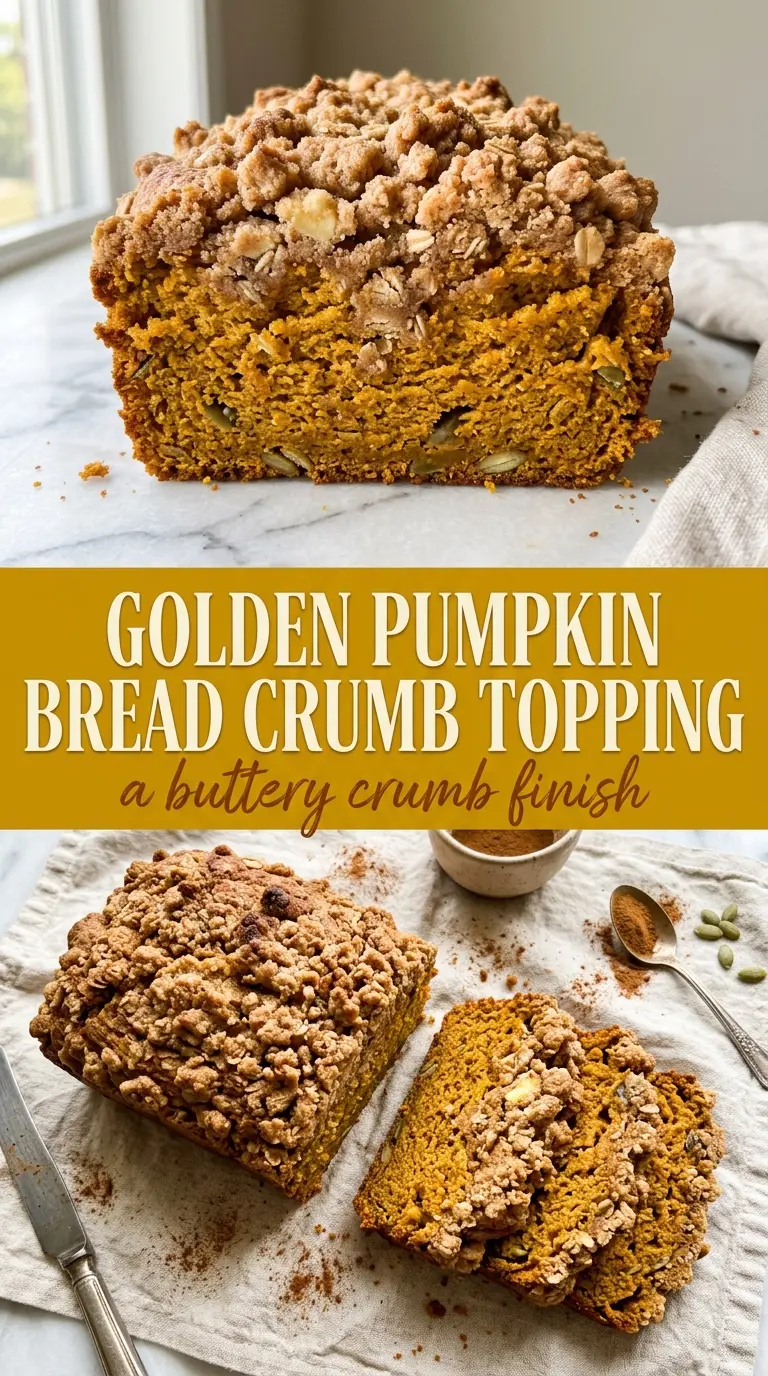
Pumpkin bread with crumb topping bakes into the kind of loaf that disappears one slice at a time: soft and moist in the middle, warmly spiced all the way through, with a buttery, crunchy crown that gives each bite a little extra texture. The crumb topping keeps this from landing in plain pumpkin-bread territory. It turns an everyday loaf into something you cut carefully, then go back for again while it’s still warm.
The batter stays tender because it leans on oil instead of butter, which keeps the crumb soft even after a day or two on the counter. The pumpkin puree brings moisture, but the real structure comes from the flour and baking soda working against that thick, dense batter. For the topping, cold butter matters. If it starts out soft, you’ll get a paste instead of those sandy little clumps that bake into a crisp layer.
Below, I’ve included the part that matters most: how to keep the loaf from sinking in the middle and how to get that crumb topping to stay bold and craggy instead of melting into the batter.
The crumb topping stayed crisp even the next day, and the bread was so moist it sliced cleanly without crumbling. I loved that the spices came through without tasting heavy.
Keep this pumpkin bread with crumb topping handy for the times you want a soft, spiced loaf with a crisp, buttery top.
The Reason the Crumb Stays Crisp Instead of Melting Into the Loaf
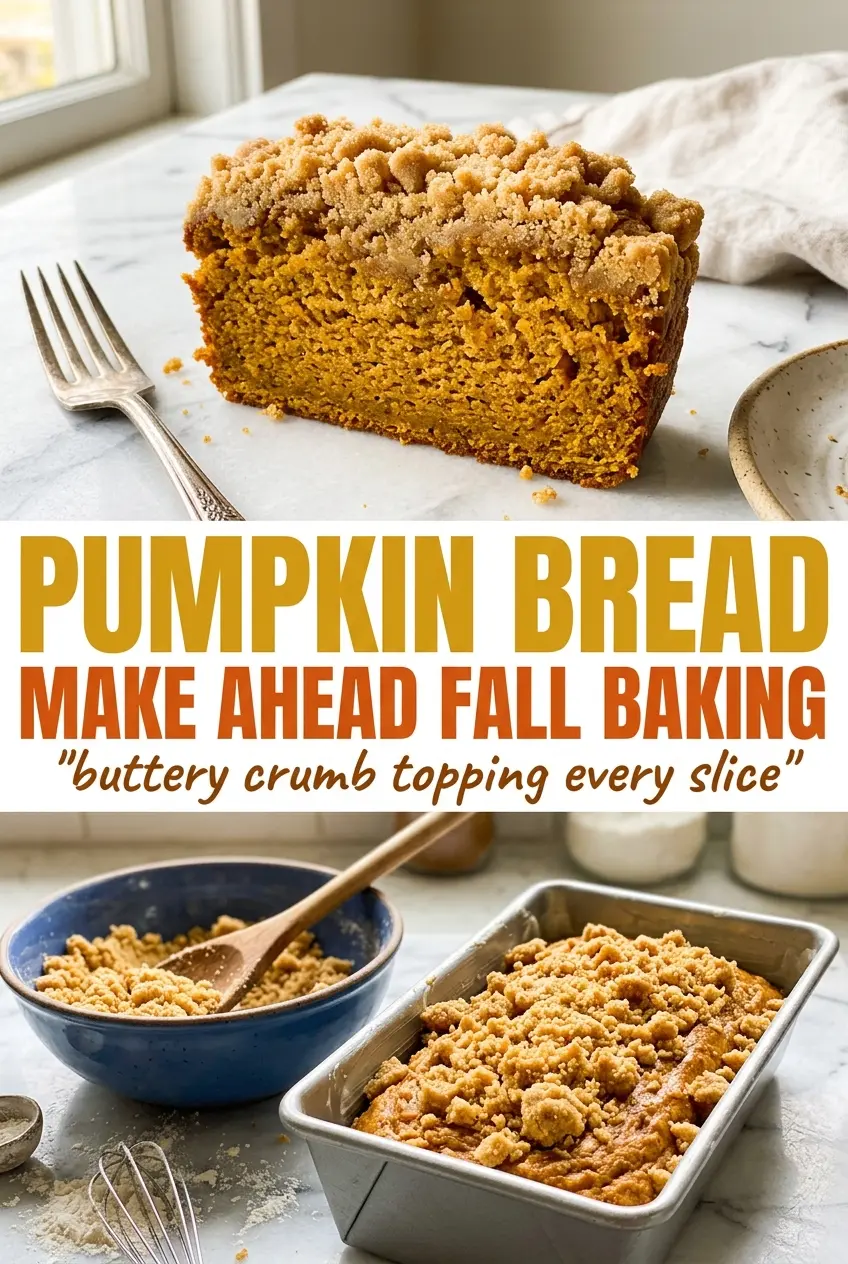
The topping is the part most people get wrong. If the butter is too soft, it blends into the flour and sugar before it ever hits the oven, and you end up with a sugary paste instead of a proper crumble. Cold butter, cut in just until the mixture looks clumpy and uneven, gives you those little ridges that brown and crisp on top of the bread.
The other trap is overmixing the batter. Pumpkin bread has enough moisture on its own, so once the flour goes in, it only needs a few turns with a spoon. Stirring until smooth makes the loaf tight and heavy. A few streaks of flour disappearing in the bowl is the right stopping point.
What Each Ingredient Is Actually Doing in This Pumpkin Bread
- All-purpose flour — This gives the loaf enough structure to hold all that pumpkin and sugar without collapsing. The crumb topping uses flour too, but there the job is different: it gives the topping a dry base that bakes into little clusters instead of dissolving.
- Pumpkin puree — Use pure pumpkin, not pumpkin pie filling. Pie filling is already sweetened and spiced, and it throws off both the flavor and the texture. If your puree looks watery, stir it first; a loose puree can make the batter heavy.
- Vegetable oil — Oil keeps the bread soft for days. Butter would give a richer flavor, but it also sets firmer once cooled. Here, softness wins, especially because the crumb topping already brings plenty of richness.
- Eggs — They help the loaf rise and hold together. Three eggs sound like a lot, but pumpkin bread needs that extra lift because the batter starts out dense.
- Cinnamon, nutmeg, cloves, and ginger — This blend gives the bread its warm backbone. Cinnamon leads, but the smaller spices matter because they keep the loaf from tasting flat. Freshly opened spices make a bigger difference here than in many bakes.
- Cold butter for the topping — This is the ingredient that gives you the crisp, craggy finish. Cut it in while it’s still cold, and stop when the mixture holds together in uneven crumbs. If it melts before baking, the topping loses its texture.
How to Build the Loaf So It Bakes Through Without Drying Out
Mix the Dry Ingredients First
Whisk the flour, salt, baking soda, and spices together before they touch the wet ingredients. That keeps the baking soda from clumping in one spot and gives you even spice in every slice. If you skip this and dump everything together, the loaf can bake with pale pockets or a sharp bite of soda in the middle.
Whisk the Wet Base Until It’s Smooth
Combine the eggs, oil, pumpkin puree, vanilla, and sugar until the mixture looks glossy and uniform. The sugar won’t dissolve completely, and that’s fine. You’re looking for a smooth base with no streaks of egg white or oily separation. If the mixture looks split, keep whisking; pumpkin and oil come together, but they need a minute.
Stop Stirring the Moment the Flour Disappears
Add the dry mixture to the wet ingredients and stir just until no dry flour remains. The batter will be thick, and that’s normal. Overmixing tightens the crumb and makes the bread bake up rubbery around the edges. A few small lumps are better than an overworked batter.
Bake Until the Center Springs Back
Divide the batter between the two prepared pans and scatter the crumb topping evenly over each loaf. Bake until a toothpick inserted in the center comes out clean, but don’t rely on color alone because the topping browns before the bread finishes. If the tops are getting dark too fast, tent loosely with foil near the end of baking so the centers can catch up.
Ways to Adapt This When You Need a Different Pantry Setup
Gluten-Free Pumpkin Bread
Swap the all-purpose flour for a 1:1 gluten-free baking blend that already contains xanthan gum. The bread will still be tender, though the crumb may be a little more delicate when warm, so let it cool fully before slicing. Use the same approach for the crumb topping, but expect a slightly sandier texture.
Dairy-Free Topping
The bread itself is already dairy-free, so the only change you need is the topping. Use a firm plant-based butter that stays cold in the fridge, not a tub margarine that turns soft at room temperature. The topping will still brown and crisp, though the flavor will be a little less rich.
One Large Loaf Instead of Two Smaller Ones
If you only have one deep 9×5-inch pan, use it and bake longer, checking the center carefully. The loaf will need extra time because the batter is thick and the middle takes longer to set. Start checking at 60 minutes, but don’t pull it until the toothpick comes out clean and the center no longer looks wet.
Less Sweet, More Spiced
You can cut the sugar a little if you want a loaf that leans more toward spice than dessert. Drop the batter sugar by 1/4 cup at a time; cutting much more changes the texture and can make the bread feel dry. Keep the crumb topping as written if you want that crisp contrast on top.
Storage and Reheating
- Refrigerator: Store tightly wrapped for up to 5 days. The crumb topping softens a little, but the bread stays moist.
- Freezer: This bread freezes well. Wrap whole loaves or individual slices in plastic wrap and then foil, and freeze for up to 3 months.
- Reheating: Warm slices in a 300F oven for 8 to 10 minutes or toast them lightly. The mistake people make is microwaving too long, which softens the topping and turns the crumb dense.
Questions I Get Asked About This Pumpkin Bread
Pumpkin Bread With Crumb Topping
Ingredients
Equipment
Method
- Preheat the oven to 350F and grease two 9x5-inch loaf pans.
- Combine the flour, salt, baking soda, cinnamon, nutmeg, cloves, and ginger in a bowl.
- In another bowl, whisk the eggs, oil, pumpkin puree, vanilla, and sugar until smooth.
- Add the dry ingredients to the wet ingredients and stir until just combined.
- Pour the batter into the prepared pans.
- Combine the crumb topping sugar, flour, and cinnamon.
- Cut in the cold butter, cubed, with a fork until crumbly.
- Sprinkle the crumb topping evenly over the batter.
- Bake for 55-65 minutes, until a toothpick inserted into the middle comes out clean, keeping the oven at 350F.