
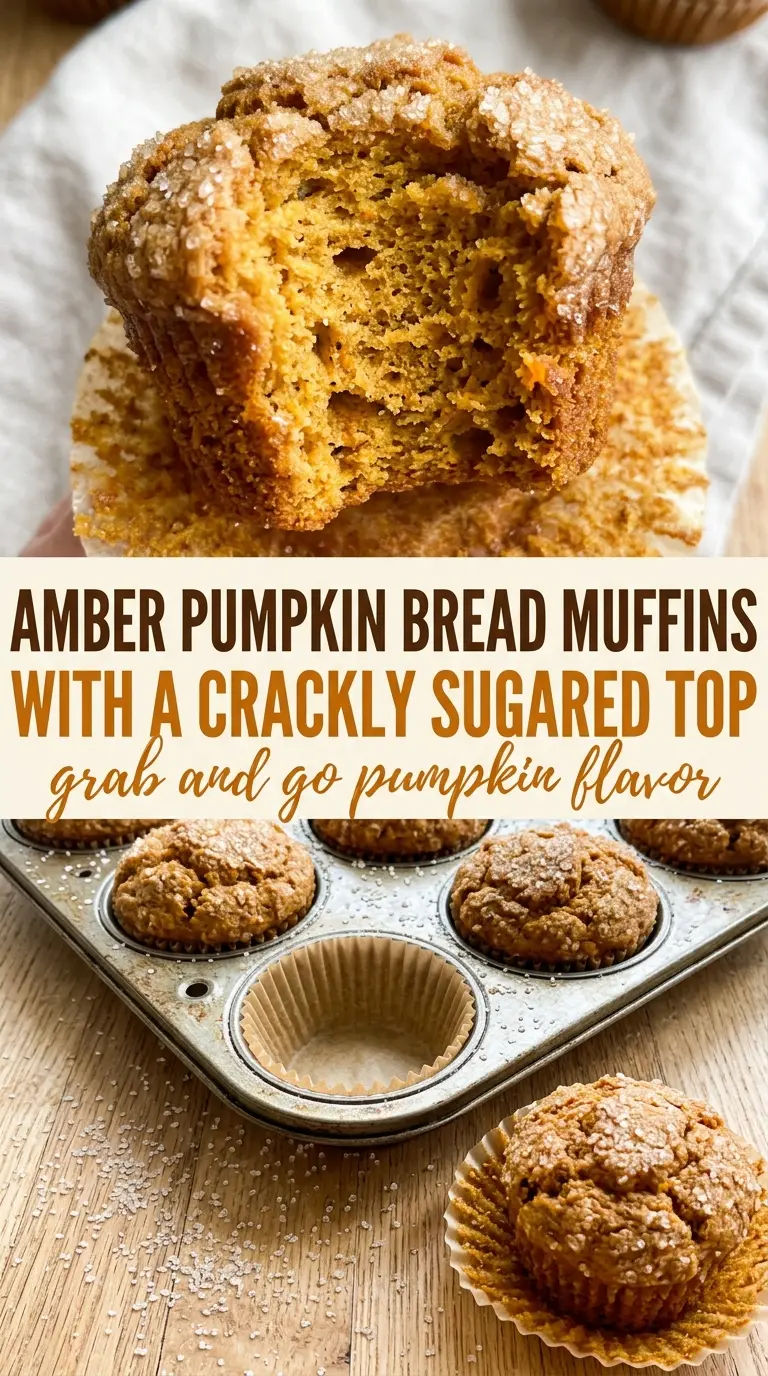
These pumpkin bread muffins bake up with a tender, moist crumb and that crackly sugar top that makes a plain muffin tray feel a little more special. They’ve got the same cozy spice and deep pumpkin flavor as a classic loaf, but in a portioned size that cools faster, packs easier, and never needs a knife.
The batter stays simple on purpose. Pumpkin puree brings moisture and body, oil keeps the crumb soft for days, and just enough baking soda lifts the muffins without making them airy or cakey. The real trick here is not overmixing once the flour goes in; stop as soon as the dry streaks disappear and the batter still looks a little rough. That keeps the muffins from turning tough.
Below, I’ll walk through the one small step that gives the tops that bakery-style crunch, plus a few smart swaps if you want to make these dairy-free or stretch the batch for a bigger crew.
The muffins came out so moist and the sugar topping actually stayed crunchy after they cooled. I used them for school lunches all week and they never got dry.
Save these pumpkin bread muffins for the days when you want a crackly sugared top and a soft, grab-and-go breakfast.
The Small Mistake That Makes Pumpkin Muffins Dense
Pumpkin muffins can go heavy fast when the batter gets overworked or the oven runs too cool. Pumpkin puree already brings a lot of moisture, so if you keep stirring after the flour disappears, you build too much gluten and end up with a tight, rubbery crumb instead of something soft and cake-like.
The other common problem is underbaking the center while the tops look done. These muffins should spring back lightly when touched, and a toothpick should come out clean or with a few moist crumbs, not wet batter. Pull them as soon as they hit that point. Waiting for them to look fully dry in the oven usually means they’ll bake past tenderness.
- Pumpkin puree — Use plain pumpkin puree, not pumpkin pie filling. The filling already has sugar and spices mixed in, which throws off the balance here and can make the muffins too sweet and soft.
- Vegetable oil — Oil keeps these muffins moist for days, which is exactly what you want in a grab-and-go bake. Melted butter will work, but the muffins won’t stay as tender after they cool.
- Pumpkin pie spice — This is where most of the warm flavor comes from, so don’t skimp if your blend has been sitting in the cupboard for years. If you need a substitute, use cinnamon with a little nutmeg and ginger, but the flavor will be less rounded.
- Granulated sugar — Sugar does more than sweeten the batter here; it helps the top bake up with that delicate crackly finish. The extra sprinkle on top is worth it because it turns into a thin crisp layer in the oven.
How to Build the Batter So the Muffins Stay Tender
Pumpkin puree and oil go into the bowl first, and they need to be whisked until the mixture looks smooth and glossy. Any streaks of oil left behind can create uneven pockets in the batter, so take the extra few seconds there.
The dry ingredients should be combined in a separate bowl before they meet the wet side. That helps the baking soda and spice distribute evenly, which matters more in muffins than in a quick bread loaf because the batter is divided into smaller portions.
Flour is the part you treat gently. Fold it in just until no dry patches remain, then stop. A few lumps are fine. Smooth batter usually means overmixed batter, and overmixed batter bakes up firm instead of soft.
The 20 Minutes That Actually Matter
Mixing the Wet Base
Whisk the pumpkin puree, oil, and eggs until the mixture looks completely unified and a little thick. You’re not trying to whip in air here; you’re building an even base so the muffins bake with a consistent crumb. If the eggs are still streaky, the batter will bake unevenly and some muffins will come out gummy in the center.
Adding the Dry Ingredients
Stir the flour, sugar, pumpkin pie spice, and baking soda together before folding them into the wet bowl. The batter will look thick, and that’s right. Stop mixing the moment the flour disappears, even if the batter looks a little rough around the edges. That rough look is your sign that the muffins still have a tender texture ahead of them.
Filling and Sugaring the Cups
Divide the batter evenly and fill each liner about three-quarters full. That gives the muffins room to dome without spilling over. Sprinkle a little granulated sugar across the tops right before baking so it melts slightly, then dries into that thin, crackly finish. If you add the sugar too early, it dissolves into the batter instead of sitting on top.
Baking Until Just Set
Bake at 350°F until the tops are set and a toothpick comes out clean, usually 18 to 22 minutes. The tops should look puffed and lightly browned around the edges, not dark. If the tops are browning fast before the centers are done, your oven may run hot; shift the pan one rack lower and check again a few minutes later.
Three Smart Ways to Change These Muffins
Dairy-Free Without Losing the Soft Crumb
These are already dairy-free as written, which is one reason they work so well for school snacks and easy breakfasts. Keep the oil in place rather than swapping in butter if you want the softest texture for the longest stretch.
A Sweeter, More Dessert-Like Top
If you want the tops to crunch a little more, use a generous sprinkle of granulated sugar right before baking. Don’t pack it on in a heavy layer or it can sink and disappear; a light even coating gives you the crisp shell without making the muffin top sticky.
Mini Muffins for Lunchboxes
Use a mini muffin pan and start checking around 10 to 12 minutes. The smaller size gives you more crunchy edge and a faster bake, but they’ll dry out sooner if they go too long, so pull them as soon as the centers spring back.
Storage and Reheating
- Refrigerator: Store in an airtight container for up to 5 days. The sugar top softens a little in the fridge, but the muffins stay moist.
- Freezer: These freeze well. Wrap individually and freeze for up to 3 months, then thaw at room temperature.
- Reheating: Warm in a 300°F oven for 5 to 7 minutes or give one muffin a short burst in the microwave. The oven keeps the top closer to crisp; the microwave is faster but softens the sugared crust.
Answers to the Questions Worth Asking

Pumpkin Bread Muffins
Ingredients
Equipment
Method
- Preheat the oven to 350°F and line a muffin tin with liners.
- Whisk together the pumpkin puree, vegetable oil, and eggs in a large bowl until smooth.
- In a separate bowl, combine the flour, granulated sugar, pumpkin pie spice, and baking soda.
- Fold the dry ingredients into the wet ingredients until just combined.
- Divide the batter evenly among the muffin cups, filling about 3/4 full, and sprinkle the tops with a little extra granulated sugar.
- Bake for 18-22 minutes, until a toothpick inserted in the center comes out clean, and cool briefly in the pan.