
Juicy pork chops and a glossy butter sauce belong in the same pan. The chops sear first, so you get a deep golden crust before they ever go into the oven, and the sauce finishes right underneath them where it can pick up every bit of flavor left in the skillet. The result is pork that stays tender instead of drying out, with garlic, thyme, and lemon cutting through the richness in all the right places.
The part that makes this version work is the order. Searing builds flavor fast, then the oven brings the pork to temperature without blasting it with dry heat. The butter goes in after the browning, not before, so it doesn’t burn in the pan. A small hit of lemon at the end wakes up the sauce and keeps it from tasting heavy.
Below, I’ve broken down the one step that matters most for keeping the pork juicy, plus a few swaps and storage notes if you want to change the herbs or make this work with what’s already in your kitchen.
The pork stayed juicy and the butter sauce thickened just enough in the oven. I spooned it over mashed potatoes and my husband asked if I could make it again next week.
Save these baked pork chops with butter sauce for the night you want a fast skillet dinner with a pan sauce that tastes like you worked much harder than you did.
The Sear Before the Bake Is What Keeps These Pork Chops Juicy
Bone-in pork chops can go dry fast if they spend too long in the oven without a head start. The skillet sear does two jobs at once: it gives the outside a deep golden crust and it builds the browned bits that turn into the sauce. Skip that step and the dish loses both texture and flavor.
The oven finish is short on purpose. Pork chops only need to reach 145°F, and that usually happens in about 12 to 15 minutes once they’ve been seared. If you cook them much longer, the juices start to run out and the meat turns chalky around the edges.
What Each Ingredient Is Actually Doing in This Dish
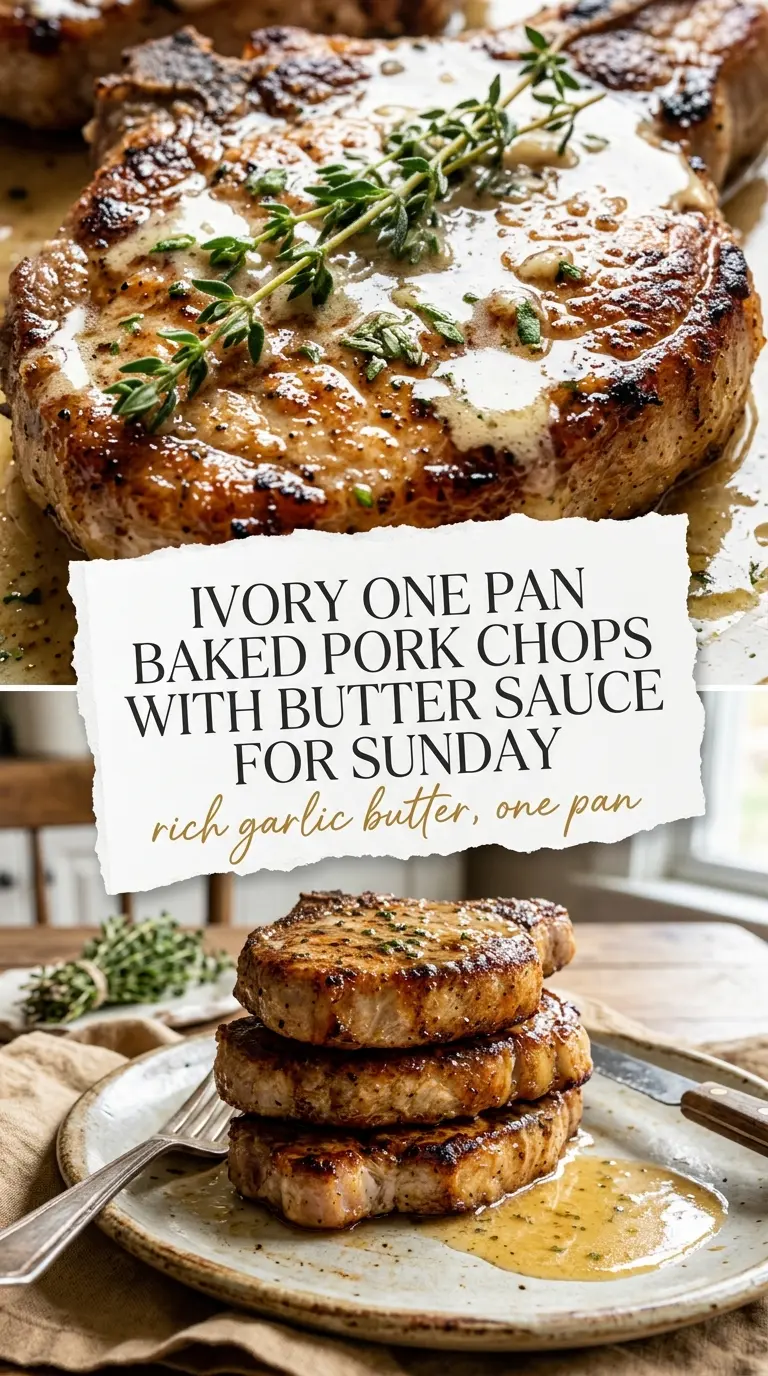
- Bone-in pork chops — The bone helps slow down the heat, which gives you a little more forgiveness than boneless chops. Look for chops that are at least 3/4-inch thick; thin chops overcook before the center comes up to temperature.
- Butter — This is the base of the sauce, so use real butter here. It melts into the browned pan drippings and gives the sauce its glossy finish. If you use salted butter, cut back on the seasoning at the start.
- Garlic — Fresh minced garlic works best because it perfumes the butter quickly. If it burns in the skillet, the sauce turns bitter, so it goes in after the sear, not before.
- Fresh thyme — Dried thyme can work in a pinch, but use less of it because the flavor is more concentrated. Fresh thyme gives the sauce a cleaner, more fragrant finish.
- Lemon juice — The acid keeps the butter sauce from tasting flat. Bottled lemon juice will work, but fresh is sharper and brighter, and that matters in such a simple sauce.
How to Build the Pan Sauce Without Burning the Garlic
Seasoning and Searing
Pat the pork chops dry, then season both sides with salt and pepper. Dry meat browns; wet meat steams. Heat the skillet over medium-high until a drop of water skitters across the surface, then lay the chops in and leave them alone for 2 to 3 minutes per side. You’re looking for a crust that releases easily from the pan and turns a deep golden brown, not pale patches that stick and tear.
Making the Butter Sauce in the Hot Pan
Once the chops are browned, add the butter, garlic, and thyme. The pan will still be hot enough to bloom the garlic fast, so stir or spoon constantly and watch for the garlic to soften and smell nutty, not darken. If the butter foams hard and starts browning before the garlic has a chance to soften, pull the skillet off the burner for a few seconds. That pause keeps the sauce from tipping into burnt.
Finishing in the Oven
Move the whole skillet into the oven and bake until the pork hits 145°F at the thickest part, usually 12 to 15 minutes. The center should still look juicy when you cut in, with only a faint blush at the very middle. If you wait until the chops look completely opaque all the way through in the oven, they’ve already gone too far. Stir the lemon juice into the pan sauce right before serving, then spoon it over the chops while everything is still hot.
What to Change When You Need a Different Version
Boneless pork chops
Boneless chops cook faster and dry out sooner, so shorten the oven time and start checking early. They’ll still work, but you lose a little of the cushion that the bone gives you. If the chops are thin, keep the sear brief and move them into the oven as soon as they’re browned.
Dairy-free version
Use a good dairy-free butter substitute that you trust for cooking. The sauce won’t have quite the same richness, but you’ll still get the garlic, thyme, and lemon flavor if you keep the heat moderate and don’t let the fat scorch.
Herb swap
Rosemary or sage can replace the thyme if that’s what you have. Rosemary is stronger and piney, so use a lighter hand. Sage gives the sauce a deeper, more savory edge that works especially well with mashed potatoes.
Storage and Reheating
- Refrigerator: Store in an airtight container for up to 3 days. The sauce will thicken as it chills.
- Freezer: Freeze the cooked pork chops with sauce for up to 2 months, though the butter sauce may separate a little after thawing.
- Reheating: Warm gently in a covered skillet over low heat with a splash of water or broth. High heat dries out the pork and can make the sauce split.
Answers to the Questions Worth Asking

One Pan Baked Pork Chops with Butter Sauce
Ingredients
Equipment
Method
- Preheat the oven to 400°F.
- Season the pork chops with salt and pepper on both sides.
- Sear the chops in an oven-safe skillet over medium-high heat for 2–3 minutes per side, until golden.
- Add butter, garlic, and thyme to the pan, spooning the melted butter over the chops.
- Transfer the skillet to the oven and bake for 12–15 minutes, until the pork reaches 145°F.
- Stir lemon juice into the pan sauce and spoon over the chops before serving.