
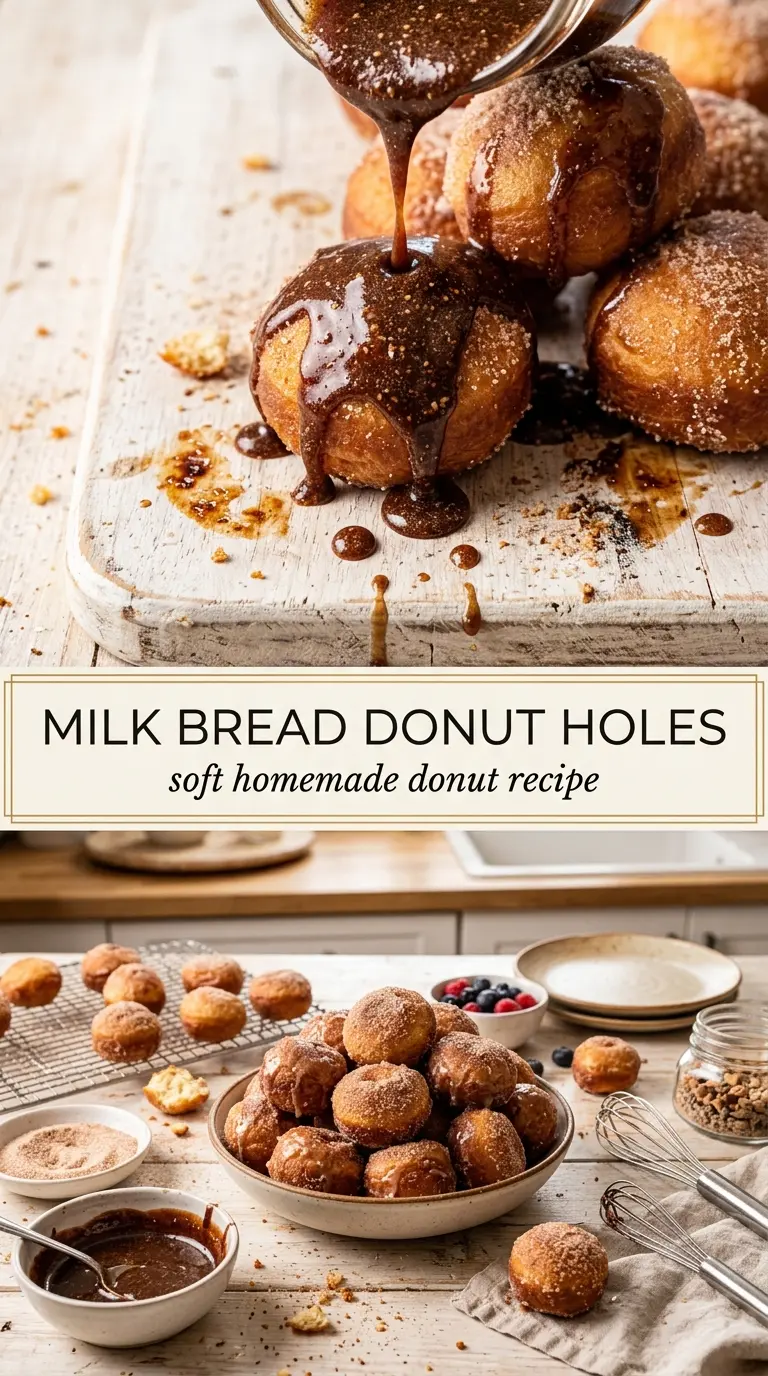
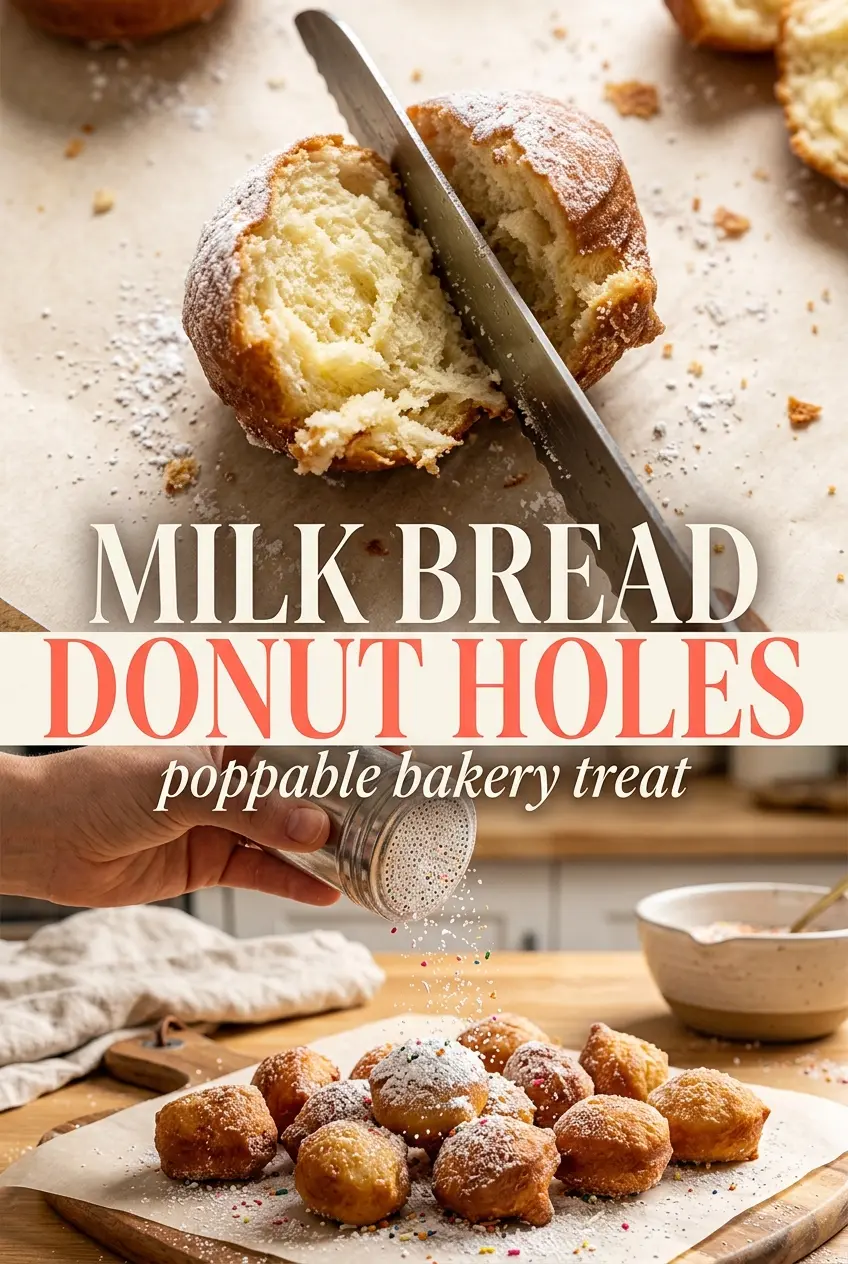
Milk bread donut holes fry up into little golden clouds with a tender, pillowy crumb and a glossy sugar glaze that clings to every ridge. The texture is the part that gets people. They’re light enough to eat by the handful, but they still have that soft, enriched bread pull that makes them taste like something from a bakery case rather than a rushed homemade treat.
The difference here comes from the dough itself. Bread flour gives the donut holes enough structure to puff without collapsing, while warm milk and butter keep the crumb soft and rich. Letting the dough rise fully matters more than people think; under-proofed dough turns dense after frying, and that’s exactly what you don’t want in something this small.
Below, you’ll find the little details that keep these from going greasy or heavy, plus the best way to glaze them while they’re still warm so the coating sets with that classic bakery finish.
The dough rose into the softest little pillows, and the glaze set up beautifully instead of sliding right off. I loved that they stayed light even after cooling a bit.
Save these milk bread donut holes for the day you want soft, glazed bites with a bakery-style crumb and no fancy equipment.
The Dough Needs a Full Rise Before It Ever Hits the Oil
The biggest mistake with donut holes is frying them before the dough has finished proofing. If the dough still feels tight or springs back aggressively when shaped, the inside won’t have enough air to stay light. You’ll get little dense balls with a heavy center instead of that delicate, pull-apart crumb.
These need to be noticeably puffy before frying. They don’t have to double in a dramatic, photo-ready way, but they should feel airy and relaxed. That extra time gives the yeast a chance to build structure, which is what keeps the donut holes from absorbing too much oil.
- Bread flour gives enough strength for the dough to hold its shape during frying. All-purpose flour works in a pinch, but the texture will be a little less chewy and less springy.
- Warm milk adds tenderness and a mild sweetness. Keep it warm, not hot; milk that’s too hot can slow or kill the yeast before the dough has a chance to rise.
- Butter enriches the dough and helps the crumb stay soft after cooling. If you swap in oil, the dough still works, but it loses some of that bakery-style flavor.
- Powdered sugar glaze should be thin enough to coat without clumping. If it’s too thick, add milk a teaspoon at a time until it drips slowly from a spoon.
What Each Ingredient Is Doing in These Donut Holes
- Bread flour builds a dough that can trap gas during the rise and still hold up in hot oil. If you use a lower-protein flour, the donut holes can spread a little more and lose that smooth, rounded shape.
- Sugar feeds the yeast a bit and lightly sweetens the dough itself, so the glaze doesn’t have to do all the work. Don’t push it much higher or the dough will brown too quickly before the centers cook through.
- Yeast is what gives these their lift. If the dough doesn’t rise, check the milk temperature first; cold liquid slows yeast down, and overheated liquid can stop it completely.
- Milk and butter are the reason these taste like milk bread rather than plain fried dough. That richness is what gives the finished donut holes their soft, almost cottony bite.
- Powdered sugar glaze is best mixed right before coating. Letting it sit too long can make it set in the bowl before it reaches the donut holes.
How to Keep Them Light, Round, and Not Greasy
Mixing the Dough Until It Feels Soft, Not Sticky
Mix the flour, sugar, milk, butter, and yeast until the dough comes together into a soft mass. It should feel supple and a little tacky, but not wet enough to smear across the bowl. If the dough is shaggy and dry, add a spoonful of milk; if it’s loose and sticky, dust in a little more flour. The goal is a dough that can be shaped without fighting you.
Letting the Rise Finish the Job
Cover the dough and let it rise until it looks puffy and relaxed, about an hour depending on the room. The dough should have visible air in it and feel lighter when you press it gently. If you rush this stage, the donut holes can crack in the oil or fry up bready instead of airy. Full proofing is what gives you that tender interior.
Shaping Small, Even Balls
Portion the dough into small bite-sized pieces and roll them as smoothly as you can. Uneven pieces brown at different rates, and the tiny ones can overcook before the larger ones are done. Keep the size consistent so they fry in the same window. A smooth surface also helps them expand into neat, round shapes instead of jagged little lumps.
Frying to a Deep Golden Color
Fry in hot oil until the donut holes are golden on all sides, turning them as they cook. If the oil is too cool, they’ll absorb it and turn heavy; if it’s too hot, the outside will darken before the middle catches up. You want active bubbling around each piece, not a violent sputter. When they’re ready, they should feel light in the spoon and sound crisp as they come out.
Glazing While the Surface Is Still Warm
Toss the donut holes in glaze while they’re still warm enough to help the coating cling. If they cool completely, the glaze sits on top instead of melting into that thin, shiny shell. Work fast here, and turn them gently so every side gets coated without crushing the crumb. The glaze should look glossy and just thick enough to set as it cools.
How to Adapt These for Different Kitchens and Different Cravings
Dairy-Free Version
Swap the milk for an unsweetened non-dairy milk and use a neutral oil or plant-based butter in place of the butter. The donut holes will still rise and fry well, but the flavor will be a little less rich and more neutral. Add a tiny splash of vanilla to the glaze if you want to bring back some of that bakery-style warmth.
All-Purpose Flour Swap
All-purpose flour works if that’s what you have, but the donut holes will be a little softer and less chewy. Hold back a tablespoon or two of the milk at first, since lower-protein flour can go slack faster. You’re aiming for a dough that still feels easy to shape, not one that pours.
Baked Instead of Fried
You can bake the shaped dough balls, but they’ll come out more like soft rolls than true donut holes. Brush them with melted butter after baking and coat them lightly in glaze while warm. You lose the crisp exterior from frying, but you gain an easier, less hands-on method.
Storage and Reheating
- Refrigerator: Store in an airtight container for 2 days. The glaze will soften and the exterior loses a little of its fresh-fried texture.
- Freezer: Freeze the unglazed donut holes after frying and cooling completely. Thaw at room temperature, then warm and glaze just before serving for the best texture.
- Reheating: Warm in a 300°F oven for a few minutes until the centers loosen again. Skip the microwave; it turns the crumb rubbery and makes the glaze sticky instead of glossy.
Questions I Get Asked About This Recipe
Milk Bread Donut Holes
Ingredients
Equipment
Method
- In a bowl, mix bread flour, sugar, warm milk, butter, and yeast until you form a soft dough, with no dry flour pockets remaining.
- Knead briefly until smooth, then cover and let rise at warm room temperature for 1 hour until visibly puffy.
- Shape the risen dough into small bite-sized balls, keeping them roughly even so they fry at the same pace.
- Heat oil in a Dutch oven to about 350°F / 175°C, then fry the dough balls until golden on all sides, turning as needed for even browning; drain on a rack or paper-lined surface.
- While the donut holes are still warm, toss them in powdered sugar glaze until glossy and coated, letting any excess fall back into the bowl.