
Crunchy cracker stacks with creamy cheese, savory deli meat, and a little pepperoni on top hit that sweet spot between lunchbox fun and actual food. The best versions stay crisp enough to pick up, salty enough to keep kids interested, and simple enough that you can build a whole tray without turning the kitchen upside down.
What makes these work is the size and order of the layers. Cutting the cheese and meat into neat rounds keeps the stack balanced, and starting with the cheese helps the cracker stay from getting soggy too fast. The pepperoni goes on top for extra flavor and a little visual payoff, which matters more than it sounds when you’re packing lunch for a picky eater.
Below, I’ve included the small details that keep these from feeling thrown together, plus a few ways to switch them up for different tastes and lunchbox setups. If you’ve ever packed a lunch that came home half-eaten, this one deserves a closer look.
The crackers stayed crisp in my son’s lunchbox, and cutting the cheese and ham into circles made them look just like the store-bought kind. He actually ate the pepperoni first.
Love the crunchy layers and lunchbox-friendly size? Save these Homemade Lunchables Cracker Stackers for easy no-cook lunches and snack trays.
The Trick to Keeping Cracker Stackers Crisp in the Lunchbox
The biggest mistake with snack stacks is building them like a sandwich and expecting the cracker to hold up for hours. Crackers need a little protection from moisture, and that starts with the cheese layer. Cheese acts like a buffer between the cracker and the meat, which helps keep the bottom from softening too quickly.
Size matters here too. If the deli meat hangs over the edges, the stack gets awkward and top-heavy. A neat round cut gives you cleaner layers, better balance, and less flopping around when little hands pick them up. Pepperoni adds flavor, but it also helps the stack feel more finished, almost like a tiny assembled snack rather than lunch parts dumped together.
What Each Ingredient Is Actually Doing in This Snack
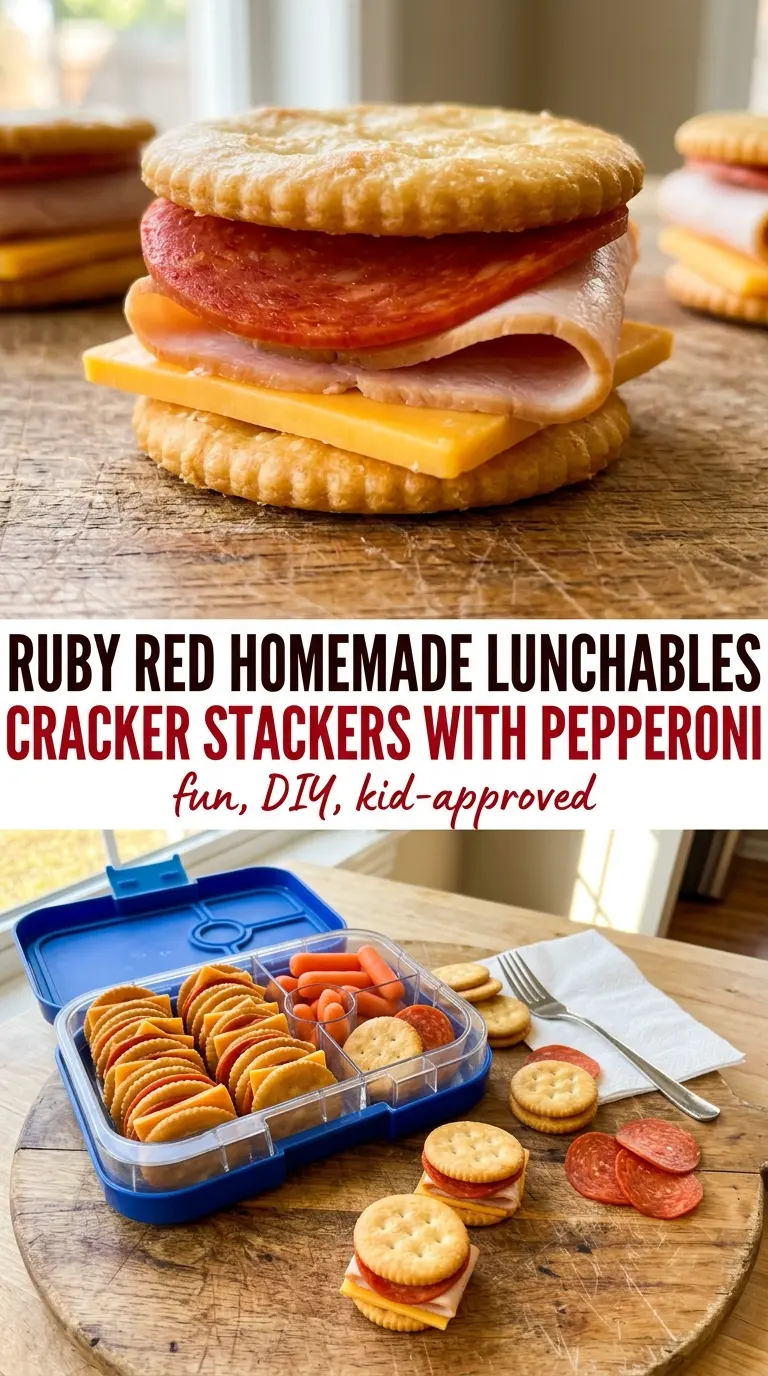
- Round buttery crackers — These give you the crunch and the familiar lunchbox feel. A sturdier cracker works best because thin, delicate crackers break under the weight of the layers. If you only have square crackers, use them, but the stack will be a little less stable.
- Sliced cheddar cheese — Cheddar gives enough body to hold the stack together and enough flavor to matter in every bite. Pre-sliced cheese is fine, but thicker slices are easier to cut into clean rounds without tearing. Mild or sharp both work; sharp cheddar gives the clearest flavor against the crackers.
- Turkey or ham — This is the savory middle layer that makes the snack feel more like a mini meal. Use deli slices that aren’t paper-thin, or they’ll wrinkle and slide when you cut them into rounds. If you want a cleaner lunchbox build, pat the meat dry before stacking so extra moisture doesn’t soften the crackers.
- Pepperoni — Pepperoni brings salt, spice, and that classic lunchable-style look. You can leave it off if you want a milder stack, but the recipe loses some of its personality. Mini pepperoni also works if that’s what you have; just use enough pieces to cover the top.
- Toothpicks — Optional, but helpful if you’re serving these on a platter or to younger kids who need a little extra grip. Skip them for packed lunches unless you know the child can handle them safely. For lunchbox containers, tight stacking does the job on its own.
How to Build Them So They Don’t Fall Apart
Cutting the Layers to Match the Crackers
Use a small round cutter or a sharp knife to trim the cheese and meat into circles that sit just inside the cracker edge. That slight shrink in size keeps the layers from sliding and gives you a cleaner stack. If the cheese is sticking or tearing, chill it for a few minutes first. Cold cheese cuts neater and holds its shape better.
Stacking in the Right Order
Start with the cracker, then the cheese, then the meat, and finish with the pepperoni. The cheese sits closest to the cracker because it’s firmer and less likely to leak moisture than the meat. Press each layer down gently as you go. You want the stack compact, not smashed flat.
Serving or Packing Without Crushing Them
For a platter, toothpicks make the stacks easier to grab and keep them looking tidy. For lunchboxes, place the stacks snugly in a container so they don’t tumble around during the day. If the lunch won’t be eaten for several hours, keep wet items like fruit or dip in a separate compartment so the crackers stay crisp.
How to Adapt These for Bigger Lunches, Different Tastes, or No Meat
Vegetarian cracker stackers
Skip the deli meat and pepperoni and use a thicker cheese layer instead, or add a thin slice of cucumber for crunch. The result is lighter and less salty, but it still keeps the same fun build-your-own feel. If you want more staying power, spread a thin layer of cream cheese under the cheddar so the stack feels fuller.
Gluten-free version
Use your favorite sturdy gluten-free crackers, but choose one with enough structure to handle the toppings. Some gluten-free crackers crumble faster, so build these just before serving if possible. The flavor stays the same, but the texture depends a lot on the brand.
Extra protein lunchbox stacks
Add another deli meat layer or use a thicker slice of turkey for a heartier lunch. This pushes the snack closer to a mini meal without changing the method. The only tradeoff is height, so use a sturdier cracker if you go bigger.
Storage and Reheating
- Refrigerator: Store assembled stackers in an airtight container for up to 3 days. The crackers soften a little over time, especially if the meat is very moist.
- Freezer: These don’t freeze well once assembled because the crackers lose their crunch. You can freeze the cheese and meat separately if you want to prep ahead.
- Reheating: No reheating needed. If the crackers have softened, there isn’t a good way to bring the crunch back, so keep the wet ingredients dry and assemble as close to serving time as possible.
Answers to the Questions Worth Asking

Homemade Lunchables Cracker Stackers
Ingredients
Method
- Cut the cheese and deli meat into rounds slightly smaller than the crackers using a small biscuit cutter or knife.
- Set the cut cheese and deli meat pieces on a plate so they’re ready to stack.
- Stack each cracker with a slice of cheese, a slice of meat, and 1-2 pieces of pepperoni.
- Repeat until all the crackers are stacked.
- Secure with a toothpick if desired for easy handling.
- Arrange the stacks on a platter or pack into lunchbox containers.