
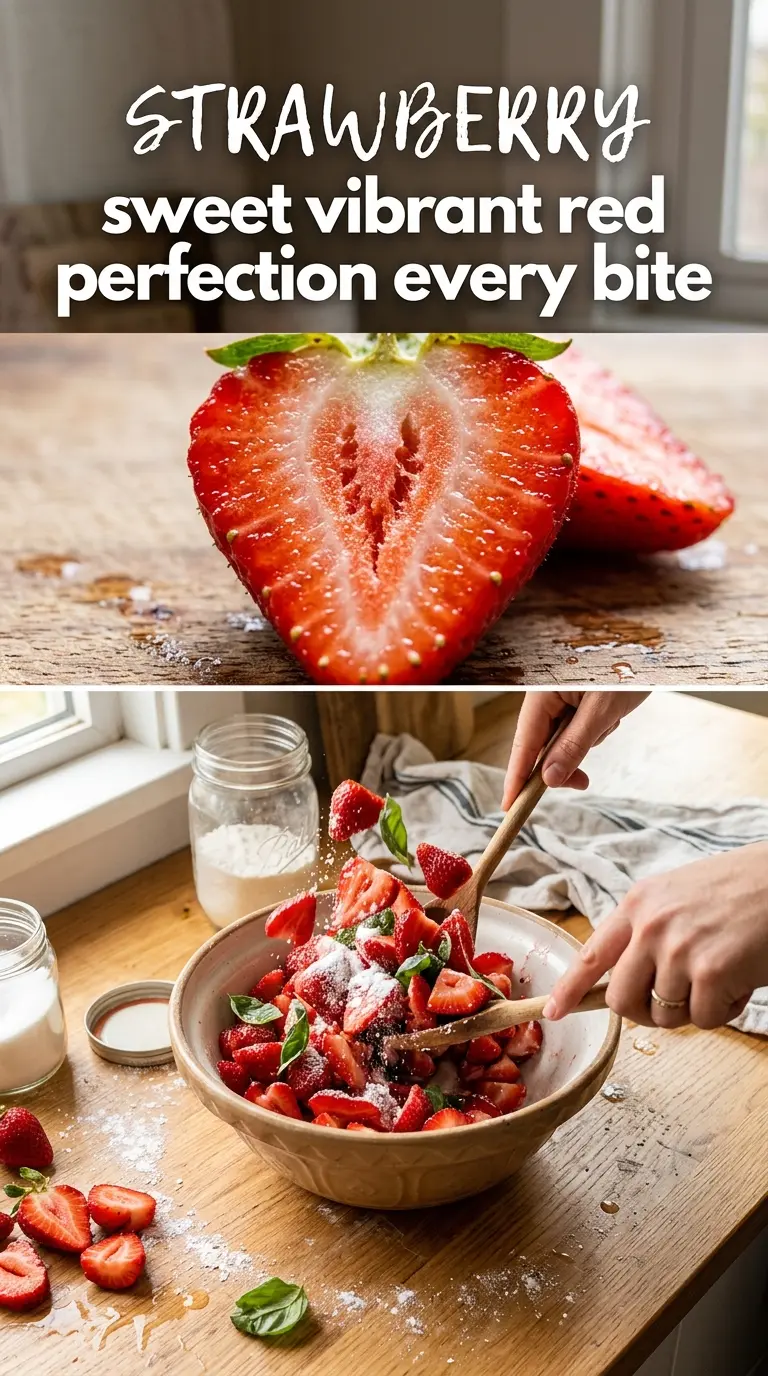
Bright red strawberries do the heavy lifting here, turning a simple bake into something that looks as good as it tastes. The fruit softens just enough to release its juices, but it doesn’t collapse into mush, and that glossy finish makes every slice feel a little special. You get a soft, pillowy base, a juicy strawberry layer, and that clean sweet-tart bite that keeps you going back for one more piece.
What makes this version work is the balance. Strawberries bring plenty of moisture, so the base has to be sturdy enough to hold them without turning soggy, and the glaze has to set without burying the fruit in sugar. A little prep goes a long way here: slicing the berries evenly helps them cook at the same pace, and letting the finished bake cool before cutting keeps the layers neat instead of messy.
Below, I’ve included the technique details that matter most, plus a few smart variations if you want to adjust the fruit, make it dairy-free, or plan ahead for a gathering.
The strawberries stayed bright and the glaze set up beautifully instead of running everywhere. I also liked that the base stayed soft without getting soggy, even after it sat on the counter for a bit.
Save this strawberry bake for the kind of dessert that brings bright fruit, a soft crumb, and a glossy finish to the table.
The Reason the Strawberries Stay Bright Instead of Turning Jammy
The biggest mistake with strawberry bakes is pushing the fruit too hard. High heat, too much stirring, or cutting the berries too small turns them soft before the base has a chance to set. This recipe leans the other way: the strawberries need enough space and enough structure around them to soften, release juice, and still hold their shape.
The other piece is moisture control. Strawberries vary a lot depending on ripeness, so the same amount can behave differently from batch to batch. If the berries are extra juicy, a little extra thickener or a slightly longer bake keeps the bottom from turning wet. If they’re on the firmer side, the natural juices that do come out are usually enough to give you that glossy finish without any help.
What Each Ingredient Is Actually Doing in This Strawberry Recipe
- Strawberries — Fresh strawberries matter most here. Frozen berries can work in a pinch, but they release more water and give you a softer, less defined filling. If you use frozen, don’t thaw them first; add them straight from the freezer and expect a looser finish.
- The base — A soft, sturdy base keeps the fruit from sinking and stops the juices from leaking into a soggy layer. If your usual version turns wet underneath, the problem is usually a base that’s too delicate or underbaked. Bake it until the edges set and the center has just a slight give.
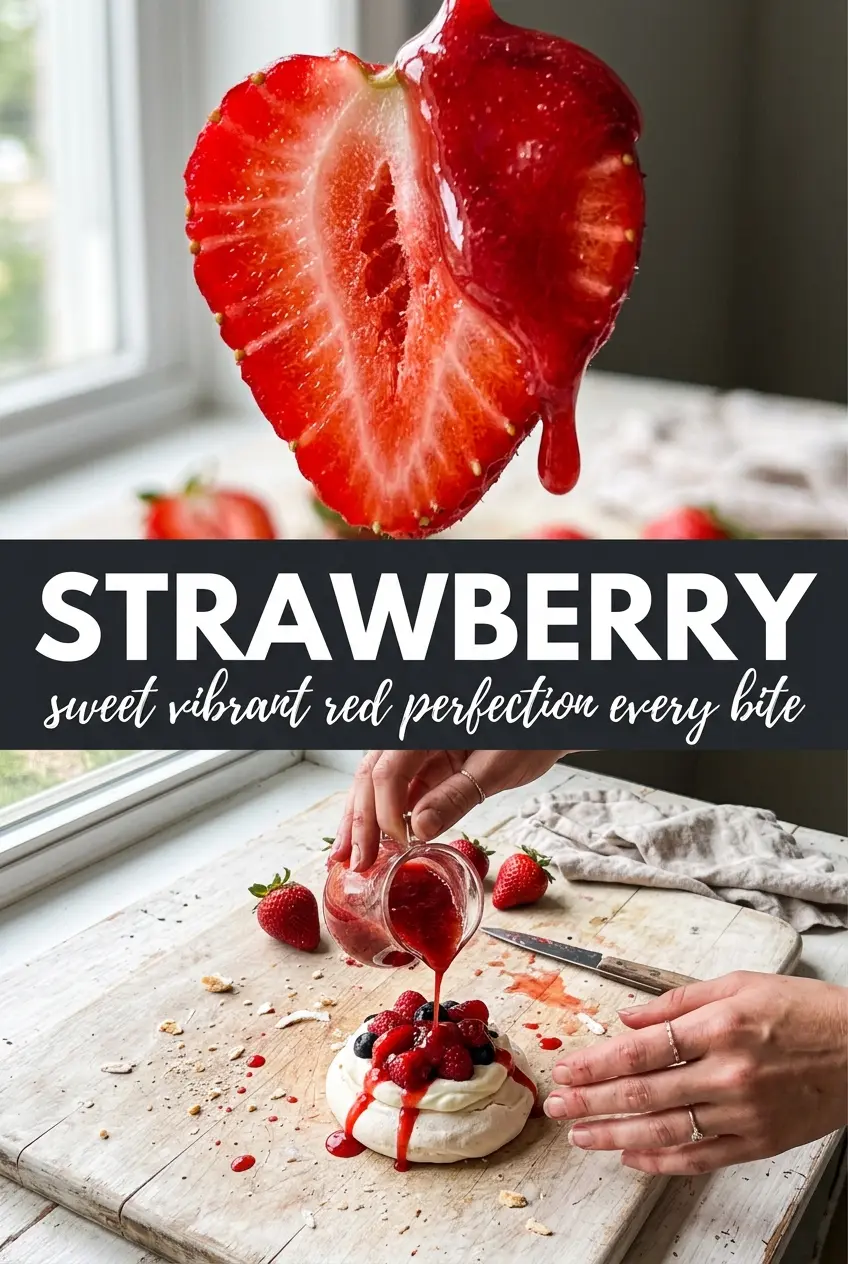
- Glaze or thickener — This is what gives the strawberries that polished finish and helps the juices cling instead of pooling. Cornstarch is the easiest substitute if the recipe calls for a fruit glaze, but it needs heat to activate. Stir it in fully and cook long enough for the mixture to lose its raw, cloudy look.
- Lemon or acid — A little acidity keeps the strawberries tasting bright instead of flat. You don’t want enough to make the dessert tart; you want just enough to sharpen the fruit. If your berries are very sweet, this ingredient matters even more.
Getting the Bake Set Without Crushing the Fruit
Preparing the Strawberries
Slice the strawberries into even pieces so they soften at the same rate. Uneven cuts leave you with some berries collapsing before others have even started to release juice. If the berries look especially wet after washing, pat them dry before they go in. Extra surface water is what turns a glossy top into a watery one.
Building the Base
Press or spread the base evenly so there aren’t thin patches that overbake and thick spots that stay doughy. The edges should look set and lightly colored before the fruit goes on. If you add strawberries too early, the base won’t have enough structure to support all that moisture, and the bottom will go soft.
Finishing and Cooling
Once the bake is out of the oven, let it cool before slicing or serving. That pause matters because the glaze continues to thicken as it cools, and the fruit layer settles into place instead of sliding apart. If you cut it too soon, the filling runs and the base tears. Give it time until the top looks settled and the juices no longer move when you tilt the pan.
How to Adapt This for a Different Crowd or Diet
Make It Dairy-Free
Swap in a plant-based butter or dairy-free base ingredient if the recipe uses butter. The texture stays close, but you may lose a little richness, so a pinch more salt helps keep the flavor balanced.
Use Frozen Strawberries When Fresh Aren’t Available
Frozen strawberries work best when baked into the filling, not layered raw on top. Add them straight from frozen so they don’t flood the pan while thawing, and expect a softer, more spoonable result.
Make It Less Sweet
Cut back a little on the glaze or sugar if your strawberries are peak-ripe. The fruit should still taste like strawberries first; the sweetener is there to support them, not cover them up.
Storage and Reheating
- Refrigerator: Store covered for up to 3 days. The base softens a little each day as the fruit juices migrate downward.
- Freezer: This doesn’t freeze well once assembled. The strawberries break down and the texture turns loose after thawing.
- Reheating: Serve it chilled or at cool room temperature. If you warm it, do it briefly and gently; high heat makes the fruit collapse and the glaze loosen.
Answers to the Questions Worth Asking
Strawberry
Ingredients
Equipment
Method
- Heat the oven to 350°F and grease a sheet pan so the base releases cleanly with no sticking.
- In a mixing bowl, whisk flour, baking powder, sugar, and salt until evenly combined for consistent lift.
- Whisk eggs with milk, vanilla, and vegetable oil until smooth, then combine with the dry ingredients just until no dry streaks remain.
- Spread the batter evenly on the sheet pan and bake for 25-35 minutes, until the center springs back when lightly pressed and the top looks set and lightly golden.
- Slice the strawberries and set aside while you dissolve cornstarch in water to ensure the glaze thickens without lumps.
- In a saucepan over medium heat, cook strawberries with sugar and lemon juice for 8-12 minutes, stirring until they release juices and soften.
- Stir in the cornstarch slurry and cook 1-2 minutes more until glossy and thick enough to coat a spoon, then turn off the heat and whisk in butter for extra sheen.
- Poke gentle shallow holes across the warm base and spoon the hot ruby glaze over the top so it soaks in for a juicy, pillowy texture.
- Let cool 10 minutes before slicing so the glaze sets slightly and stays glossy rather than running.