
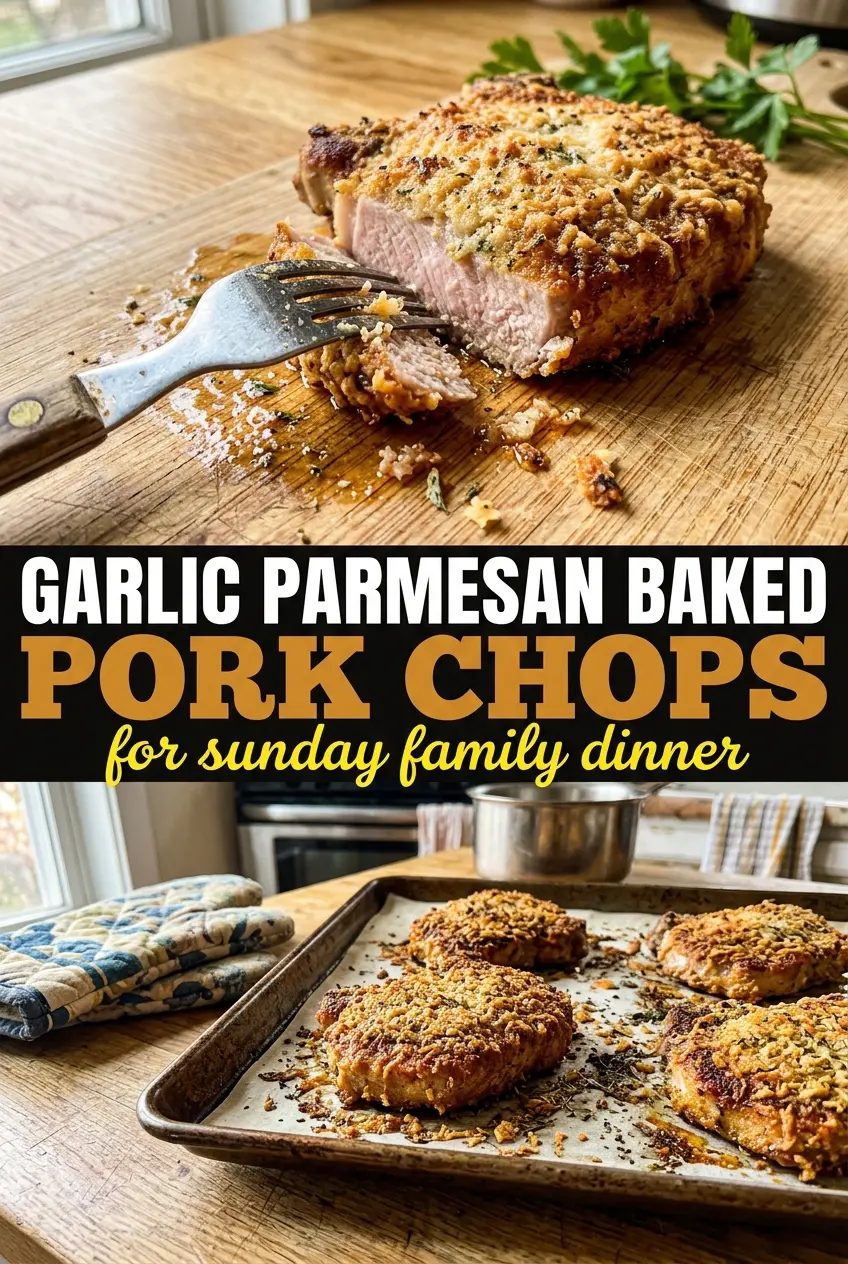
Juicy pork chops with a crisp garlic Parmesan crust earn a permanent place in the dinner rotation because they give you the best parts of a breaded chop without the mess of frying. The coating turns deeply golden in the oven, the cheese melts into the breadcrumbs, and the pork underneath stays tender if you pull it at the right temperature.
What makes this version work is the balance between moisture and crunch. A light brush of olive oil helps the Parmesan mixture cling, and the bone-in chops hold onto juiciness better than thin boneless cuts. The garlic goes straight into the coating instead of a sauce, so it perfumes the crust as it bakes without burning in the pan.
Below, I walk through the detail that matters most: getting the crust to stick, keeping the pork from drying out, and knowing exactly when it’s done. There’s also a simple way to adjust the coating if you want it a little more savory or a little more crisp.
The crust stayed crisp all the way through dinner and the pork was still juicy at 145°F. I used bone-in chops like you suggested, and they baked up perfectly in 30 minutes.
Save these garlic Parmesan baked pork chops for the kind of dinner that comes out with a crunchy, cheesy crust and barely any cleanup.
The Secret to Keeping the Parmesan Crust Crisp on Pork Chops
The biggest mistake with baked breaded pork chops is burying them under too much moisture before they go into the oven. If the coating gets damp from the meat or soggy from a wet pan, it steams instead of toasting. The result is usually a pale crust that slides off when you cut into it.
Bone-in chops are the safer choice here because the bone helps insulate the meat and slows down overcooking at the edges. A thin layer of olive oil does two jobs at once: it helps the coating adhere and gives the breadcrumbs enough fat to brown properly. Parmesan also matters more than people think. The dry, finely grated kind melts into the crumbs and turns the whole coating into a crisp, savory shell.
- Bone-in pork chops — These stay juicier than boneless chops of the same thickness. If you only have boneless, cut the bake time down and start checking early so they don’t dry out.
- Parmesan cheese — Grated Parmesan gives you the best texture for the crust. If you use a shaker-style version, the coating can turn dusty instead of forming those golden bits that crisp up in the oven.
- Breadcrumbs — They add structure and help the cheese brown evenly. Panko works if you want a lighter crunch, but standard breadcrumbs give a tighter, more even crust.
- Garlic — Fresh minced garlic gives the crust its punch. Garlic powder can work in a pinch, but it won’t have the same sharp, savory bite.
What Each Ingredient Is Doing in This Dish

- Olive oil — This isn’t just for flavor. It helps the crust brown and keeps the coating from looking dry before it finishes baking. Melted butter can be used instead, but it browns faster, so watch the chops closely.
- Dried parsley — Parsley brings a little color and a mild herbal note that keeps the coating from tasting one-dimensional. Fresh parsley works too, but add it after baking if you want the brightest flavor.
- Salt and pepper — Season both the pork and the coating. Parmesan is salty, but the meat still needs seasoning underneath so the first bite doesn’t taste like the crust and nothing else.
Baking the Chops So the Crust Browns Before the Pork Overcooks
Mix the coating first
Stir the Parmesan, breadcrumbs, garlic, parsley, salt, and pepper together in a shallow dish so every bite of crust tastes the same. The garlic should be distributed evenly; if it clumps, those spots can burn before the rest of the coating turns golden. A shallow dish gives you room to press the chops in firmly without knocking the coating loose.
Press, don’t just dip
Brush the pork chops with olive oil, then press each side into the coating so it actually grabs on. A quick dip leaves thin spots, and thin spots brown unevenly. Press with enough pressure to pack the crust on, but don’t drag the chop across the mixture or you’ll strip it back off.
Bake until the center reaches 145°F
Set the chops on a parchment-lined baking sheet and bake at 400°F until the crust is deep golden and the pork hits 145°F in the thickest part. If the crust is browning too fast before the pork is done, move the pan to a lower rack for the last few minutes. Pulling at temperature matters more than pulling at a timer, because thicker chops can take a little longer and thinner ones can run ahead fast.
Rest before serving
Let the chops rest for 5 minutes before cutting in. That pause keeps the juices in the meat instead of spilling out onto the board. If you slice too soon, even a well-cooked chop can look dry.
How to Adapt These Pork Chops Without Losing the Crunch
Make Them Gluten-Free
Swap the breadcrumbs for gluten-free breadcrumbs or crushed gluten-free crackers. The coating will still crisp up, though cracker crumbs tend to brown a little faster and give a slightly tighter crust.
Use Panko for a Lighter Crust
Panko makes the coating more airy and shattery. It gives up a little of the dense, cheesy crust you get from regular breadcrumbs, but it’s great if you want extra crunch.
Add a Little Heat
A pinch of red pepper flakes in the coating adds a slow, gentle heat without changing the texture. It works best when the rest of the meal is simple, like roasted vegetables or mashed potatoes.
Storage and Reheating
- Refrigerator: Store leftovers in an airtight container for up to 3 days. The crust will soften in the fridge, but the pork stays moist.
- Freezer: These freeze fairly well after baking. Wrap each chop tightly and freeze for up to 2 months; thaw in the refrigerator before reheating so the coating doesn’t steam from the inside out.
- Reheating: Reheat in a 350°F oven or toaster oven until hot, about 10 to 15 minutes depending on thickness. The mistake to avoid is the microwave, which turns the crust rubbery and pushes the pork past its best texture.
Answers to the Questions Worth Asking
Garlic Parmesan Baked Pork Chops
Ingredients
Equipment
Method
- Preheat the oven to 400°F and line a sheet pan with parchment paper for easy release.
- Combine grated parmesan cheese, breadcrumbs, minced garlic, dried parsley, salt, and pepper in a shallow dish.
- Brush each bone-in pork chop with olive oil so the coating sticks well.
- Press each pork chop firmly into the parmesan mixture to coat both sides.
- Arrange the coated chops on the lined sheet pan with space between them.
- Bake for 25–30 minutes at 400°F, until the crust is golden and the pork reaches 145°F internally (visual cue: crust looks deeply golden and set).
- Rest the pork chops for 5 minutes before serving so the juices settle and the coating stays crisp.