
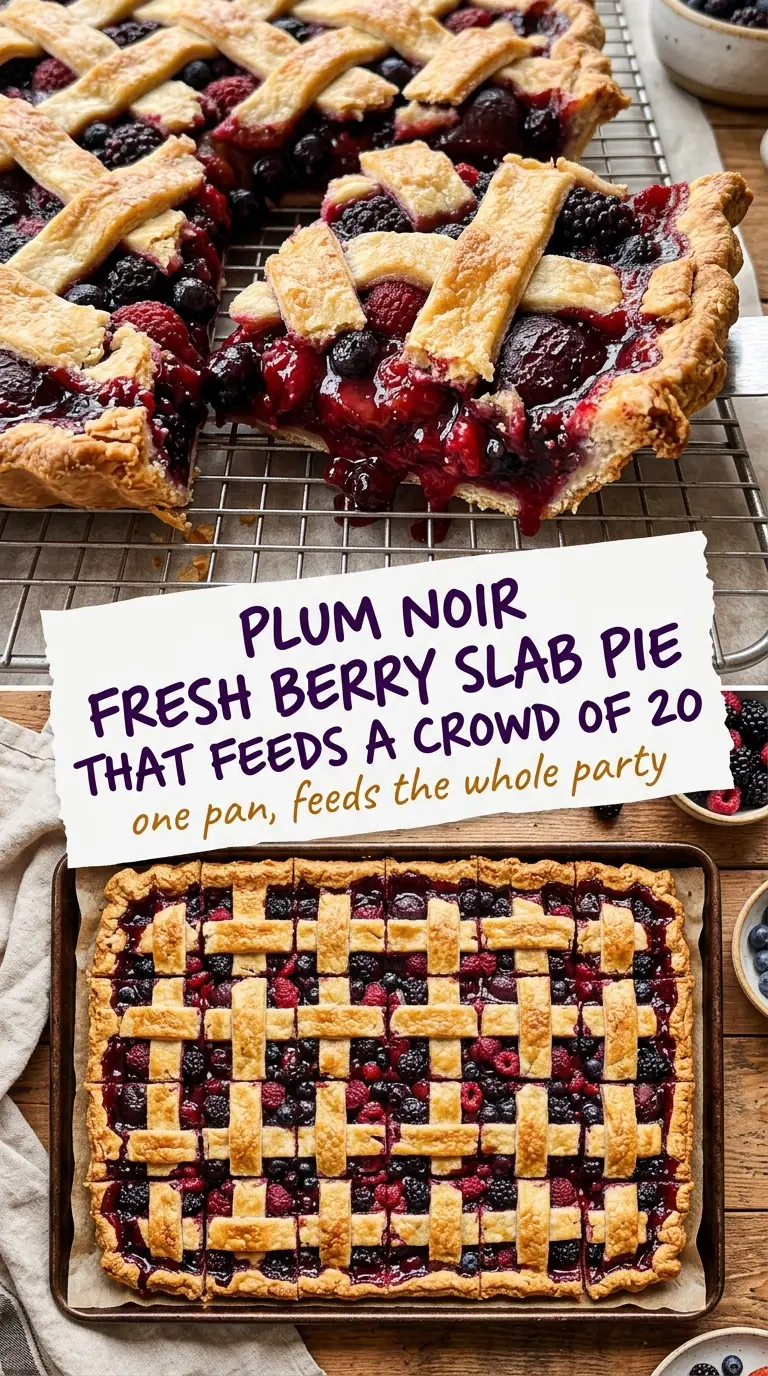
Fresh berry slab pie delivers everything people want in a summer dessert: a crisp, golden crust, a thick layer of bubbling fruit, and slices that actually serve a crowd without a fight. The big sheet-pan format changes the whole experience. You get more flaky crust in every square, the filling cooks evenly, and nobody ends up with a sliver of pie that disappears before the plate reaches the table.
The trick is keeping the berry filling thick enough to set after baking. Cornstarch does the heavy lifting here, but it only works if the berries are tossed well and the pie bakes long enough for the filling to bubble all the way through. If you pull it out too early, the center stays loose and runs when you cut it. A good slab pie needs patience at the end more than extra sugar at the beginning.
Below, I’ll show you how to keep the bottom crust from going soggy, how to know when the filling is done, and how to adapt the fruit based on what’s in your basket. The small details matter here, especially when you’re baking for a group and want clean, generous squares instead of a messy pan of warm fruit.
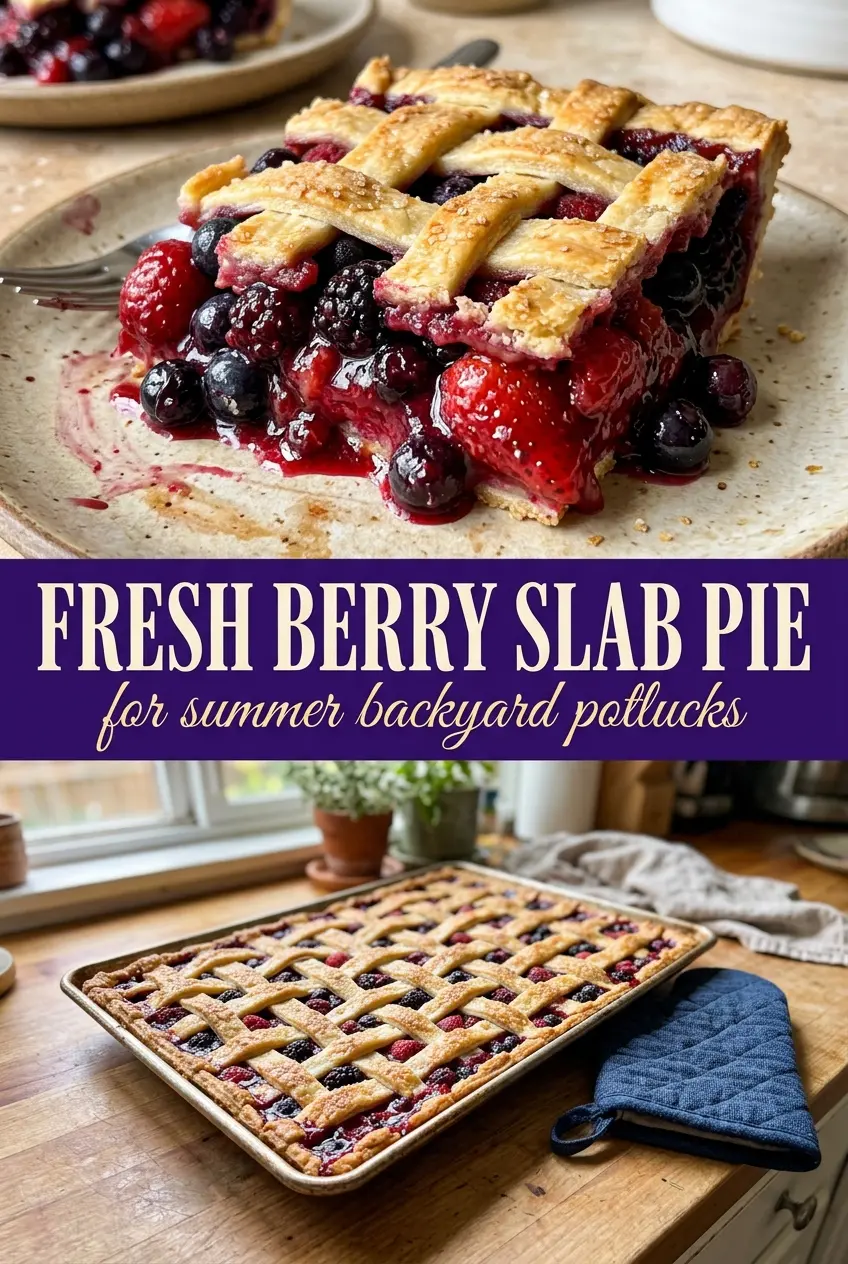
The filling set up beautifully and the bottom crust stayed crisp instead of getting soggy. I used a mix of strawberries and blueberries, and the slices held together once it cooled completely.
Save this fresh berry slab pie for the potluck dessert that bakes up golden, juicy, and easy to slice for a crowd.
The Bottom Crust Needs a Head Start, Not a Hope
A slab pie gives the fruit a lot of surface area, which is great for serving but risky for the crust. If the filling goes in cold and wet without enough structure, the bottom bakes up soft instead of crisp. The answer isn’t a fancier recipe. It’s giving the crust direct contact with the hot pan and keeping the filling thick enough that it doesn’t flood the base before the oven can set it.
The other common mistake is underbaking the center because the top looks done first. A slab pie needs visible bubbling in the middle, not just browned edges. That bubbling tells you the cornstarch has activated and the filling will set as it cools. If you cut it while it’s still warm and calm on top, it will spread on the plate.
- Bottom crust — Press it firmly into the corners of the sheet pan so there are no air pockets. Loose spots shrink and blister.
- Mixed berries — Use ripe fruit, but not watery fruit. Very soft berries break down fast and can turn the filling loose.
- Cornstarch — This is what keeps the juices from running everywhere. Flour won’t thicken cleanly here the way cornstarch does.
- Lemon juice — It brightens the fruit and keeps the filling from tasting flat. Even a small amount matters once the berries bake down.
What Each Ingredient Is Actually Doing in This Pie
- Store-bought pie crust — This keeps the recipe practical for a crowd. Store-bought works well here because the filling is the main event. If you use homemade dough, roll it a little thicker than you would for a round pie so it stands up to the large pan.
- Mixed berries — Strawberries bring body, blueberries hold shape, and raspberries melt into the gaps with tart juice. That mix gives you better texture than using one berry alone. If your strawberries are large, halve or quarter them so the filling bakes evenly.
- Sugar — This draws out the berry juices and balances the tartness. The amount here is enough for dessert without turning the filling syrupy. If your berries are very sweet, reduce it by a few tablespoons.
- Cornstarch — This is the thickener that turns berry juice into a sliceable filling. Toss it in until every berry looks lightly coated so you don’t get thin pockets of juice. If you substitute tapioca starch, use slightly less or the filling can turn gummy.
- Lemon juice — Use fresh lemon juice if you can. Bottled works in a pinch, but fresh gives the filling a cleaner finish. It also helps the berries taste more like berries after baking, not just sugar and juice.
- Egg wash and coarse sugar — The egg wash gives the top crust that deep, glossy color. Coarse sugar adds crunch and keeps the top from tasting plain. Don’t skip both if you want the crust to feel finished instead of just baked.
Building the Berry Filling So It Bakes Up Thick
Mix the fruit before it hits the crust
Toss the berries with sugar, cornstarch, and lemon juice until the dry spots disappear and the fruit looks evenly coated. You want the cornstarch distributed before it gets wet in the pan, or you’ll end up with clumps that taste chalky. Let the mixture sit just long enough to get glossy, not long enough to dump a pool of liquid into the crust.
Seal the edges like you mean it
Lay the top crust over the berries or build your lattice, then press the edges together firmly and crimp them so the filling stays where it belongs. If the seam is weak, the juices leak onto the pan and scorch before the center finishes baking. A tight seal also helps the edges brown evenly instead of sliding apart in the oven.
Watch for the bubbling center, not just color
Bake until the crust is deeply golden and the filling is actively bubbling through the center, not just around the edges. The bubbles should be thick and slow, not tiny and timid. If the top starts getting too dark before the filling bubbles, lay a loose piece of foil over it and keep baking until the middle catches up.
Make it with all frozen berries
Frozen berries work, but don’t thaw them first. Toss them straight with the sugar and cornstarch, then bake a few minutes longer because they release more liquid as they heat. The filling will be a little softer, but the flavor stays good and the method still holds together.
Make it dairy-free without changing the texture
This pie is already naturally dairy-free if you use a dairy-free pie crust and skip any butter in the dough. The filling doesn’t need cream or milk to work. That makes this an easy dessert to serve when you need something simple that still feels like a proper pie.
Use one berry instead of three
You can make this with all blueberries or all strawberries, but the texture changes a little. Blueberries stay more intact and slice neatly, while strawberries break down into a softer filling. If you use only strawberries, add an extra teaspoon of cornstarch so the juices set cleanly.
Storage and Reheating
- Refrigerator: Store covered for up to 4 days. The crust softens a little after the first day, but the filling stays set.
- Freezer: Freeze baked, cooled slices tightly wrapped for up to 2 months. The crust won’t be quite as crisp after thawing, but it still works well for make-ahead dessert.
- Reheating: Warm slices in a 325°F oven until just heated through. The microwave makes the crust soggy and can push the filling loose.
Answers to the Questions Worth Asking
Fresh Berry Slab Pie
Ingredients
Equipment
Method
- Preheat the oven to 375°F and line a large sheet pan with the bottom pie crust, pressing into the corners.
- Toss mixed berries with sugar, cornstarch, and lemon juice, then spread evenly over the crust.
- Cover with the top crust or form a lattice pattern, sealing and crimping the edges.
- Brush the crust with egg wash and sprinkle with coarse sugar.
- Bake for 40–45 minutes, until the crust is deeply golden and the filling is bubbling, with a visible boil through the lattice.
- Let cool completely before slicing into squares so the filling sets and doesn’t run.