
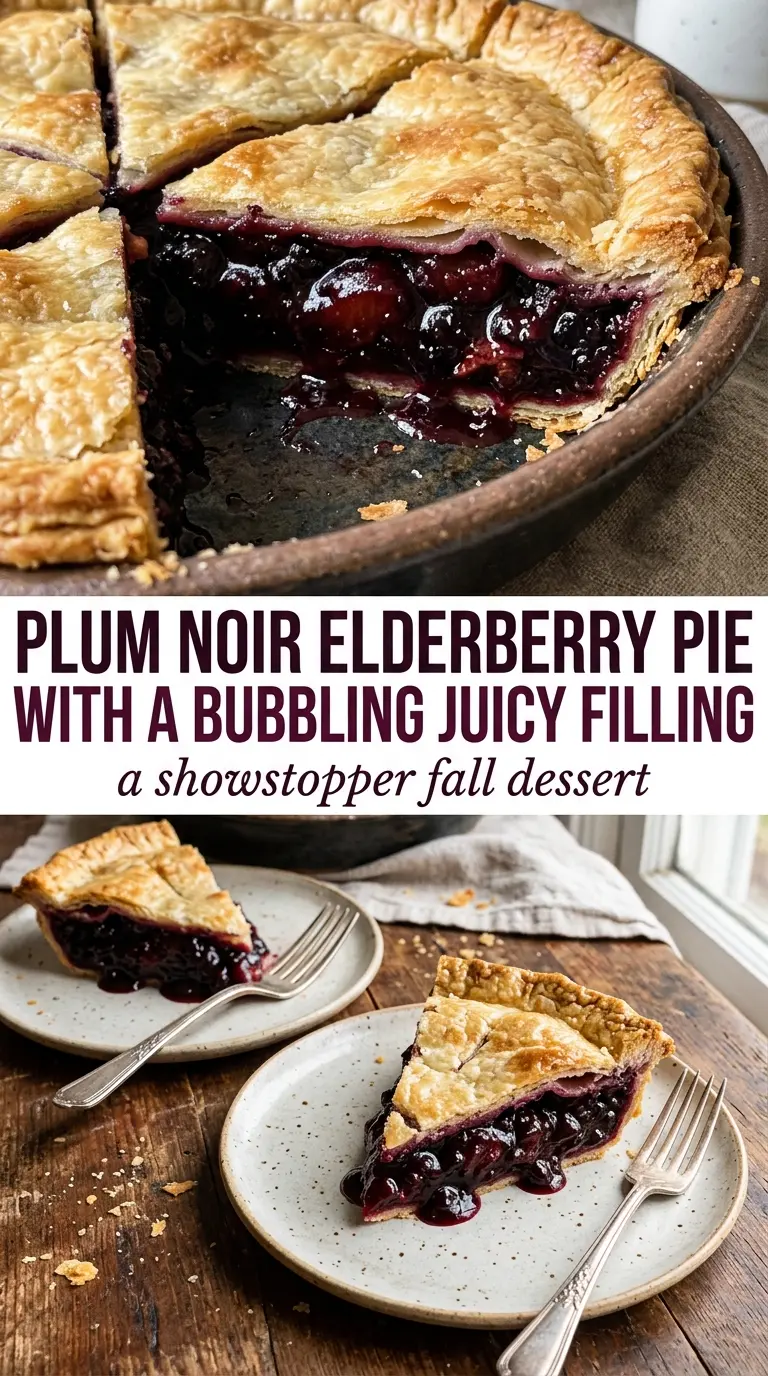
Elderberry pie bakes into something bold and old-fashioned at the same time: a flaky, golden crust with a filling that turns glossy, jammy, and deeply purple-black as it cools. The berries bring a flavor that sits somewhere between tart plum and wild blueberry, with just enough edge to keep each slice from tasting flat or overly sweet. When it’s done right, the filling holds together on the plate but still looks juicy when you cut in.
The trick with elderberries is treating them like a fruit that needs structure, not just sugar. Cornstarch gives the filling enough body to set after baking, and the lemon juice sharpens the flavor so the pie tastes bright instead of heavy. Frozen berries work too, and if that’s what you have, keeping them frozen helps protect the crust from going soggy while the pie goes into the oven.
Below, I’ll walk through the one part that matters most: how to get a filling that thickens properly without turning gummy, plus the small crust details that keep the bottom from baking up soft.
The filling set up beautifully after the full cooling time, and the lemon kept the elderberries from tasting muddy. I used frozen berries and the bottom crust still baked through instead of turning soggy.
Save this elderberry pie for the kind of dessert that needs a crisp crust and a deep, jammy filling that actually slices clean.
The Part Most Pie Recipes Get Wrong With Elderberries
Elderberries don’t behave like a soft summer berry. They release a lot of juice, they need a little extra starch to set cleanly, and they taste best when the filling has enough sugar and acid to wake them up. Skip any one of those pieces and you get either a runny pie or one that tastes dull and heavy.
The other place people miss is the crust. If the fruit mixture goes in warm, or if frozen berries are thawed first, the bottom crust has to fight too much moisture. That’s why this pie works best when the filling goes into a raw crust, the berries stay frozen if that’s what you’re using, and the pie bakes long enough for the bubbles at the vents to look thick and slow, not watery.
What Each Ingredient Is Actually Doing in This Dish
- Elderberries — Fresh or frozen both work. If you’re using frozen, keep them frozen until the second you mix the filling so they don’t leak excess liquid before baking. Stems need to be removed completely.
- Cornstarch — This is what turns the juices into a sliceable filling. Tapioca starch can work in a pinch, but cornstarch gives the most familiar pie texture here and sets well after cooling.
- Lemon juice — Elderberries need the brightness. Without it, the filling can taste flat and a little muddy. Fresh lemon juice is worth using.
- Butter — Small cubes scattered over the filling add a little richness and help the top of the pie taste rounder. Don’t skip it if you want the filling to taste complete.
- Double pie crust — Store-bought is fine if it bakes well in your oven, but a sturdy homemade crust gives you more control over flakiness and browning. Keep the dough cold right up until assembly.
Building the Pie So the Crust Stays Crisp
Mixing the Filling
Toss the elderberries with sugar, cornstarch, lemon juice, and cinnamon until every berry looks evenly coated. You’re not looking for a wet syrup in the bowl; the filling will thicken in the oven as the cornstarch activates. If you see dry pockets of starch, keep tossing until they disappear, because those spots bake up pasty.
Filling and Sealing the Crust
Pour the filling into the bottom crust and dot the butter over the top before adding the lid. Press the top and bottom crusts together firmly, then crimp well so the juices stay inside instead of running out and burning on the pan. Cut vents that are wide enough for steam to escape, or the center stays trapped and the filling won’t bubble thickly.
Baking Until the Center Bubbles
Bake at 400°F until the crust is deeply golden and the filling is bubbling through the vents in slow, thick bursts. Those bubbles matter more than the clock. If the crust starts to darken too quickly, shield the edges with foil so the filling can finish thickening without the rim going too far.
Cooling for a Clean Slice
Let the pie cool for at least 2 hours before cutting. This is where the filling finishes setting, and slicing early is the fastest way to turn a beautiful pie into a puddle. A properly cooled elderberry pie will still look juicy, but the filling should hold together when you lift a slice.
How to Adapt This Pie When You Need a Different Finish
Use a lattice top for better evaporation
A lattice top lets more steam escape, which helps a juicy elderberry filling set a little more cleanly. The tradeoff is less protection from browning, so keep an eye on the strips and shield them if they color too fast.
Swap in a gluten-free crust
A good gluten-free pie crust works here as long as it bakes sturdy enough to hold the juicy filling. Chill it well before baking, because a soft GF dough can slump before the crust sets.
Lean into a sweeter, milder berry blend
If pure elderberry flavor feels too intense, replace up to 1 cup of the berries with blueberries. You’ll get a softer, more familiar pie flavor, but the filling will also taste less wild and a little sweeter.
Make it dairy-free
Use a dairy-free pie crust and swap the butter dots for a neutral vegan butter. The texture stays the same, and the filling still sets properly because the starch is doing the real work.
Storage and Reheating
- Refrigerator: Store covered for up to 4 days. The crust softens a little after day one, but the filling holds well.
- Freezer: Freeze baked pie tightly wrapped for up to 2 months. Thaw overnight in the fridge, then bring it to room temperature before reheating.
- Reheating: Warm slices in a 300°F oven for 10 to 15 minutes. The common mistake is using the microwave, which turns the crust limp and makes the filling weep.
Answers to the Questions Worth Asking
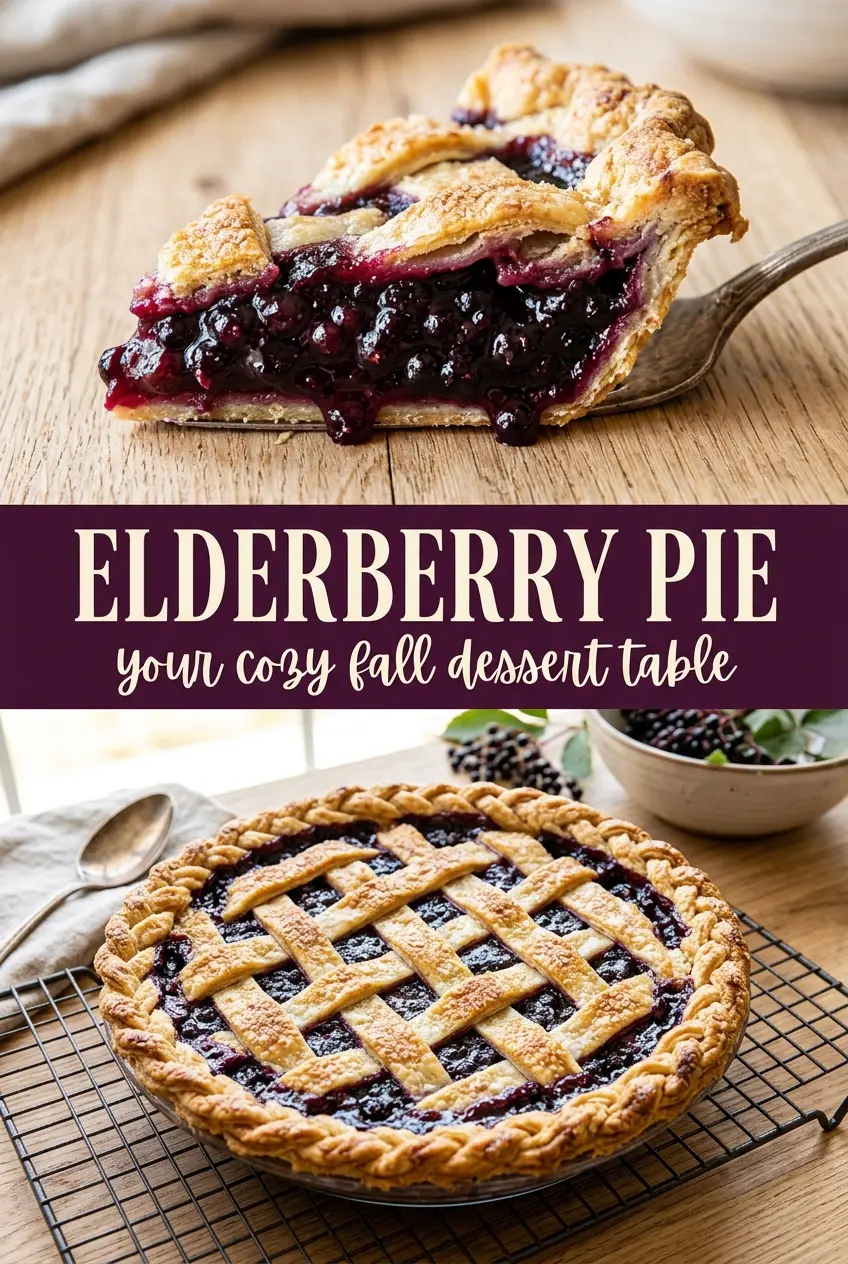
Elderberry Pie
Ingredients
Equipment
Method
- Preheat the oven to 400°F. Line a pie dish with one crust.
- Toss the elderberries with sugar, cornstarch, lemon juice, and cinnamon until evenly coated.
- Pour the filling into the crust and dot with the cubed butter.
- Top with the second crust, sealing and crimping the edges, then cut vents for steam to escape.
- Brush the top crust with egg wash.
- Bake for 45-50 minutes, until the crust is golden and the filling bubbles thickly through the vents.
- Cool the pie for at least 2 hours before slicing so the filling sets into a glossy, juicy center.