
Deeply roasted cauliflower turns into a silky soup with a clean, nutty flavor and an ivory color that looks richer than it has any right to be. The roasting step matters here. It pulls the cauliflower away from that flat, boiled-vegetable taste and gives the soup a deeper base before it ever hits the pot.
What keeps this version light is the balance: enough onion and garlic to build savoriness, enough broth to keep it spoonable, and just a splash of cream or milk at the end to round everything out. The soup stays smooth because the cauliflower is cooked until fully tender before blending, and the blender does the heavy lifting. If you rush the roasting or undercook the cauliflower in the broth, the flavor falls short and the texture turns grainy instead of velvety.
Below you’ll find the roasting trick that gives the soup its best flavor, plus the one finishing move that keeps it from tasting thin. I also added a few smart swaps for making it dairy-free or a little richer depending on what you have in the fridge.
The cauliflower tasted roasted all the way through, not watery at all, and the soup blended up so smooth I didn’t even need to strain it. My husband kept going back for more and asked if I could make it again the next night.
Save this creamy roasted cauliflower soup for a light dinner that still tastes deeply roasted and satisfying.
The Roasting Step That Gives This Soup Its Real Flavor
Cauliflower soup lives or dies by how the cauliflower is handled before it ever meets the broth. If it just gets simmered until soft, the flavor stays mild and a little one-note. Roasting changes that completely. The edges turn deep gold, the natural sugars concentrate, and the finished soup gets a toasted, almost sweet backbone that you can’t fake with extra seasoning later.
The other thing people miss is texture. Cauliflower needs to be roasted until the florets are browned in spots and tender all the way through, not just pale and slightly softened. That extra color is what keeps the soup from tasting thin. If the pan looks dry while it roasts, that’s fine; too much oil can steam the florets instead of caramelizing them.
What Each Ingredient Is Actually Doing in This Dish
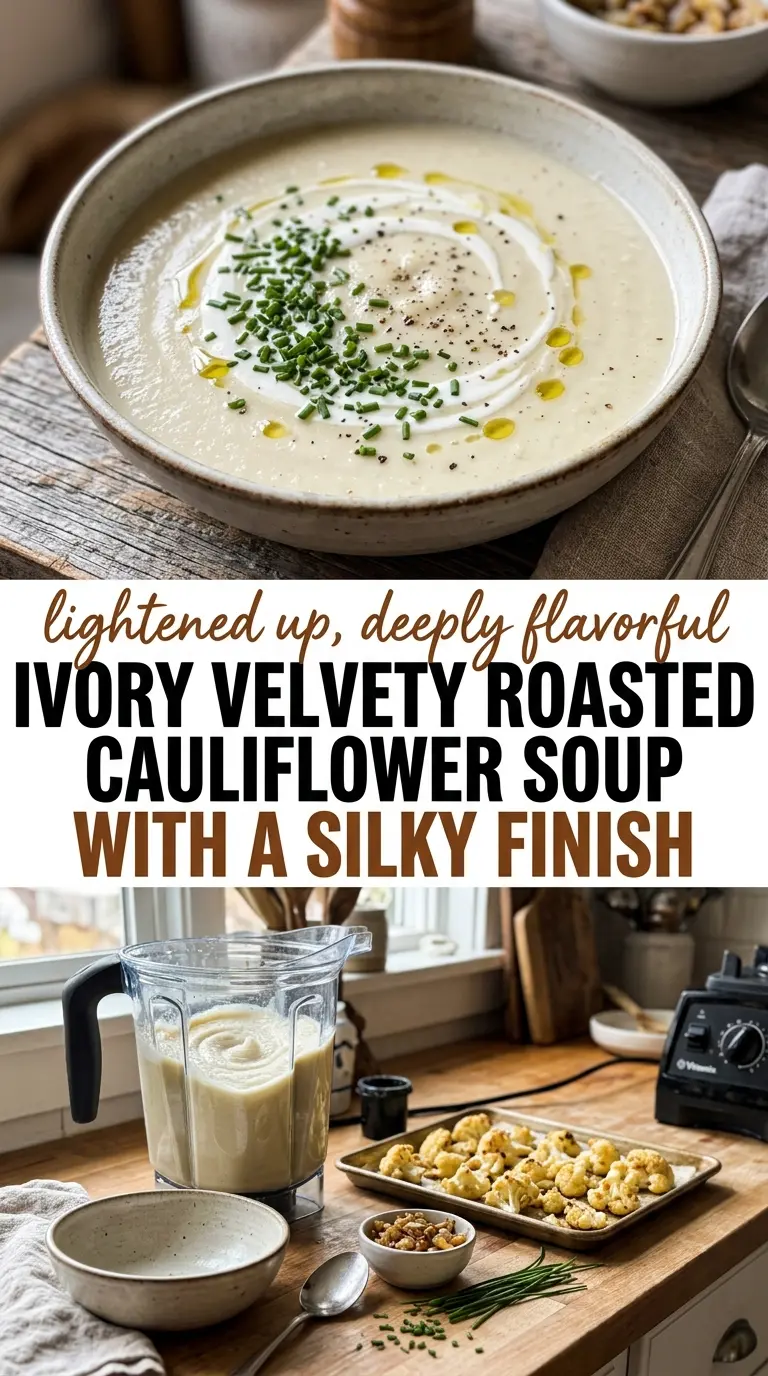
- Roasted cauliflower — This is the flavor base, not just the body of the soup. A large head gives you enough volume without making the broth heavy.
- Olive oil — Use enough to coat the florets lightly. A heavy hand here softens the edges instead of browning them.
- Vegetable broth — A good broth matters because the soup is simple. If yours is salty, hold back on the added salt until the end.
- Light cream or milk — This rounds out the texture and gives the soup a softer finish. Milk works, but cream gives a slightly fuller body. For a dairy-free version, unsweetened oat milk or cashew cream works better than thin almond milk.
- Chives — They add a fresh, mild onion note right at the end. Don’t skip the garnish if you want the soup to taste finished instead of flat.
Building the Soup So It Stays Silky Instead of Grainy
Roasting Until the Edges Color
Spread the cauliflower in a single layer and roast it at 425°F until the florets are deeply golden with some browned edges. You want color, not just tenderness. That browned surface is where the flavor lives, and it keeps the soup from tasting watery once the broth goes in. If the florets are crowded, they’ll steam and the whole pot will taste softer and duller.
Sweating the Onion Before the Garlic
Cook the onion until it’s fully soft and translucent before adding the garlic. The onion builds sweetness and body, while the garlic only needs about a minute so it doesn’t turn bitter. If the garlic browns, the soup takes on a sharp edge that lingers even after blending. Keep the heat moderate and stir often.
Blending to a Fine, Even Texture
Add the roasted cauliflower and broth, then simmer just until everything is tender enough to collapse easily. Blend until completely smooth, in batches if needed, because cauliflower can leave a slightly coarse texture if the blender is overloaded. An immersion blender works, but a countertop blender gives the silkiest finish. If the soup seems too thick, loosen it with a splash more broth before adding the dairy.
Finishing With Dairy Off the Heat
Stir in the cream or milk after blending, with the heat low or off. That keeps the soup from tasting scalded and helps preserve the smooth texture. If you boil it hard after adding dairy, the finish can get a little chalky. Taste at the end and season from there, because the broth and the roasting both add their own saltiness.
How to Adapt This for a Lighter Bowl or a Richer Finish
Dairy-Free Without Losing Creaminess
Swap the cream or milk for unsweetened oat milk or a few tablespoons of cashew cream. Oat milk keeps the soup light and neutral, while cashew cream gives it a rounder, richer finish. Thin almond milk works, but it can make the soup taste leaner than intended.
Extra Rich and More Restaurant-Like
Use heavy cream instead of light cream or milk, and finish with a small knob of butter if you want a more luxurious texture. The soup will coat the spoon more heavily and taste a little sweeter. This version is best when you want the bowl to feel more substantial.
Making It Lighter Without Losing Body
Use milk instead of cream and strain the blended soup through a fine sieve if you want an especially polished, lighter texture. The straining step removes any tiny bits of cauliflower that can make the soup seem thicker than it is. It takes an extra minute, but it pays off if you want a smooth, delicate bowl.
Storage and Reheating
- Refrigerator: Store in an airtight container for up to 4 days. It thickens as it chills, so expect a denser texture the next day.
- Freezer: It freezes well for up to 2 months, but the texture is best if you freeze it before adding the cream or milk. Stir the dairy in after reheating.
- Reheating: Warm it gently over low heat, stirring often. Don’t boil it hard, especially if dairy is already in the pot, or the texture can turn grainy and split.
Answers to the Questions Worth Asking
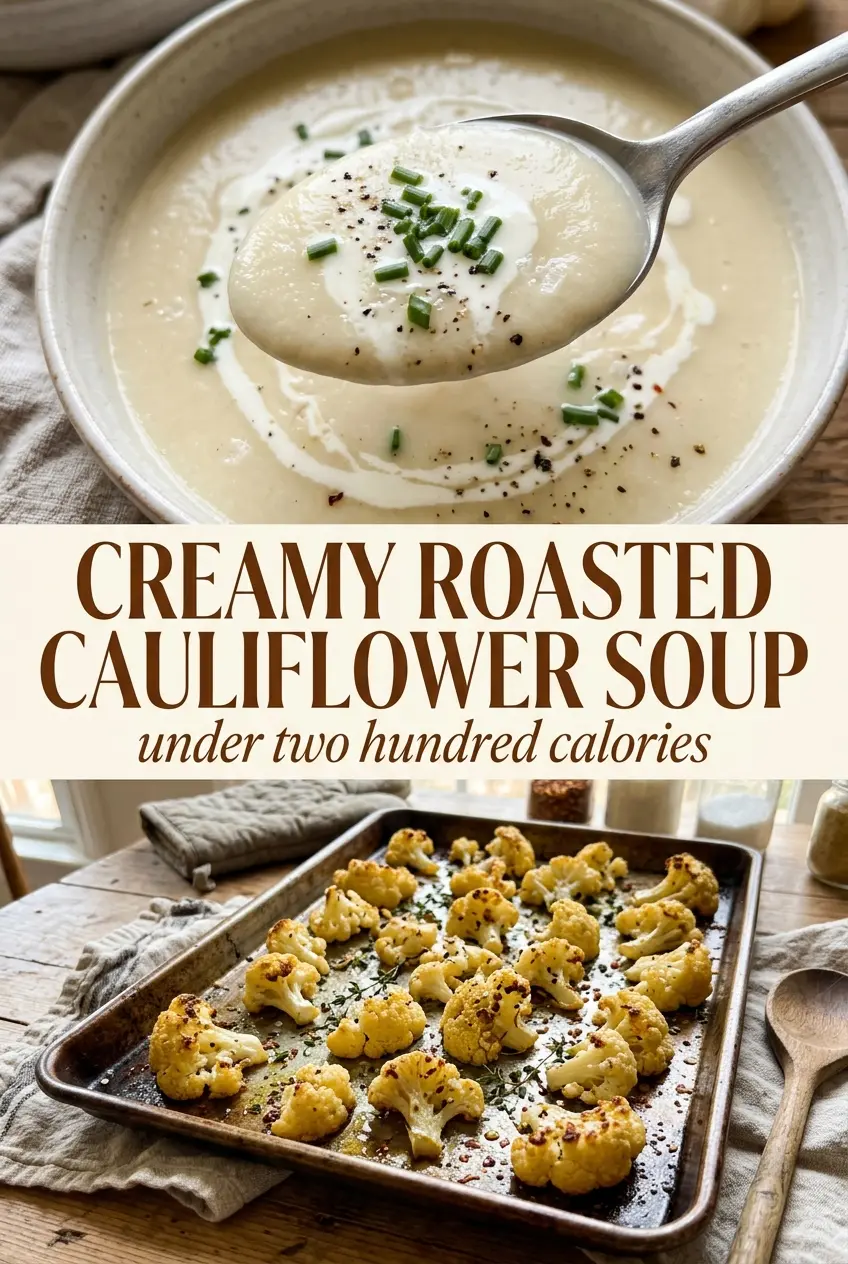
Creamy Roasted Cauliflower Soup
Ingredients
Equipment
Method
- Preheat the oven to 425°F and set a sheet pan inside to get hot.
- Toss the cauliflower florets with olive oil, salt, and pepper, then spread them in a single layer on the hot sheet pan.
- Roast for 25-30 minutes until deeply golden, stirring once halfway through, and pull the pan when the edges look caramelized.
- In a Dutch oven over medium heat, sauté the onion until soft, about 5-7 minutes, until translucent.
- Add the garlic and cook for 1 minute, stirring, until fragrant and lightly softened.
- Add the roasted cauliflower and vegetable broth, then bring to a simmer and cook for 10 minutes.
- Blend the soup until completely smooth, using an immersion blender or a countertop blender, until no cauliflower bits remain.
- Stir in the light cream or milk, then season with salt and pepper to taste.
- Ladle into bowls and garnish with fresh chives before serving, letting the green flecks sit on top.