
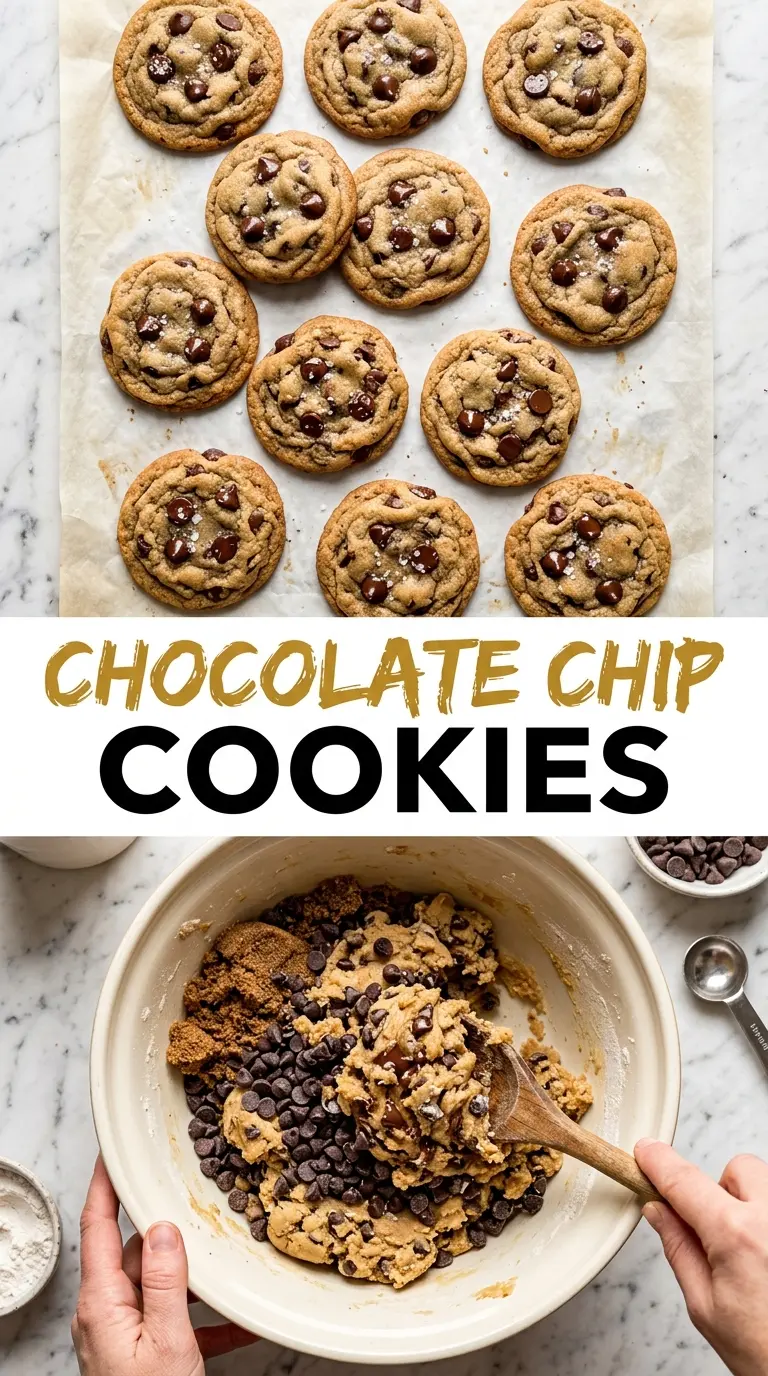
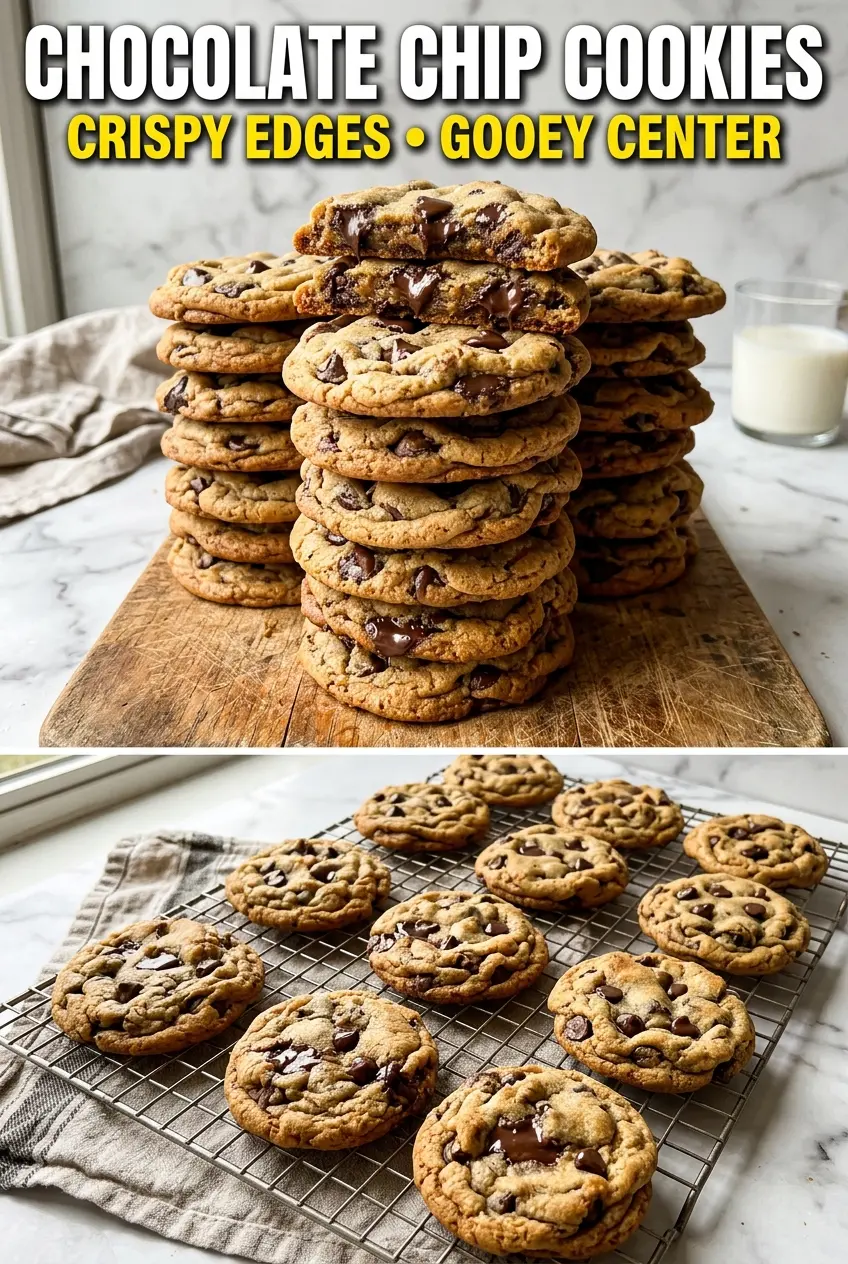
Golden-edged chocolate chip cookies with soft, chewy centers have a way of disappearing before they’ve even cooled. The best batches come out with crisp edges that give way to a buttery middle and pockets of melted chocolate in every bite. That balance is what keeps this kind of cookie in the regular rotation — not too thin, not cakey, and never bland.
The part that matters most is the butter-and-sugar base. Beat them until the mixture looks lighter and slightly fluffy, because that traps air and helps the cookies bake up with just enough lift. Brown sugar does more than sweeten here; it brings moisture and that deep caramel note that keeps the centers soft. A short chill also helps the dough hold its shape, which means thicker cookies and less spread on the pan.
Below, I’ll walk through the small details that keep these cookies chewy instead of dry, plus the butter-browning option if you want a richer, toastier finish. There’s also a simple fix for dough that spreads too much, because that’s usually the difference between good cookies and the ones people reach for first.
I chilled the dough for 30 minutes and the cookies baked up thick with those crisp edges and soft centers you promised. The chocolate stayed in little melted puddles instead of disappearing into the dough.
Chocolate chip cookies with crisp edges, chewy centers, and melted chocolate pockets are worth saving for the next time you want a fast batch that disappears in minutes.
The Difference Between Chewy Centers and Flat, Crisp Cookies
The biggest mistake with chocolate chip cookies is treating spread like it’s inevitable. It isn’t. Flat cookies usually come from butter that’s too soft, dough that wasn’t chilled, or a pan that went back into the oven warm from the last batch. This recipe gives you control over all three, which is how you end up with cookies that hold their shape and still bake up tender.
The other thing that matters is pull time. These cookies should come out when the edges are set and lightly golden, but the centers still look a little underdone. They finish on the hot pan, and that last bit of carryover heat keeps them chewy instead of dry. If you wait until the whole cookie looks fully baked in the oven, you’ve already gone too far.
What Each Ingredient Is Actually Doing in This Dough
- Butter — This is where the cookie gets its richness and spread. Softened butter creams smoothly with the sugars, but if it’s greasy or melted, the dough won’t hold air and the cookies will bake up flatter.
- Brown sugar — This is the key to a chewy center. It adds moisture and a caramel note that granulated sugar can’t copy, so don’t swap it out completely unless you want a crisper, drier cookie.
- All-purpose flour — Enough flour keeps the cookies from running across the pan. If you pack the cup hard, you’ll get drier cookies, so spoon it in and level it off for the best texture.
- Chocolate chips — Standard chips work well, but chopped chocolate gives you bigger melted pockets and a less uniform bite. If you want a bakery-style look, use a mix of chips and chopped chocolate.
Building the Dough Without Overmixing It
Cream the Butter and Sugars First
Beat the softened butter with both sugars until the mixture turns lighter in color and looks a little fluffy around the edges of the bowl. That step isn’t just about blending; it creates tiny air pockets that help the cookies bake up with a better texture. If the butter is cold, it won’t cream properly. If it’s melted, the dough will go slack and spread too fast.
Add the Eggs and Vanilla
Mix in the eggs one at a time, then add the vanilla. The batter should look smooth and glossy, not curdled. If it looks broken, keep mixing gently for another few seconds before you add the dry ingredients — it usually comes together once the flour goes in.
Stir in the Dry Ingredients and Chocolate Chips
Add the flour, baking soda, and salt and mix only until the flour disappears. Overmixing at this stage develops too much gluten, which makes the cookies tough instead of tender. Fold in the chocolate chips at the end so they stay evenly distributed without breaking apart.
Scoop, Chill, and Bake
Drop rounded tablespoons of dough onto parchment-lined baking sheets, leaving space between each one. A 30-minute chill gives the flour time to hydrate and firms the butter, which helps the cookies bake thicker. Bake just until the edges turn golden and the centers still look soft; that’s the window that gives you chewy cookies instead of dry ones.
Three Ways to Adjust These Cookies Without Ruining the Texture
Brown Butter for a Toastier Cookie
Brown the butter first, then cool it until it’s soft but not liquid before you mix it with the sugars. You’ll get a deeper toffee flavor and a little nuttiness, but the cookies may spread a bit more, so chilling becomes even more important.
Gluten-Free Version
Use a 1:1 gluten-free baking blend in place of the all-purpose flour. The texture will be a little more delicate, but the cookies still bake up with crisp edges and a soft center if you don’t overbake them.
Thicker Cookies for a Taller Bake
Chill the dough for at least 30 minutes and scoop it into mounded tablespoons instead of flat ones. That gives the butter time to firm up again, which slows spread and keeps the centers thick.
How to Store and Reheat Them
- Refrigerator: Store baked cookies in an airtight container for up to 5 days. They’ll soften a little after the first day, which is normal.
- Freezer: Freeze baked cookies or unbaked dough balls for up to 3 months. For dough, freeze the scoops on a tray first, then move them to a freezer bag so they don’t stick together.
- Reheating: Warm baked cookies in a 300°F oven for 3–5 minutes or give them 10–12 seconds in the microwave. Too much heat dries them out and makes the chocolate rubbery.
Answers to the Questions Worth Asking
Chocolate Chip Cookies
Ingredients
Equipment
Method
- Preheat oven to 375F and line baking sheets with parchment, using a visible nonstick surface for easy release.
- Beat butter and both sugars until fluffy, about 2 minutes, so the cookies spread less and bake with a tender bite.
- Add eggs one at a time and mix in vanilla extract until the batter looks smooth and cohesive.
- Stir in flour, baking soda, and salt until just combined, stopping as soon as you no longer see dry streaks.
- Fold in chocolate chips so they’re evenly distributed through the dough without overmixing.
- Drop rounded tablespoons onto baking sheets with spacing between mounds for even browning and controlled spread.
- Bake at 375F for 9-11 minutes until the cookies are golden at the edges and set in the center.
- Cool cookies on a wire rack to finish setting the texture while preventing sogginess.