
Golden squash, pillowy cheese tortellini, and nutty brown butter belong together in the same pan. The squash gets a little caramelized on the outside before it turns tender, so it brings sweetness and texture instead of disappearing into the pasta. Then the sage crisps in the butter and perfumes everything without taking over. What you end up with is a skillet dinner that tastes layered and intentional, not like three separate shortcuts thrown together.
The key is giving the squash time to brown before the tortellini goes in. That step builds the flavor you’d normally get from roasting, but faster, and it keeps the cubes from going soft and bland. Browning the butter separately is worth the extra minute, too. Once it turns hazelnut-colored and the sage starts to sizzle, you know you’ve got the right kind of richness for the Parmesan to cling to.
The squash browned beautifully before it got tender, and the brown butter with sage made the whole skillet taste restaurant-level. My husband went back for seconds before I even sat down.
Love the caramelized squash and brown butter finish? Save this Butternut Squash Tortellini Skillet for the nights when you want a cozy one-pan dinner that still feels special.
The Reason the Squash Needs a Head Start in the Skillet
Butternut squash is the part that can make or break this dish. If you add it and immediately cover the pan or crowd it with the tortellini too soon, it steams. Steamed squash turns soft and pale instead of developing those browned edges that give the skillet its depth. The uncovered cook time is doing the heavy lifting here.
That first side needs to sit against the hot pan long enough to color before you touch it. Once you flip the cubes, they’ll finish cooking through and pick up enough tenderness to hold their shape when tossed with the pasta. If your squash is cut too large, the outside will brown before the center softens, so keep the cubes around bite size.
What Each Ingredient Is Doing in This Dish
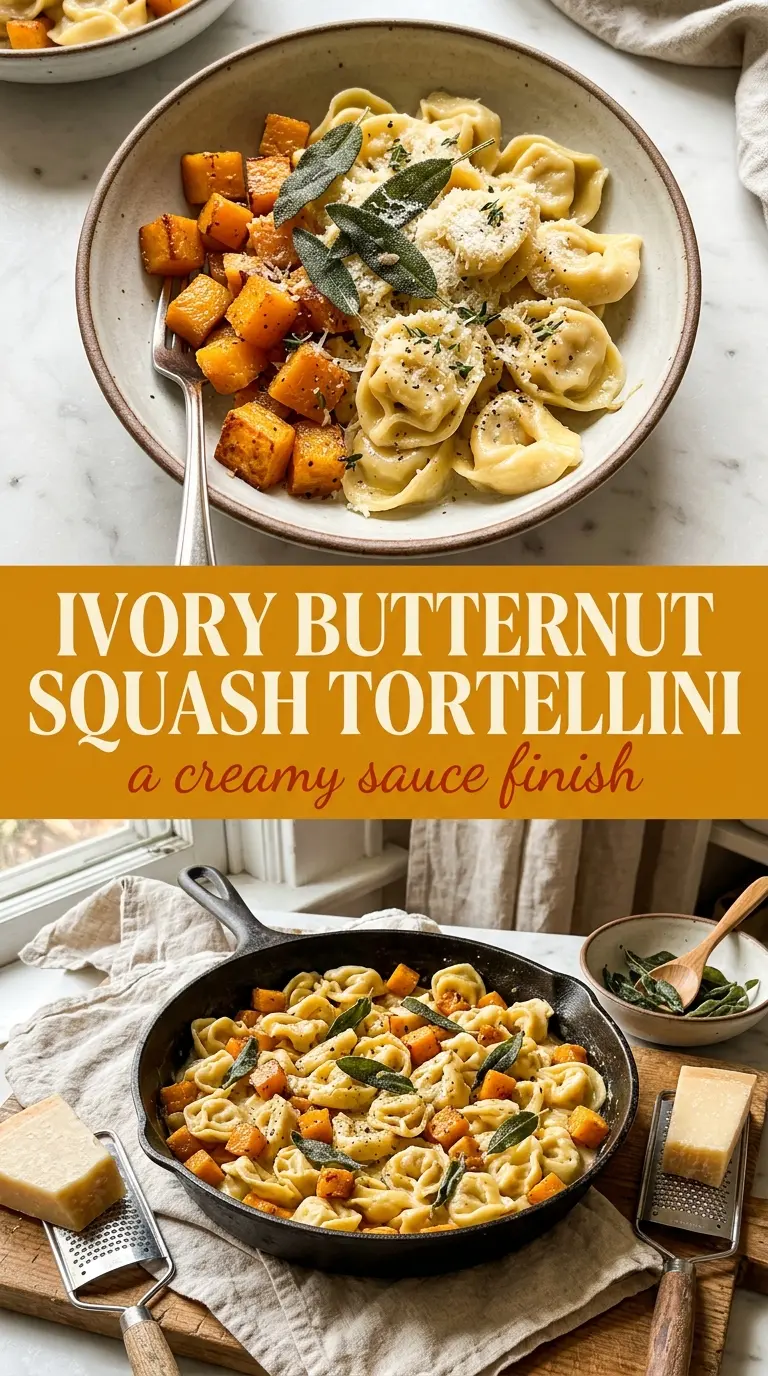
- Butternut squash — This brings sweetness and body, but only if it gets real contact with the pan. Pre-cut squash works fine here, but chop it into even cubes so every piece cooks at the same pace. Uneven chunks leave you with some mushy pieces and some stubborn centers.
- Cheese tortellini — Fresh or refrigerated tortellini gives you the soft, stuffed texture this skillet needs. Frozen tortellini can work, but cook it just until barely done so it doesn’t split when it finishes in the pan. The pasta should be tender enough to toss, not so soft that it falls apart.
- Butter and sage — This is the flavor backbone of the dish. The butter needs to turn golden and smell nutty before the sage goes in, and the sage should crisp in seconds, not minutes. If the butter is still pale, the sauce will taste flat instead of round and toasty.
- Parmesan — Finely grated Parmesan melts into the tortellini and helps the butter cling to everything. A wedge you grate yourself melts more smoothly than the pre-shredded kind, which often stays a little sandy. If you only have pre-grated Parmesan, add it off the heat and toss quickly.
Building the Skillet So the Pasta Stays Tender and the Butter Stays Nutty
Getting Color on the Squash
Heat the olive oil in a large skillet and add the squash in a single layer if you can. Season it right away so the salt starts drawing out a little moisture and the garlic powder can toast on the surface. Leave it alone long enough for the bottoms to turn deep golden before flipping. If the pan looks crowded, the squash will steam instead of brown, and you’ll lose the best texture in the dish.
Cooking the Tortellini Without Overdoing It
Boil the tortellini in salted water according to the package, but pull it as soon as it’s tender. It finishes in the skillet, so you want it just cooked, not soft and swollen. Drain it well before adding it to the squash, or extra water will thin the butter and wash the seasonings off the pasta. Gentle tossing keeps the filling inside the tortellini instead of tearing the pasta skins.
Turning Butter Brown and Sage Crisp
Melt the butter over medium heat and watch the foam closely. The color will shift from yellow to amber, then to a deeper golden brown with a nutty smell. Add the sage leaves at that point and they’ll crisp in the hot butter almost immediately. If you walk away too long, the butter will go from brown to burned fast, so stay at the stove until it’s ready.
Finishing in the Pan
Pour the brown butter and sage over the skillet and toss everything together while the pan is still warm. Add the Parmesan at the end so it melts into the butter instead of clumping. The dish should look glossy, with the squash still holding its edges and the tortellini coated but not drowned. If it seems dry, a splash of reserved pasta water loosens it without dulling the flavor.
How to Adapt This for a Different Pantry or Diet
Gluten-Free Version
Use gluten-free tortellini if you can find it, or swap in a gluten-free stuffed pasta that holds its shape well. The rest of the skillet already fits naturally, and the brown butter, squash, and sage carry the same comforting flavor. Cook the pasta a little conservatively because gluten-free versions can go soft faster in the final toss.
Dairy-Free Swap
Use olive oil in place of butter and finish with a dairy-free Parmesan-style cheese or nutritional yeast for a savory edge. You won’t get the same nutty brown butter note, but the squash still browns beautifully and the sage still brings plenty of aroma. Choose a tortellini filled with a dairy-free filling if you need the whole dish to stay fully dairy-free.
Add Protein Without Changing the Feel
Browned Italian sausage, crispy pancetta, or shredded rotisserie chicken all fit here. Add them after the squash is tender so they warm through without crowding the pan at the start. Keep the portion modest so the tortellini still feels like the center of the meal.
Storage and Reheating
- Refrigerator: Store leftovers in an airtight container for up to 3 days. The tortellini softens a little as it sits, but the flavor holds up well.
- Freezer: I don’t recommend freezing this one. The pasta texture changes too much and the squash can turn watery after thawing.
- Reheating: Warm it gently in a skillet over low heat with a splash of water or broth. High heat dries out the pasta and can make the Parmesan clump instead of melting back in.
Answers to the Questions Worth Asking
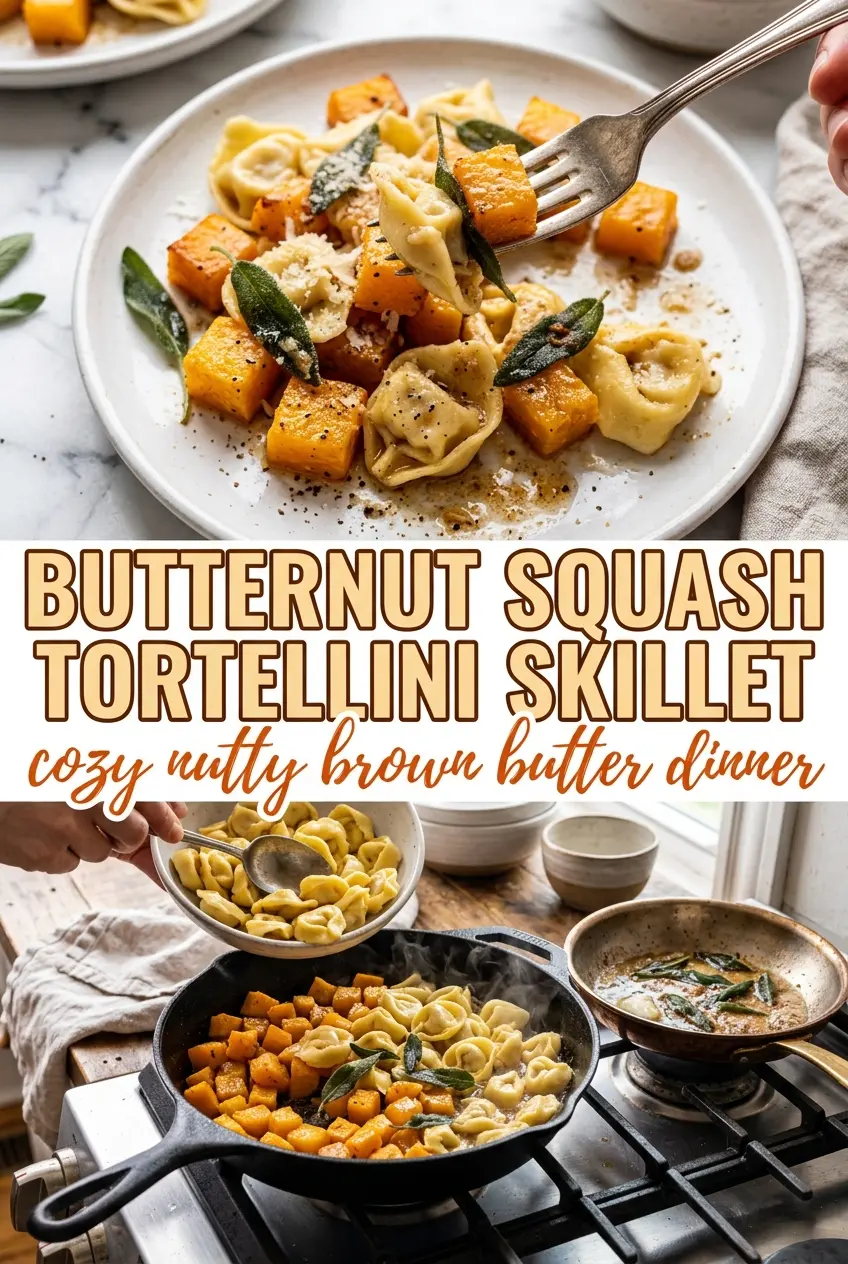
Butternut Squash Tortellini Skillet
Ingredients
Equipment
Method
- Heat 1 tbsp olive oil in a large cast iron skillet over medium heat and add the butternut squash cubes. Cook until sizzling and beginning to color, about 1-2 minutes with a fragrant, lightly golden look.
- Season the squash with salt, pepper, and garlic powder, tossing well. Cook uncovered for 8-10 minutes until golden on the bottom, with edges that look caramelized and slightly browned.
- Flip the squash and cook until tender, another 5-10 minutes. Look for fork-tender cubes with consistent browning across the pieces.
- Meanwhile, bring a pot of salted water to a boil and add the cheese tortellini. Cook according to package directions until pillowy and just cooked through.
- Drain the tortellini well. Make sure excess water is removed so the skillet won’t get watery.
- In a small pan over medium heat, melt 4 tbsp butter until it turns golden and nutty. Watch closely until you see brown bits at the bottom and a warm toasted aroma.
- Add 8-10 fresh sage leaves to the brown butter and fry until crisp. Use a visual cue of darkened, crisp edges bubbling in the butter.
- Add the drained tortellini to the skillet with the squash and toss gently. Mix just until coated, keeping the tortellini intact.
- Pour the brown butter and sage over the skillet and toss well. Stir until the sauce looks glossy and the sage is evenly distributed.
- Stir in 1/2 cup grated Parmesan cheese. Let it melt and cling to the pasta for a lightly creamy finish.
- Serve immediately with more Parmesan cheese on top. The dish should look richly coated, with visible crispy sage flecks.