
Burst cherry tomato pasta lands in that sweet spot between effortless and memorable: glossy noodles, jammy tomato sauce, garlic that perfumes the whole pan, and basil that keeps the finish bright instead of heavy. The tomatoes cook down just enough to collapse into their own juices, so you get a sauce that tastes concentrated and fresh at the same time. It is the kind of dinner that looks like you worked harder than you did.
What makes this version work is the order of operations. Garlic and red pepper flakes go into the olive oil first to bloom their flavor without burning, then the tomatoes go in and take their time giving up liquid. That reserved pasta water matters too, because the starch helps the sauce cling to the pasta instead of sliding off the bottom of the bowl. Parmesan goes in at the end, off the hottest part of the pan, so it melts into the sauce instead of clumping.
Below, I walk through the part that matters most: how to coax the tomatoes into a real sauce, not just a pile of softened skins. You’ll also find a few smart swaps and the few questions people usually have the first time they make it.
The tomatoes broke down into the glossiest sauce and the pasta water made it cling beautifully. I usually end up with a watery pan, but this one came together exactly in the time you said, and my daughter asked for seconds.
Save this burst cherry tomato pasta for the nights when you want a glossy one-pan dinner that tastes bright, garlicky, and a little restaurant-special.
The Real Trick Is Letting the Tomatoes Collapse, Not Just Warm Through
The biggest mistake with cherry tomato pasta is rushing the tomato stage. If you pull the pan off the burner too soon, you end up with hot tomatoes sitting in oil instead of a sauce that tastes unified and silky. Give them enough time to blister, split, and release their juices, and the whole skillet changes from scattered ingredients into something spoonable.
You’ll know you’re there when the tomatoes look wrinkled, a few have broken open completely, and the liquid in the pan has turned from clear oil into a reddish, lightly thickened gloss. Pressing a few tomatoes with the back of a spoon helps speed things along, but the real key is patience. The sauce should smell sweet and garlicky, not raw or sharply acidic.
What Each Ingredient Is Actually Doing in This Dish
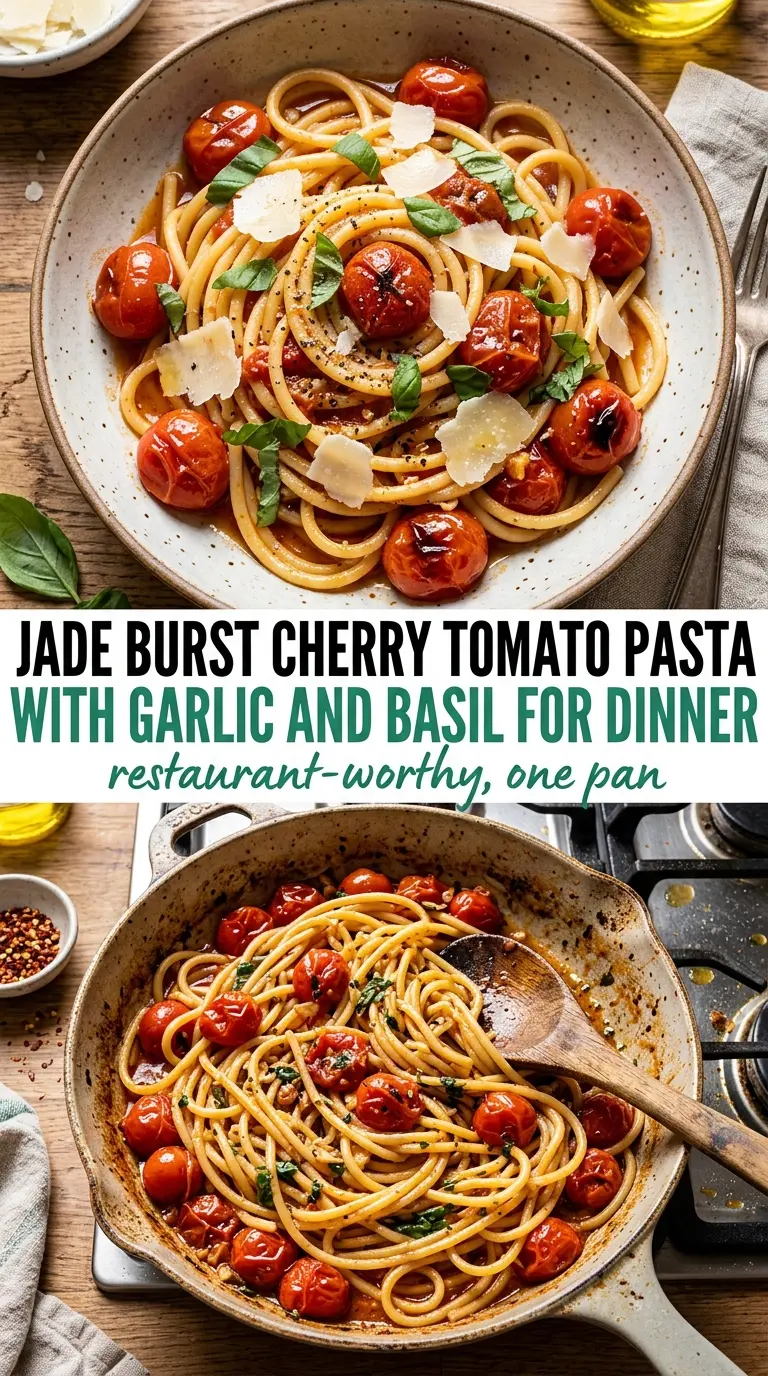
- Cherry tomatoes — These are the backbone of the dish. Their smaller size means they burst quickly and concentrate fast, which is why they work better here than large tomatoes that need peeling and longer cooking.
- Olive oil — Use a good one if you can taste the difference in your kitchen, because the sauce is built on it. It carries the garlic flavor and helps the pasta water emulsify into something glossy.
- Garlic — Slice it instead of mincing it. Sliced garlic holds up better in the oil and gives you sweet, mellow pieces that can actually be tasted in the finished pasta. If your garlic burns, the whole pan turns bitter, so keep the heat at medium and watch closely.
- Fresh basil — Add it at the end. Basil bruises and darkens fast, and its bright, peppery aroma is what keeps the sauce from feeling heavy. Dried basil won’t give you the same finish.
- Parmesan — Grated Parmesan brings salt and body. Freshly grated melts more smoothly than the shelf-stable stuff, and it’s worth using here because it helps finish the sauce without making it grainy.
Building the Pan Sauce in the Right Order
Bloom the Garlic Without Browning It
Warm the olive oil over medium heat, then add the sliced garlic and red pepper flakes. You want the garlic to go fragrant and just barely golden at the edges, not dark brown. If it darkens too quickly, pull the pan off the heat for a few seconds; burned garlic will carry through the whole dish.
Cook the Tomatoes Until They Give Up Their Juice
Add the cherry tomatoes and let them sit long enough to blister before you start pressing them. A few gentle nudges with a spoon are enough to break the first skins, and that release of juice is what starts the sauce. Keep cooking until most of the tomatoes have collapsed and the pan looks saucy, not oily.
Toss the Pasta Into the Sauce
Add the drained pasta straight into the skillet with a splash of reserved pasta water. Toss hard so the starch in the water can emulsify with the oil and tomato juices. If the pan looks dry before the noodles are coated, add another small splash of pasta water instead of more oil.
Finish With Basil and Parmesan Off the Heat
Stir in the basil and Parmesan at the end, when the pasta is still hot but the pan isn’t aggressively bubbling. That keeps the herbs bright and helps the cheese melt into the sauce instead of seizing into clumps. Taste for salt after the Parmesan goes in, because it adds more seasoning than most people expect.
What to Change When You Need a Different Version
Make It Dairy-Free
Skip the Parmesan and finish with a little extra olive oil plus a spoonful of nutritional yeast if you want a savory edge. The sauce stays glossy and bright, but it loses the salty, rounded finish that cheese gives. Taste carefully at the end and add more salt than you would with Parmesan in the pan.
Make It Gluten-Free
Use your favorite gluten-free spaghetti or linguine, but pull it from the water while it still has some bite. Gluten-free pasta can go soft fast once it hits the skillet, and the sauce needs that little bit of structure to cling properly. Save a generous amount of pasta water, because the starch level varies by brand.
Add Protein Without Losing the Sauce
Toss in cooked shrimp, sliced grilled chicken, or white beans at the very end. Anything that goes in should already be cooked, because the sauce comes together fast and you don’t want to overcook the tomatoes while waiting on protein. White beans are the easiest vegetarian option and soak up the garlic oil nicely.
Make It More Saucy for Leftover Lunches
Reserve an extra half cup of pasta water and loosen the finished pan a little more than you think you need. The sauce tightens as it sits, so a wetter finish gives you a better texture after reheating. This is the version I’d use if I knew lunch was coming the next day.
Storage and Reheating
- Refrigerator: Store in an airtight container for up to 3 days. The pasta will absorb some of the sauce, so it gets tighter as it sits.
- Freezer: Freezing isn’t ideal. The tomatoes and basil lose freshness, and the pasta turns soft after thawing.
- Reheating: Warm gently on the stove with a splash of water or broth over low heat, tossing until the sauce loosens again. The common mistake is blasting it in the microwave until the cheese separates and the pasta dries out.
Questions I Get Asked About This Recipe
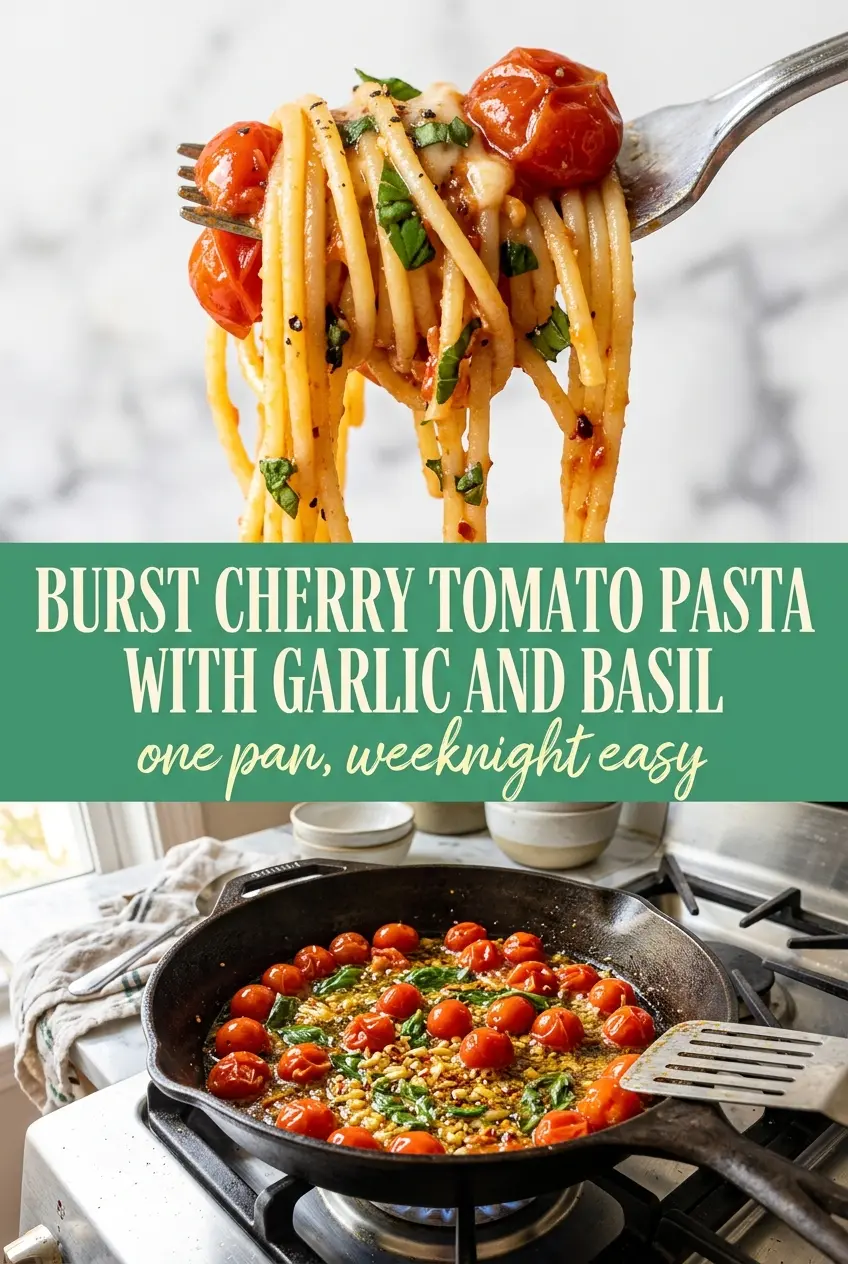
Burst Cherry Tomato Pasta With Garlic And Basil
Ingredients
Equipment
Method
- Cook the spaghetti or linguine in salted boiling water until al dente, then reserve 1 cup of pasta water before draining.
- Drizzle off the excess water and keep the pasta warm while you make the sauce in the skillet.
- Heat the olive oil in a large skillet over medium heat and add the garlic and red pepper flakes, cooking until fragrant, about 1-2 minutes, with a quick aroma cue.
- Add the cherry tomatoes to the skillet and cook, pressing occasionally, until they burst and release their juices, about 8-10 minutes, until glossy and saucy.
- Add the drained pasta to the skillet along with a splash of the reserved pasta water, tossing to coat until the noodles look glossy.
- Stir in the fresh basil and Parmesan until the Parmesan melts and the sauce clings to the pasta, turning jade-flecked and shiny.
- Season with salt and pepper and serve immediately while the sauce is at its brightest and most clingy texture.