
Brown butter, crisp sage, and tender gnocchi are one of those combinations that never gets old, and the roasted butternut squash gives this version a little more depth than the usual pan-tossed pasta bowl. The gnocchi turn golden in the skillet instead of staying soft and one-note, so you get a mix of pillowy centers and those toasty edges that catch the sauce. The squash adds sweetness without making the dish heavy, and the Parmesan pulls everything together with just enough salt to keep the butter from tasting flat.
The part that makes this work is treating each element on its own first. Roasting the squash concentrates its flavor and keeps it from collapsing into the sauce, while browning the butter before the sage goes in gives you that nutty base the whole dish depends on. If you rush either piece, the final bowl tastes fine; when you do both right, it tastes layered.
Below, I’ll walk through the small details that matter most, including how dark the butter should get before it turns from nutty to bitter and how to keep the gnocchi from going gummy in the pan.
The sage got perfectly crisp and the browned butter turned nutty without burning. I was worried the gnocchi would fall apart, but they browned up beautifully in the skillet and the squash stayed in nice little caramelized cubes.
Creamy browned butter gnocchi with roasted squash and crisp sage is the kind of cozy dinner you’ll want to keep on repeat.
The Difference Between Nutty Brown Butter and Burnt Butter
Brown butter is the backbone of this dish, and it only works if you watch it closely. Butter goes through a narrow window: first it foams, then the milk solids sink and start to toast, and then the color shifts from pale gold to amber with a smell that turns deep and nutty. That second stage is what you want. If it smells sharp or looks very dark with black specks, it’s gone too far and will taste bitter against the sweetness of the squash.
Sage needs that same careful timing. The leaves should go into the browned butter while it’s still hot enough to crisp them, but the garlic should wait until the very end so it perfumes the pan without scorching. Burnt garlic will dominate the whole dish fast, and once that happens there’s no pulling it back. The skillet should smell warm, toasty, and a little earthy before the gnocchi ever hits the pan.
What Each Ingredient Is Actually Doing in This Dish
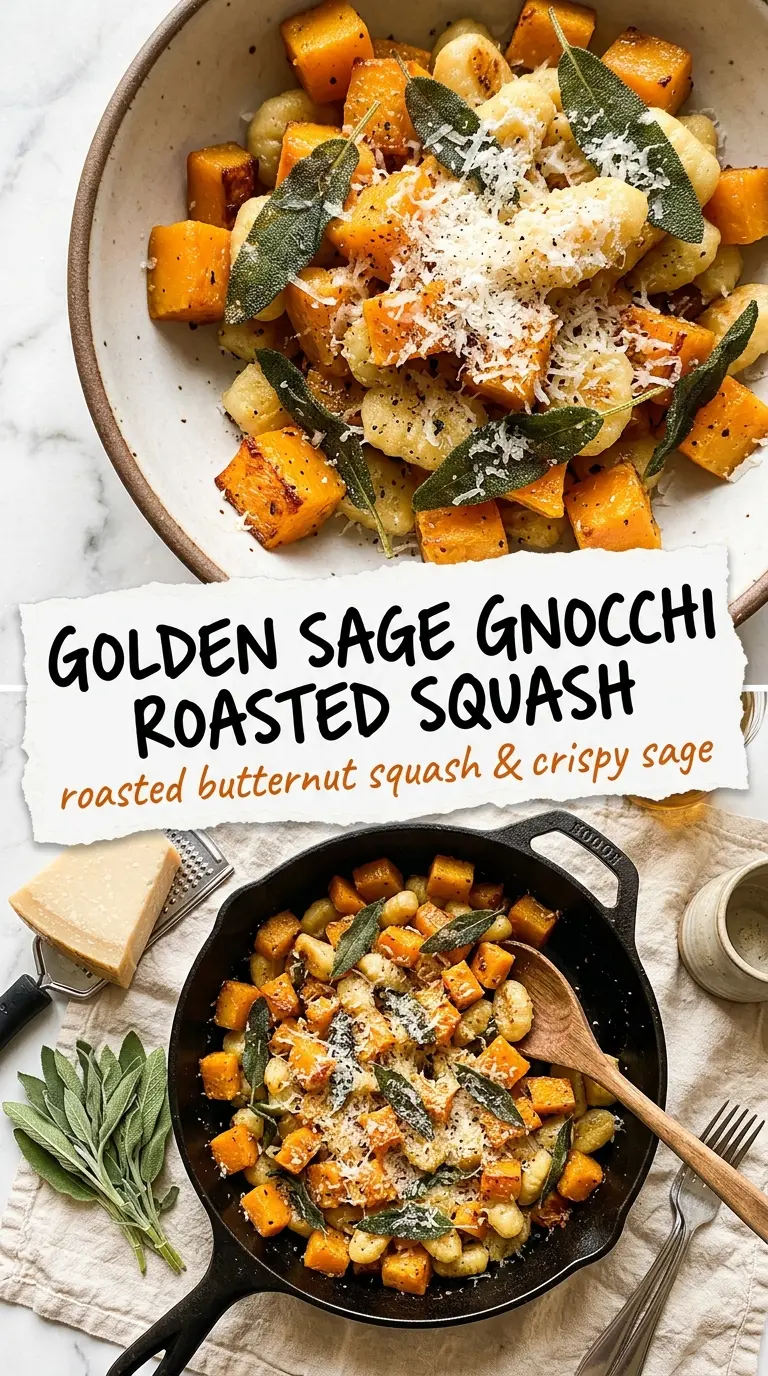
- Butternut squash — Roasting is what makes the squash taste caramelized instead of watery. Fresh squash is worth it here because frozen cubes usually soften too fast and won’t give you those browned edges. Cut the pieces into even cubes so they roast at the same pace.
- Potato gnocchi — Shelf-stable gnocchi works beautifully. You’re not trying to make them from scratch here; you’re giving packaged gnocchi a better texture by boiling them first and then toasting them in butter so they pick up some color and a little crispness.
- Butter — This is the sauce, so use the good stuff if you can. Unsalted butter gives you more control, but salted will work if that’s what you have. The browning step matters more than the brand; stop when it smells nutty and the solids are golden, not mahogany.
- Fresh sage — Dried sage won’t give you the same crisp-edged leaves or the same clean herbal note. Fresh sage fries quickly and perfumes the butter without making it muddy. If your leaves are large, tear them once so they don’t clump in the pan.
- Parmesan — The cheese adds salt and a little body, but it also helps the butter cling to the gnocchi and squash. Grate it finely so it melts into the pan instead of sitting in shreds on top.
- Walnuts — Optional, but they add a welcome crunch against the soft gnocchi. Toasted pecans work too if that’s what you have. Skip the nuts if you want a softer finish; the dish still holds together without them.
How to Build the Skillet So the Gnocchi Stays Light
Roasting the Squash First
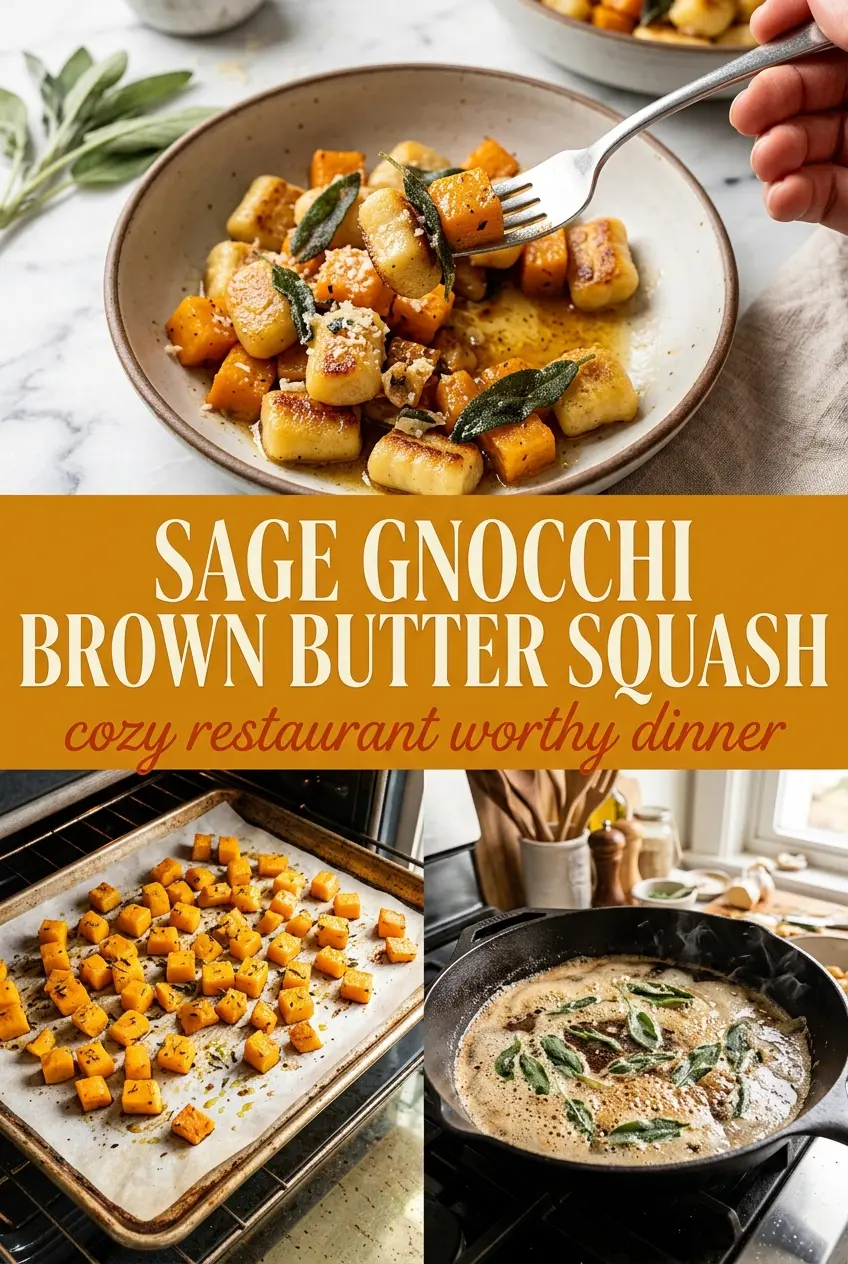
Toss the squash with olive oil, salt, and pepper, then spread it out on the baking sheet in a single layer. Crowding the pan traps steam and gives you soft squash instead of browned edges, so use two trays if the cubes are packed in tight. You want tender centers and a few caramelized spots when it comes out of the oven.
Boiling the Gnocchi Briefly
Cook the gnocchi just until they float and are tender, then drain them well. If they sit in water too long, they’ll turn heavy and waterlogged, which makes it harder to get good color in the skillet. Let the steam escape for a minute or two before they hit the pan.
Browning the Butter and Crisping the Sage
Melt the butter over medium heat and keep the pan moving as the foam settles. The second the milk solids turn golden and smell nutty, add the sage leaves; they’ll sizzle and crisp in under a minute. Pull the pan off the heat before the garlic goes in so it softens in the residual heat instead of burning in the butter.
Toasting the Gnocchi and Finishing the Toss
Add the drained gnocchi to the skillet and leave them alone long enough to pick up some color before stirring. If you keep tossing them too early, they’ll smear and break instead of developing those browned sides. Fold in the roasted squash, walnuts if you’re using them, and Parmesan at the end so the cheese melts just enough to coat everything without turning sticky.
Three Ways to Make This Gnocchi Work for Your Kitchen
Dairy-Free Version
Swap the butter for a plant-based butter that browns well and skip the Parmesan or use a dairy-free hard cheese. The result won’t have quite the same deep nutty flavor as real browned butter, but you’ll still get a rich skillet sauce if you watch the heat carefully.
Make It Gluten-Free
Use certified gluten-free gnocchi, since some packaged versions contain wheat. The rest of the ingredients fit naturally, and the method stays the same. Keep an eye on the pan because gluten-free gnocchi can soften faster once they’ve been boiled.
Skip the Walnuts for a Smoother Finish
Leave the nuts out if you want the dish to lean soft and silky rather than crunchy. You can add toasted pumpkin seeds instead for a different kind of bite, but the gnocchi and squash already carry plenty of texture on their own.
Storage and Reheating
- Refrigerator: Store leftovers in an airtight container for up to 3 days. The gnocchi will soften a little, and the sauce will thicken as it chills.
- Freezer: I don’t recommend freezing this dish. The gnocchi and squash both lose their best texture after thawing, and the butter sauce can separate.
- Reheating: Warm it in a skillet over low heat with a splash of water to loosen the sauce. Microwaving works in a pinch, but it tends to make the gnocchi rubbery and the sage lose its crisp edge.
Answers to the Questions Worth Asking
Brown Butter Sage Gnocchi With Butternut Squash
Ingredients
Equipment
Method
- Preheat the oven to 400F and toss the butternut squash cubes with olive oil, salt, and pepper until evenly coated.
- Roast the squash on a sheet pan for 20-25 minutes until tender and golden, tossing halfway through so the cubes caramelize evenly.
- Bring a pot of salted water to a boil and cook the potato gnocchi according to package directions, then drain.
- Melt the butter in a large skillet over medium heat and cook until golden brown and nutty-smelling, watching closely to avoid burning.
- Add the sage leaves and fry until crisp, about 1 minute, then stir in the thinly sliced garlic at the end so it doesn't burn.
- Add the gnocchi to the skillet and cook for about 2 minutes per side until golden and toasted.
- Toss in the roasted squash, walnuts if using, and Parmesan cheese, then season with salt and pepper before serving.