
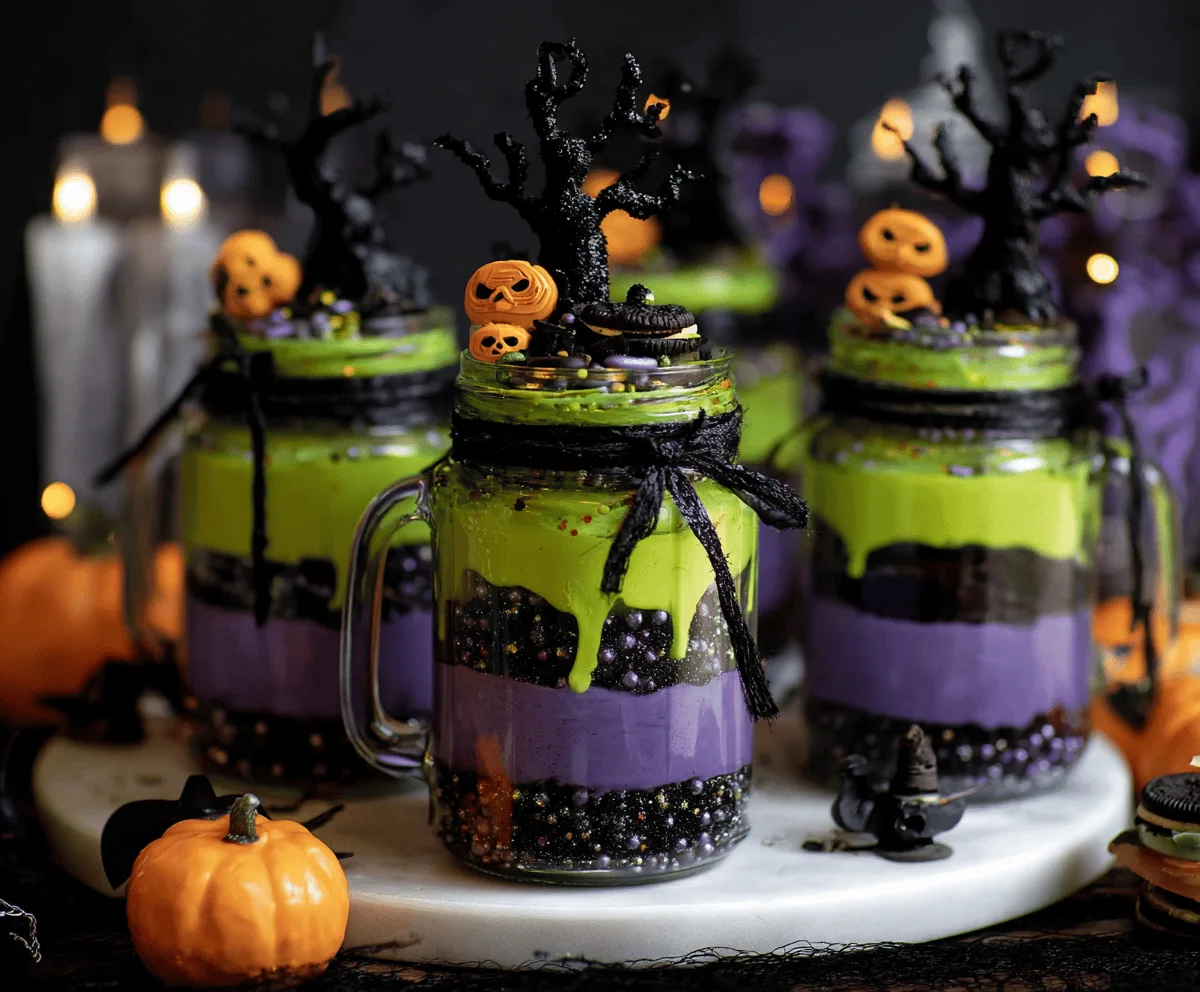
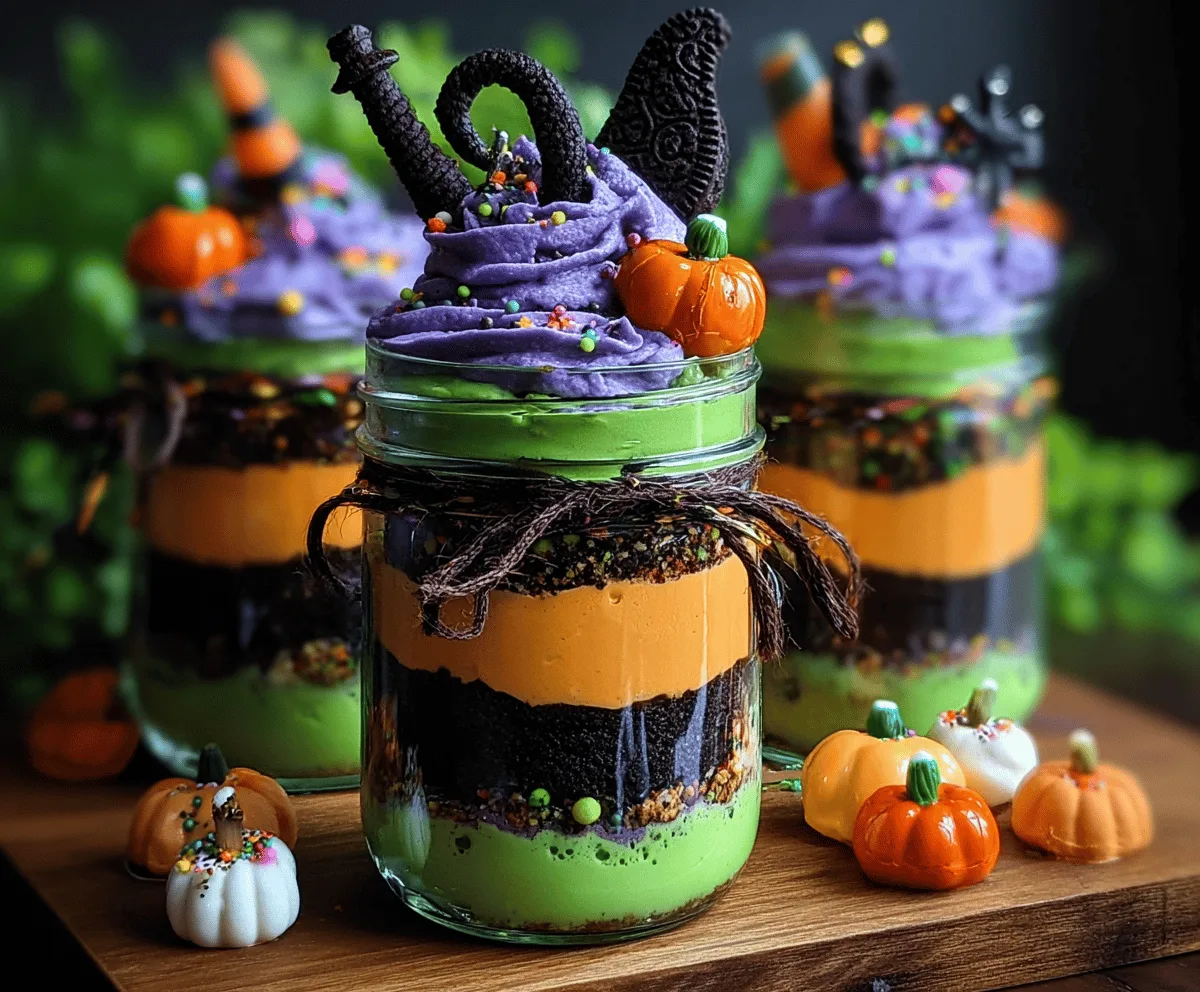
Witches’ Brew Halloween Cake Jars are fun little treats filled with layers of moist cake, creamy frosting, and spooky decorations that make them perfect for Halloween. Each jar is like a mini dessert potion, with colorful layers that look as good as they taste.
I love making these because they’re easy to customize—add your kids’ favorite cake flavors, sprinkle in some candy eyes, or top with whipped cream and edible glitter for a magical finish. Plus, serving them in jars makes cleanup simple and adds a cute touch to your Halloween party table.
Whenever I bring these jars to a Halloween gathering, they disappear quickly because everyone enjoys having their own personal cake treat without the mess. They’re super fun to make with kids too, turning baking into a creative, hands-on activity full of laughter and maybe a little messy frosting on faces!
Key Ingredients & Substitutions
Chocolate Cake: This is the base, giving that rich and moist texture. You can use a box mix or bake from scratch. If you want a gluten-free version, use your favorite gluten-free chocolate cake mix.
Colored Frostings: Vanilla frosting dyed green, orange, and purple adds the Halloween vibe. If you prefer dairy-free, use a vegan frosting or make your own with coconut cream and powdered sugar.
Crushed Cookies: Oreos are great for their dark color and crunch. You can swap for chocolate graham crackers or vegan cookies if needed.
Decorations: Fun toppings like mini pumpkins, licorice, and Oreos make the jars festive. Candy pumpkins or homemade fondant shapes work well too!
How Do You Get Neat Layers in Cake Jars?
Layering is what makes these jars look amazing! Here’s how to get clean layers without mixing:
- Use a small spoon or spatula to gently press each layer down.
- For frosting layers, scoop gently and spread with the back of a spoon to an even layer.
- Crumble cake finely so it fits smoothly and won’t clump.
- Chill jars between layers if you want firmer separation, but it’s not necessary.
- Take your time and be patient. The slow layering adds to the fun and the final look!
Equipment You’ll Need
- 9×13 inch pan – I use it to bake the cake easily and get even layers.
- Mixing bowls – helpful for dividing and coloring the frosting and mixing the cookie crumbs.
- Small spoon or spatula – keeps layers neat and helps gently press down ingredients.
- Whisk or hand mixer – for blending the frosting smoothly and quickly.
- Sharp knife – to cut or halve Oreos for decorations.
- 8 oz glass jars – these are perfect for making your cake jars portable and look adorable!
- Decorating tools (piping bag, tweezers) – optional but fun for adding fancy frosting swirls and decorations.
Flavor Variations & Add-Ins
- Use vanilla or yellow cake instead of chocolate for a different flavor base.
- Mix in spooky candies like gummy worms, candy eyes, or sprinkles inside layers for extra fun.
- Swap the frosting colors to match your favorite Halloween characters or themes—think black and orange for classic, or green and purple for more witchy vibes.
- Add a splash of flavored extracts like peppermint or vanilla to customize the frosting taste.
Equipment You’ll Need for Witches’ Brew Halloween Cake Jars
- 9×13 inch baking pan – for baking the cake evenly.
- Mixing bowls – to divide and tint your frosting colors.
- Whisk or hand mixer – for smooth frosting mixing.
- Spoons or small spatulas – to layer cake and frosting neatly into jars.
- Piping bag or plastic bag with the tip cut off – to decorate with purple frosting swirls.
- Sharp knife – to cut or halve Oreos for decoration.
- 8-ounce glass jars – perfect size for individual cake layers and serving.
- Optional: twine, ribbon, or decorative tags – to add a festive, rustic touch to your jars.
Flavor Variations & Fun Add-Ins
- Cake Base: Use vanilla or red velvet cake instead of chocolate for different flavors.
- Frosting Colors: Switch colors to black and orange for classic Halloween or add metallic food dust for sparkle.
- Mix-Ins: Add gummy worms, candy eyes, or edible glitter between layers for an extra spooky surprise.
- Frosting Flavors: Add peppermint, almond, or citrus extract to your frosting for a unique twist.
- Alternative Toppings: Use candy corn, chocolate spiders, or candy pumpkins instead of licorice and Oreos.
Can I Use Store-Bought Frosting for This Recipe?
Absolutely! Store-bought vanilla frosting works great and saves time. Just divide and color it as instructed to get those fun Halloween shades.
How Long Can I Store These Cake Jars?
You can keep the cake jars covered in the fridge for up to 3 days. Make sure the lids are sealed well to keep the frosting fresh and prevent drying out.
Can I Make These Ahead of Time?
Yes! Assemble your jars a day in advance and keep them refrigerated. Just add delicate decorations like licorice or mini pumpkins right before serving for the best look.
What If I Don’t Have Small Glass Jars?
No worries! You can use small clear plastic cups or even ramekins. Just layer carefully and decorate on top for a similar festive effect.