
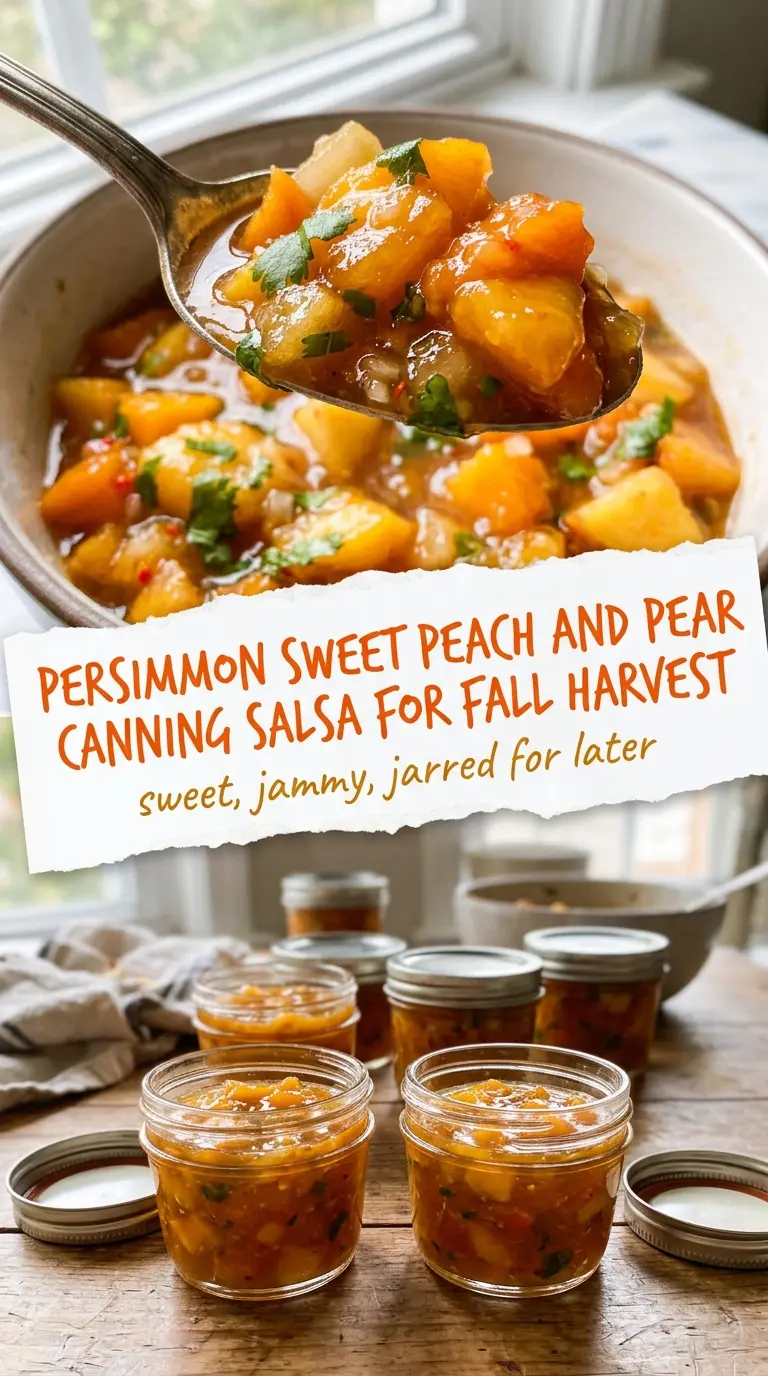
Sweet peach and pear salsa lands in that sweet spot between bright fruit relish and a jarred condiment you’ll actually reach for all year. The peaches bring softness and perfume, the pears add body, and the jalapeños keep the whole thing from tipping into dessert territory. After a slow simmer, it turns glossy and jammy, with softened onion and a little vinegar bite that makes every spoonful taste balanced instead of sugary.
What makes this version work is the way the fruit breaks down together. Peaches collapse first, pears hold their shape a little longer, and that gives the salsa a chunky-but-spreadable texture without needing any thickeners. The apple cider vinegar does more than add tang; it keeps the sweetness in check and gives the finished jars the kind of lift canned fruit salsas need. Stirring in the cilantro at the end keeps it from fading into the pot.
Below, I’ve included the canning detail that matters most, along with the swaps that still keep the texture right. If you’ve ever had fruit salsa turn watery, or wondered why some batches taste flat after processing, this walkthrough will help you avoid both.
The salsa thickened up exactly right and stayed chunky after processing. I used it on pork chops the next night and my husband kept saying it tasted like a fall harvest jarred up.
Sweet peach and pear salsa keeps that jammy texture and bright heat you’ll want to save for pork, chips, and cheese boards.
The part that keeps fruit salsa from turning into peach soup
Fruit salsa sounds simple until the pot starts to fill with juice. Peaches and pears both release a lot of liquid as they heat, and if you rush the cook or crank the burner too high, you end up with a thin sauce instead of a spoonable salsa. The goal is not to blast moisture out fast. The goal is to let the fruit soften, concentrate, and settle into a thick, glossy base.
The other mistake is chopping everything too fine. Small pieces disappear before the end of the simmer, especially once the salsa gets processed in jars. A little chunk gives the finished salsa structure, and that texture matters when you’re serving it with tortilla chips or spooning it over grilled meat. The jalapeños should be minced small enough to spread evenly, but not so fine that they vanish completely.
What Each Ingredient Is Actually Doing in This Dish
- Peaches — Use ripe but not collapsing fruit. They bring the sweetness and aroma, but overripe peaches can break down into a puree before the pears are ready.
- Pears — Firm pears hold the salsa together. If yours are very soft, cut the simmer a little short so the batch doesn’t turn loose and saucy.
- Apple cider vinegar — This is what gives the salsa the sharp edge it needs for canning and for balance on the plate. Don’t swap in a weaker vinegar unless you’ve checked that it’s safe for preserving.
- Jalapeños — Two peppers give the salsa a warm background heat without making it hot. Seed them for a milder jar, or leave some seeds in if you want more bite.
- Fresh cilantro — Add it at the end so the flavor stays green and lively. Cooking it too long dulls the whole batch.
How to cook it down without losing the fruit
Starting the pot with the fruit and onion
Combine the peaches, pears, red onion, and jalapeños in your largest heavy pot. Give everything a stir before adding the vinegar, sugar, and salt so the fruit starts releasing its own juice evenly. If the pot is too small, the salsa takes longer to reduce and the bottom can scorch before the top has a chance to soften.
Letting the simmer do the work
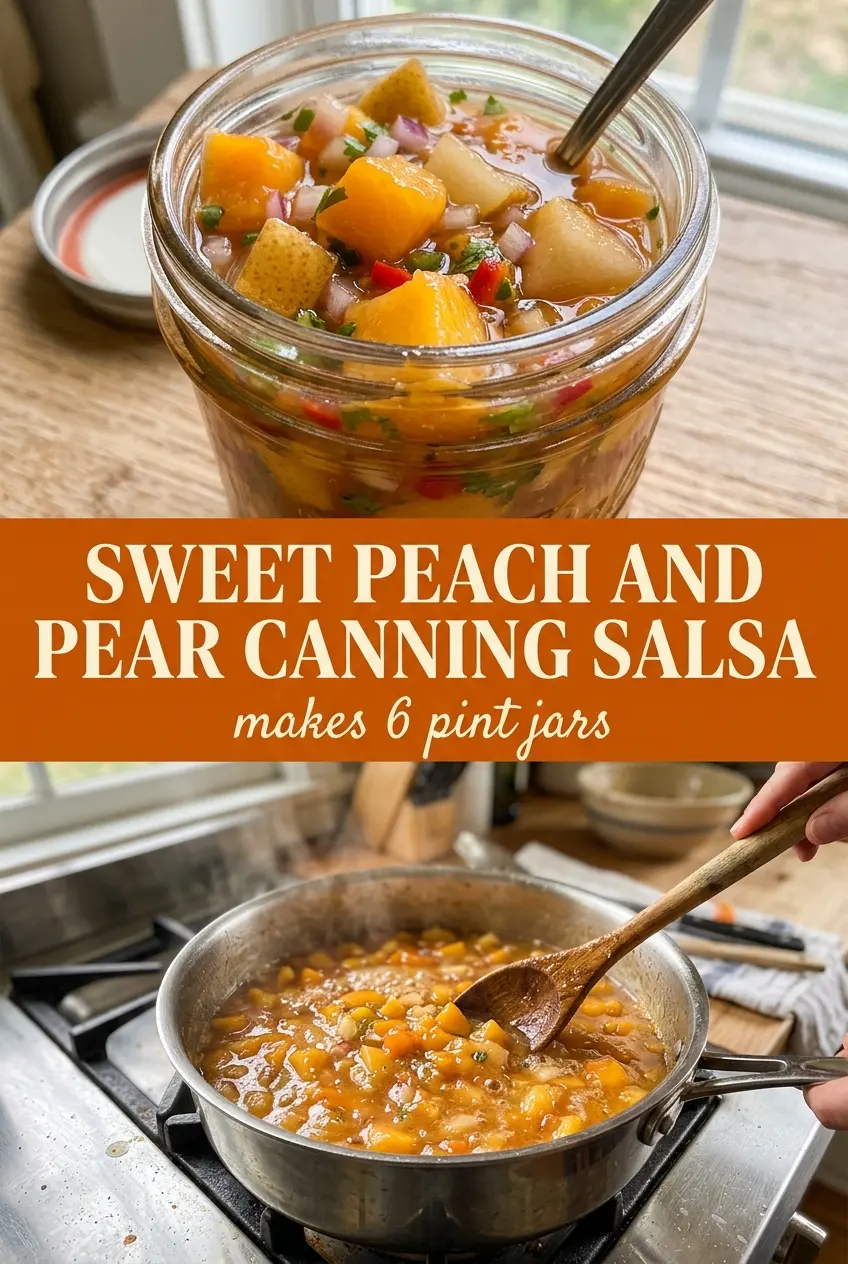
Bring the mixture to a gentle simmer, then lower the heat enough that you see steady bubbles around the edges, not a hard boil. Stir occasionally, scraping the bottom so nothing catches. After about 25 to 30 minutes, the fruit should look glossy and thick, with some pieces still visible but softened through. If it still looks soupy, keep simmering; watery salsa is usually a sign it needed more time, not more sugar.
Finishing with cilantro and filling the jars
Stir in the cilantro right before canning so the batch keeps a fresh herbal note. Ladle the salsa into sterilized pint jars with 1/2-inch headspace, then wipe the rims clean before sealing. Process in a boiling water bath according to safe canning guidelines for your altitude and jar size. The most common mistake here is underfilling the jars to try to prevent siphoning; leaving the correct headspace and a steady boil gives you a better seal and a cleaner finish.
How to adapt this peach and pear salsa for different kitchens
Milder Salsa for Kids or Heat-Sensitive Cooks
Use one jalapeño instead of two, and remove every seed and membrane before mincing. You’ll still get the savory pepper note that keeps this from tasting like dessert, but the heat drops enough that it works for people who don’t like much spice.
Sharper, Brighter Salsa
If your fruit is extra sweet, add another tablespoon of vinegar after the simmer and taste before jarring. That extra acidity cuts through the syrupy edge and keeps the finished salsa tasting lively instead of candy-like.
Cilantro-Free Version
If cilantro tastes soapy to you, leave it out and add a little minced flat-leaf parsley for freshness. You’ll lose some of the classic salsa character, but the jar still tastes balanced and clean.
Small-Batch Freezer Option
If you’re not canning, cool the cooked salsa completely and freeze it in rigid containers with a little headspace. The texture softens after thawing, but the flavor stays strong and it’s a good fallback when you want the taste without the full preserving process.
Storage and Reheating
- Refrigerator: Store opened jars in the fridge for up to 2 weeks. The salsa may loosen a little as it chills, but the flavor stays bright.
- Freezer: This salsa freezes well if you skip the canning step and use freezer-safe containers. Leave headspace because the fruit will expand slightly.
- Reheating: Serve it cold or at room temperature. If you want it warm over meat, heat it gently on low so the fruit doesn’t break down into a thin sauce.
Answers to the questions worth asking
Sweet Peach and Pear Canning Salsa
Ingredients
Equipment
Method
- Combine peaches, pears, red onion, and jalapeños in a large pot over medium heat. Stir so the fruit and aromatics are evenly mixed and coated.
- Add apple cider vinegar, sugar, and salt, then bring the mixture to a simmer at 205°F–212°F. Keep stirring as it heats so sugar and salt dissolve.
- Simmer for 25–30 minutes at 205°F–212°F, stirring occasionally, until slightly thickened and jammy. Watch for a glossy, spoon-coating texture.
- Stir in fresh cilantro just before canning. Mix for 30–60 seconds so it stays bright and fragrant.
- Ladle hot salsa into sterilized pint jars, leaving 1/2-inch headspace. Wipe rims clean and remove air bubbles as needed before sealing.
- Process the jars in a water bath canner according to safe canning guidelines. Continue processing until the full recommended time is reached, then let jars cool undisturbed.