
Slow cooker beef chili turns into a thick, hearty bowl with the kind of deep, smoky flavor that keeps people hovering near the pot for seconds. The beef breaks down into the tomato base, the beans stay intact without turning mushy, and the whole thing finishes with a spoon-coating texture that feels like it cooked for twice as long as it did. It’s the kind of chili that tastes even better after it sits for a bit, which is exactly why it earns repeat status.
The part that matters most here happens before the slow cooker lid ever goes on. Browning the beef with the onion gives you a richer base than dumping raw meat straight into the crockpot, and draining off the excess fat keeps the finished chili thick instead of slick. Tomato paste does a lot of heavy lifting too; it adds body and a concentrated tomato depth that canned tomatoes alone can’t build on their own.
Below, I’ll walk through the one step people skip that changes the texture, plus the best way to adjust the heat, make it ahead, and keep leftovers tasting just as good the next day.
The beef stayed tender, the chili thickened up beautifully, and the tomato paste gave it that rich, slow-cooked flavor without needing anything fancy. I let it sit on warm for an hour before dinner and it tasted even better.
Save this slow cooker beef chili for the nights when you want a thick, smoky chili with almost no hands-on time.
The Trick to Thick Chili in a Slow Cooker Without a Watery Finish
Slow cookers trap moisture, which is great for tenderness and a problem for chili if you start with too much liquid. The goal here is not a soup that later becomes chili; it’s a chili base that stays dense from the beginning. Tomato paste is the big reason that works, because it brings both concentration and natural thickening power.
Beans help, but they don’t fix a thin base by themselves. The texture comes from building the pot with browned beef, cooked onion, and enough tomato paste to give the broth some backbone. If your chili has ever come out tasting good but looking loose, this is the difference.
What Each Ingredient Is Actually Doing in This Dish
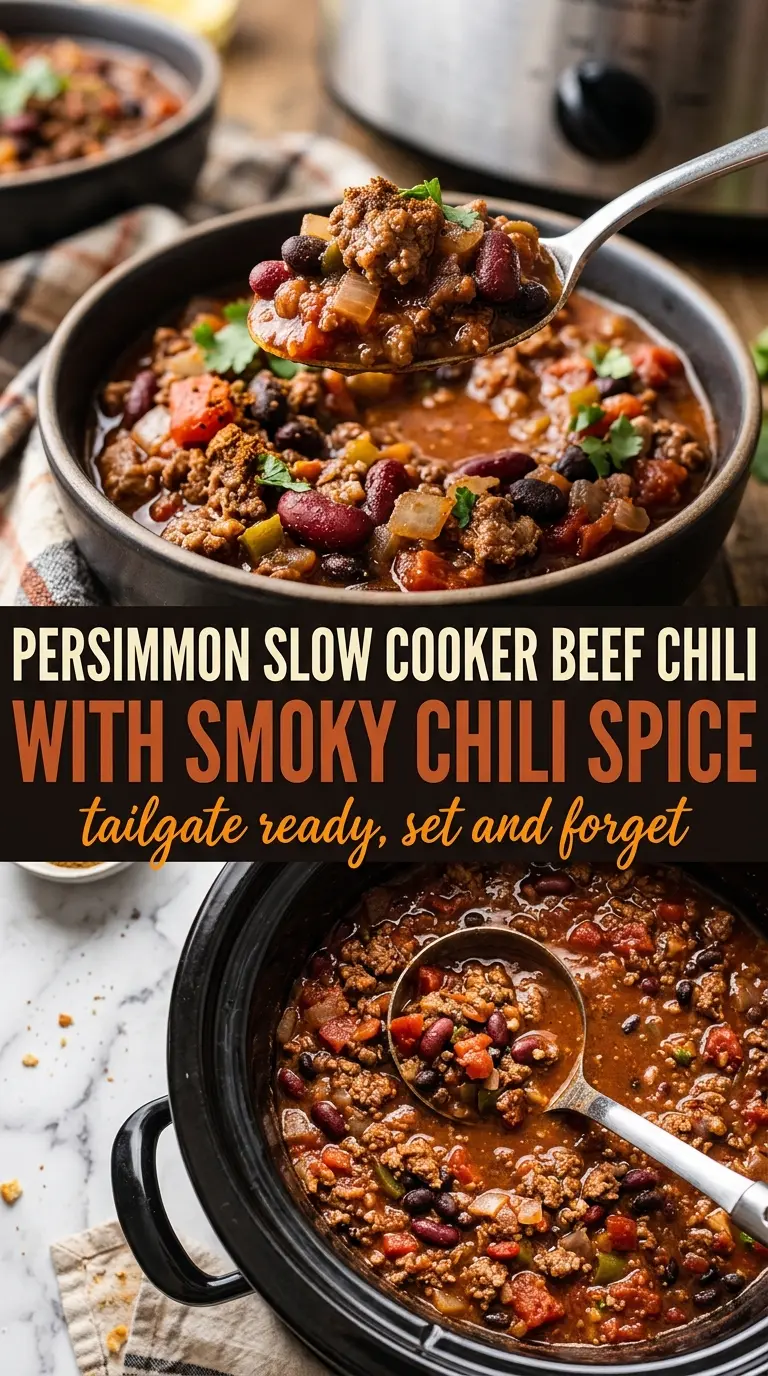
- Ground beef — Use a beef with enough fat for flavor, then drain the excess after browning. Extra grease in the slow cooker settles on top and makes the chili taste heavy instead of rich.
- Onion — Dicing it fine helps it melt into the chili as it cooks. Large chunks stay obvious in the finished bowl and can throw off the texture.
- Tomato paste — This is the ingredient that gives the chili body. Don’t swap it for more diced tomatoes unless you also reduce the added liquid elsewhere, because paste is doing a very different job.
- Kidney beans — Their firm texture holds up through the long cook. If you use a softer bean, add it closer to the end so it doesn’t collapse.
- Chili powder, cumin, and smoked paprika — This trio builds the warm, smoky base. Chili powder carries the blend, cumin adds earthiness, and smoked paprika gives the pot that slow-cooked depth even before the lid has been on for hours.
Building the Pot So the Flavor Has Somewhere to Go
Browning the Beef First
Cook the beef with the diced onion until the meat loses its pink color and the onion softens and turns translucent at the edges. You want some browning in the pan, because that’s where the savory flavor starts. If the beef is dumped in raw, the chili can taste flat and the texture turns softer than it should.
Stirring in the Base Ingredients
Transfer the beef mixture to the slow cooker, then add the beans, diced tomatoes, and tomato paste. Stir until the paste disappears into the liquid and no thick red streaks are left behind. That step matters because tomato paste clumps if it isn’t mixed well, and those little pockets stay harsh instead of mellowing into the chili.
Seasoning for Long Cook Time
Add the chili powder, cumin, smoked paprika, salt, and pepper before cooking so the spices have time to bloom in the sauce. The chili should look loose at the start; it tightens as it cooks and thickens. If the mixture seems dry before it goes on, it usually means the tomatoes weren’t stirred through well enough, not that it needs more liquid.
Cooking Until the Texture Settles
Cover and cook on low for 6 to 8 hours, or on high for 3 to 4 hours, until the chili looks thick and the flavors taste integrated. Stir once or twice if you’re nearby, but don’t keep lifting the lid — every peek lets heat and steam escape. The chili is ready when the beans are tender, the beef is fully infused with the spices, and the broth has taken on a glossy, spoon-coating look.
Three Useful Ways to Change This Chili Without Losing the Point
Make it dairy-free and keep it rich
The base recipe is already dairy-free, so the real work is in the toppings. Skip cheese or sour cream and use avocado, sliced jalapeños, cilantro, or crushed tortilla chips instead. You keep the deep, smoky bowl-meal feel without changing the chili itself.
Swap the beans for a lower-carb bowl
Leave out the kidney beans and add an extra 1/2 pound of beef if you want a thicker, meat-forward chili with fewer carbs. The texture becomes denser and more stew-like, and you may want a little less cooking time since there’s less starch in the pot to hold everything together.
Use ground turkey instead of beef
Ground turkey works, but it needs the onion and spices even more because it brings less built-in flavor. Brown it well and don’t skip draining if there’s excess moisture. The finished chili will be lighter and a little cleaner tasting, though not as deep as the beef version.
Storage and Reheating
- Refrigerator: Store for up to 4 days. The chili thickens as it chills, so expect a denser texture the next day.
- Freezer: Freezes well for up to 3 months. Cool it completely, portion it into airtight containers, and leave a little space at the top for expansion.
- Reheating: Reheat on the stove over medium-low heat or in the microwave in short bursts, stirring between rounds. If it looks too thick, add a splash of broth or water; the common mistake is cranking the heat too high and scorching the bottom before the center is hot.
Questions I Get Asked About This Slow Cooker Beef Chili

Slow Cooker Beef Chili
Ingredients
Equipment
Method
- Brown the ground beef with the diced onion in a skillet over medium-high heat until the beef is no longer pink, then drain excess fat.
- Transfer the beef mixture to the crockpot and stir in the kidney beans, diced tomatoes, and tomato paste.
- Season with chili powder, cumin, smoked paprika, salt, and pepper, stirring to evenly coat the mixture.
- Cover and cook on low for 6-8 hours, stirring occasionally, until thick and bubbling around the edges.
- Alternatively, cover and cook on high for 3-4 hours, stirring occasionally, until the beans are tender and the chili is thick.
- Serve warm with your favorite chili toppings.