
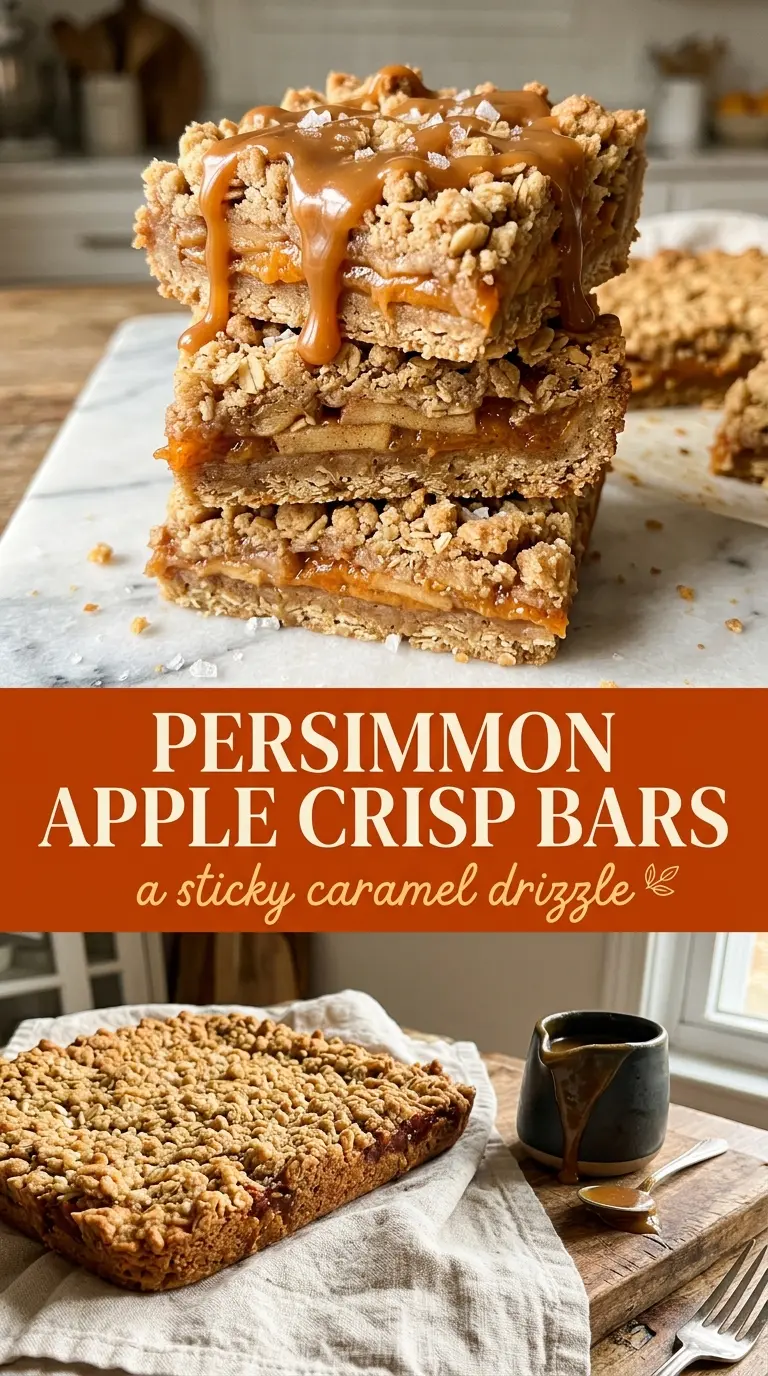
Buttery shortbread, tender cinnamon apples, and a crumbly oat top turn these salted caramel apple crisp bars into the kind of dessert that disappears fast once the pan hits the table. The base stays firm enough to slice cleanly, the apples bake down soft without turning watery, and the caramel plus flaky salt gives each square that sweet-salty finish people keep going back for.
What makes these bars work is the layered bake. The crust gets a head start in the oven, so it stays sturdy under the apples instead of collapsing into a soggy bottom. Tossing the apples with just a little flour helps catch their juices as they bake, and using melted butter in the topping gives you those sandy, craggy crumbs that brown evenly instead of staying pasty.
Below, I’ve laid out the small details that matter most: how to keep the crust from crumbling when you slice the bars, why the caramel goes on after cooling, and a few smart swaps if you need to work with what’s already in your pantry.
The crust held together beautifully and the apples baked up soft without getting mushy. I waited to drizzle the caramel until it was cool like the recipe said, and the bars cut into neat squares instead of falling apart.
These salted caramel apple crisp bars are the kind of dessert that slices clean and still gives you that sticky caramel finish.
The Crisp-Bar Mistake That Makes the Bottom Layer Soggy
The biggest failure point in bars like these is letting the apple juices run straight into the crust before it has a chance to set. That’s why the crust bakes first for a short stretch on its own. It dries out just enough to stand up to the fruit, so you get distinct layers instead of a damp, doughy base.
The other thing people get wrong is slicing too soon. Warm caramel and hot apples will slide around, and the topping will look set when it’s still fragile underneath. Let the pan cool all the way through. That waiting time is what gives you clean edges and a crust that holds together when you lift the bars out.
What Each Ingredient Is Actually Doing in These Bars
- All-purpose flour — It shows up in both the crust and the topping because it gives structure without making the bars cakey. In the filling, that little bit of flour helps thicken the apple juices so they stay in the bars instead of puddling on the pan.
- Brown sugar — This is doing more than sweetening. It brings moisture and a deeper caramel note to both the crust and the crumb, which matters here because the apples and caramel already bring plenty of sweetness.
- Cold butter — Cold butter is what keeps the crust tender and short. If it softens too much before baking, the base turns greasy instead of crisp. Cube it straight from the fridge and press it in while the pieces are still cool.
- Apples — Firm baking apples are the best choice because they hold their shape after a 40-minute bake. Softer apples will collapse and go mushy. Slice them thin so they cook through at the same pace as the topping; thick wedges stay firm in the middle.
- Rolled oats — These give the top that real crisp-bar texture. Quick oats will work in a pinch, but the topping will be finer and less rustic. Old-fashioned oats give you better chew and more defined crumbles.
- Caramel sauce — Drizzling it after the bars cool keeps it glossy and thick instead of soaking into the crumb. Store-bought caramel is fine here. Homemade is lovely, but it’s not necessary for the bars to taste finished.
Building the Layers So the Bars Slice Cleanly
Pressing the Base Without Overworking It
Mix the crust just until the flour disappears and the mixture looks like damp sand with a few larger crumbs. Then press it firmly into the parchment-lined pan. If you pack it loosely, the bars will crumble when you cut them. A flat-bottomed measuring cup helps get an even layer without warming the butter with your hands.
Letting the Apples Carry Their Own Juices
Toss the sliced apples with flour, brown sugar, and cinnamon until every piece looks lightly coated. That coating matters because apples release juice as they bake, and the flour helps turn that into a glossy filling instead of a watery one. Spread the fruit in an even layer so the top bakes at the same rate across the pan, not just in the center.
Watching the Crumb for the Right Color
Mix the oats, flour, brown sugar, and melted butter until you have chunky crumbs, not a paste. Sprinkle the topping loosely over the apples so the heat can move through it and crisp the edges. Pull the pan when the top is deeply golden and the apples feel tender if you nudge them with a knife; pale crumb usually means the center still tastes floury.
Cooling Before the Caramel Goes On
Give the pan the full cool-down before you drizzle the caramel. If you add it while the bars are hot, it sinks in and disappears into the topping. On a cooled pan, it stays in a neat ribbon on top, and the flaky salt settles into the caramel instead of dissolving.
Three Practical Ways to Adapt These Bars
Gluten-Free Version
Use a good 1:1 gluten-free baking blend in place of the all-purpose flour. The texture will be a little more delicate, so let the bars cool completely before lifting them from the pan. The oat topping still gives you that crisp finish, but the base won’t have quite the same chew as the original.
Dairy-Free Swap
Replace the butter with a solid dairy-free baking stick, not a soft tub spread. You want a product that behaves like butter in the oven, or the crust and topping can turn greasy. The flavor stays close to the original, especially once the caramel and salt go on.
Using Pears Instead of Apples
Firm pears can work if you want a softer, more floral filling. Pick pears that still feel slightly firm at the neck, and watch the bake closely because they break down faster than apples. The bars will taste a little sweeter and less tart, so the flaky salt becomes even more important.
Storage and Reheating
- Refrigerator: Store covered for 4 to 5 days. The topping will soften a little in the fridge, but the bars still hold their shape well.
- Freezer: These freeze well. Wrap individual bars tightly and freeze up to 2 months. Freeze before adding the caramel if you want the cleanest texture.
- Reheating: Warm bars in a 300F oven for 8 to 10 minutes if you want the topping to crisp back up. The microwave will heat them faster, but it softens the crust and turns the caramel loose.
Questions I Get Asked About This Recipe
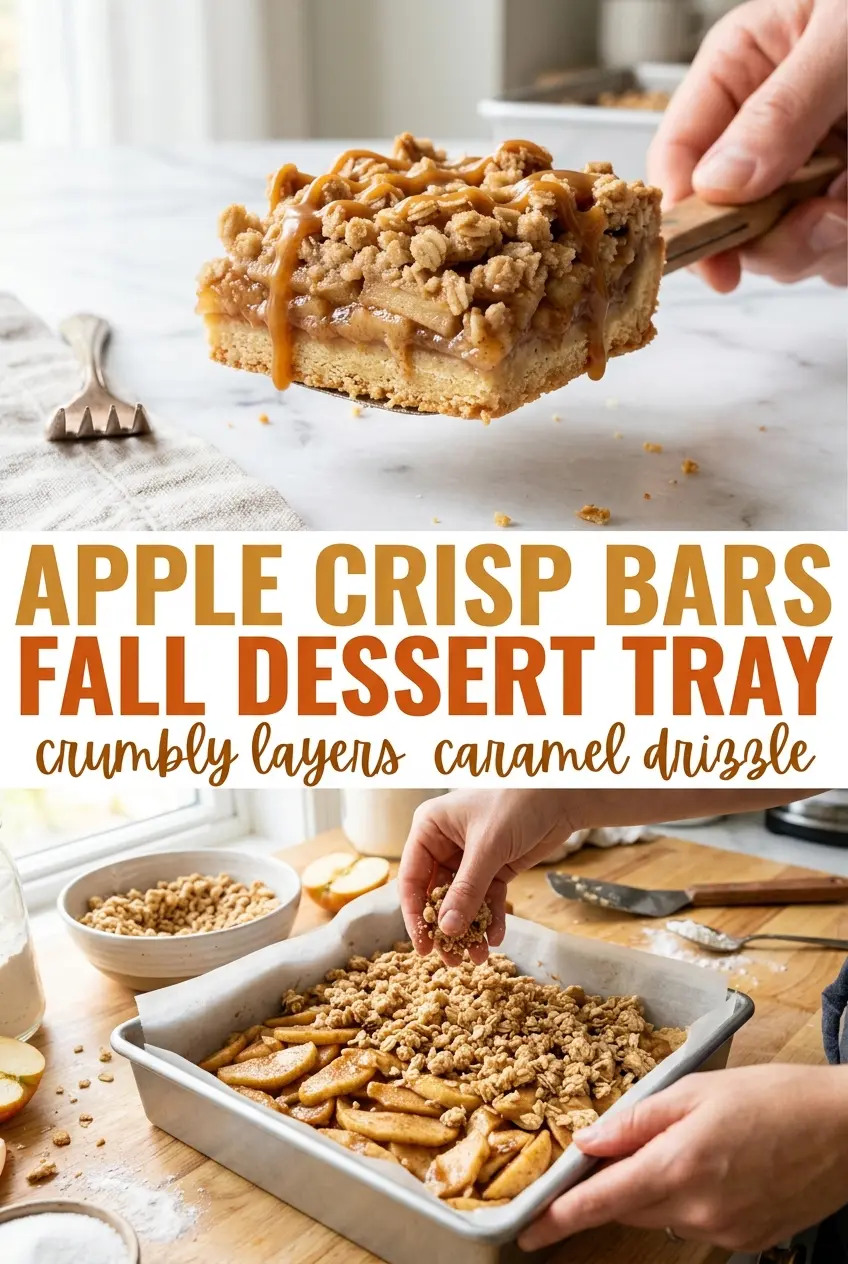
Salted Caramel Apple Crisp Bars
Ingredients
Equipment
Method
- Preheat the oven to 350F and line an 8x8-inch pan with parchment paper.
- Combine the flour, brown sugar, salt, and cold butter, pressing the mixture into the bottom of the prepared pan.
- Bake the crust for 12 minutes, then remove from the oven.
- Toss the sliced apples with flour, brown sugar, and cinnamon, then spread evenly over the baked crust.
- Combine the oats, flour, brown sugar, and melted butter until crumbly, then sprinkle over the apples.
- Bake for 40-45 minutes until golden brown and the apples are tender.
- Cool completely, about 1 hour, to set the bars before slicing.
- Drizzle with caramel sauce and sprinkle with flaky sea salt before slicing, then serve.