
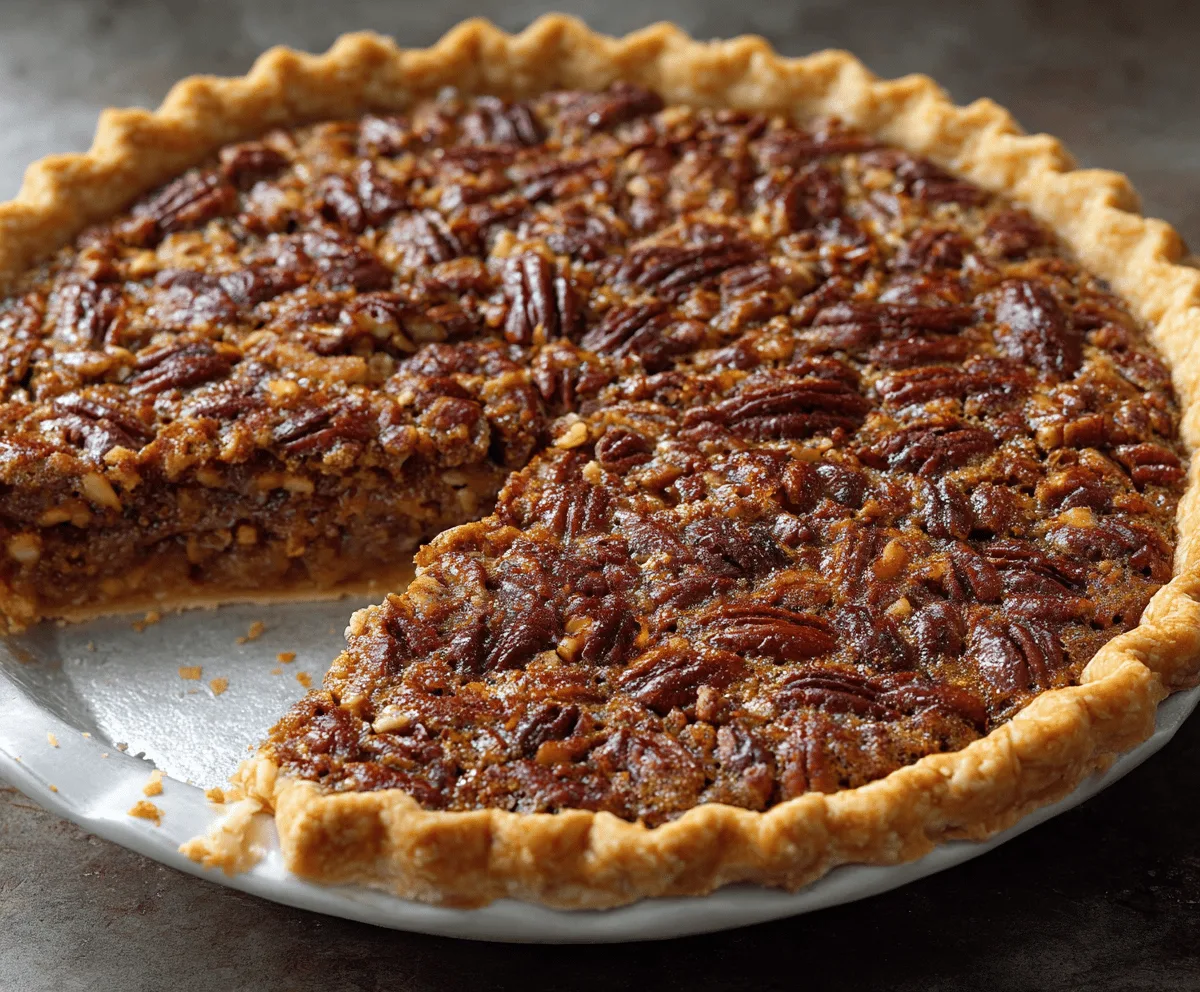
Pecan pie is a classic dessert that brings together a crunchy, buttery pecan topping with a smooth, sweet filling nestled in a flaky pie crust. It’s the kind of pie that instantly feels like a warm hug, especially during the holidays or any time you want something comforting and delicious. The rich caramel-like filling paired with toasted pecans makes every bite a delightful mix of textures and flavors.
I love making pecan pie because it’s surprisingly simple but always impresses everyone at the table. One of my favorite little tricks is to toast the pecans lightly before adding them to the filling—that extra step really brings out their nutty flavor and adds a bit of crunch that I can’t get enough of. Plus, the smell that fills the kitchen while it bakes is just fantastic.
Serving pecan pie slightly warm with a scoop of vanilla ice cream is my go-to way to enjoy it. The ice cream melts just a little into the rich filling, making each bite even better. Whether you’re sharing it at a family dinner, a potluck, or just treating yourself, this pie is always a winner that brings smiles all around.
Key Ingredients & Substitutions
Pecan Halves: Pecans give this pie its signature crunch and flavor. Toasting them lightly before adding really boosts their nutty taste. If you can’t find pecans, walnuts are a good substitute, though a bit milder.
Corn Syrup: Light corn syrup creates that smooth, gooey filling. If you prefer, you can swap it for golden syrup or a mix of honey and maple syrup for a different sweetness profile.
Brown Sugar: Adds deep caramel flavor and moisture. I like dark brown sugar for extra richness. You could also use white sugar, but the taste will be less intense.
Pie Crust: A flaky crust balances the sweet filling. Store-bought works well, but homemade crust adds a special touch if you have time. A gluten-free crust can work if needed.
How Do You Know When the Pecan Pie Is Perfectly Baked?
Baking pecan pie can feel tricky because you want the filling set but still soft, not dry or overcooked.
- Preheat oven to 350°F and bake the pie for about 55-60 minutes.
- The edges should be golden and slightly puffed up.
- Gently shake the pie—it should jiggle a little in the center but look mostly firm.
- If the edges brown too fast, cover them with foil halfway through baking.
- Let the pie cool fully on a rack—the filling will firm up as it cools, making it easier to slice.
Patience here pays off with that perfect mix of creamy, gooey filling and crisp pecans on top. I always remind myself to give it ample cooling time before serving!
Equipment You’ll Need
- 9-inch pie plate – I like this size because it’s perfect for a generous serving of pie.
- Mixing bowls – for whisking together the filling ingredients easily.
- Whisk or hand mixer – to blend the syrup, sugar, eggs, and butter smoothly.
- Measuring cups and spoons – to get the right amounts for each ingredient.
- Aluminum foil – to cover the pie edges if they brown too quickly during baking.
- Cooling rack – for cooling the pie completely before serving.
Flavor Variations & Add-Ins
- Swap pecans for walnuts or almonds for a different nutty flavor or texture.
- Add a splash of bourbon or coffee liqueur to the filling for a richer taste.
- Mix in chocolate chips or chunks into the filling for a decadent twist.
- Try sprinkling some sea salt or flaky sea salt on top before baking to enhance sweetness and add a nice crunch.
Classic Pecan Pie
Ingredients You’ll Need:
Pie Crust:
- 1 unbaked 9-inch pie crust (homemade or store-bought)
Filling:
- 1 cup light corn syrup
- 3/4 cup packed brown sugar
- 3 large eggs
- 2 tablespoons unsalted butter, melted
- 1 1/2 teaspoons vanilla extract
- 1/4 teaspoon salt
- 1 1/2 cups pecan halves
Optional Garnish:
- Powdered sugar
Time Needed
This delicious pecan pie takes about 15 minutes to prepare and roughly 55 to 60 minutes to bake. After baking, allow it to cool completely on a wire rack, which can take an hour or more. Plan ahead to enjoy it at its best!
Step-by-Step Instructions:
1. Prepare the Pie Crust:
Preheat your oven to 350°F (175°C). Place your unbaked pie crust in a 9-inch pie plate. Crimp the edges nicely to give it a pretty finish.
2. Make the Filling:
In a large bowl, whisk together the corn syrup, brown sugar, eggs, melted butter, vanilla extract, and salt until everything is smooth and well mixed.
3. Add Pecans and Fill the Crust:
Stir the pecan halves into the filling mixture, making sure they’re all coated. Pour this mixture into your prepared pie crust, spreading the pecans evenly.
4. Bake the Pie:
Bake in your preheated oven for about 55 to 60 minutes. The pie is done when the filling is mostly set but still jiggles a little when you gently shake the pan. If the crust edges start to brown too much before the filling is set, cover them with foil to keep them from burning.
5. Cool and Serve:
Take the pie out of the oven and let it cool completely on a wire rack. The filling will firm up as it cools. Before serving, you can sprinkle powdered sugar on top for a lovely finishing touch. Enjoy the pie slightly warm or at room temperature, and try it with vanilla ice cream or whipped cream for extra yum!
Can I Use Frozen Pecan Halves for This Pie?
Yes, you can use frozen pecans! Just be sure to thaw them completely at room temperature and pat them dry to remove any excess moisture before adding to the filling.
How Do I Store Leftover Pecan Pie?
Store leftover pecan pie in an airtight container or cover tightly with plastic wrap. It keeps well at room temperature for 2 days or in the fridge for up to 4 days. Serve chilled or gently warmed.
Can I Make the Pie Ahead of Time?
Absolutely! You can bake the pie a day ahead and refrigerate it. Just bring it to room temperature before serving or warm it slightly for that fresh-baked feel.
What Should I Do If My Pie Filling Is Too Runny?
If the filling isn’t setting properly, try baking the pie a little longer, covering the edges with foil to prevent over-browning. Also, let it cool completely, as the filling firms up as it cools.