
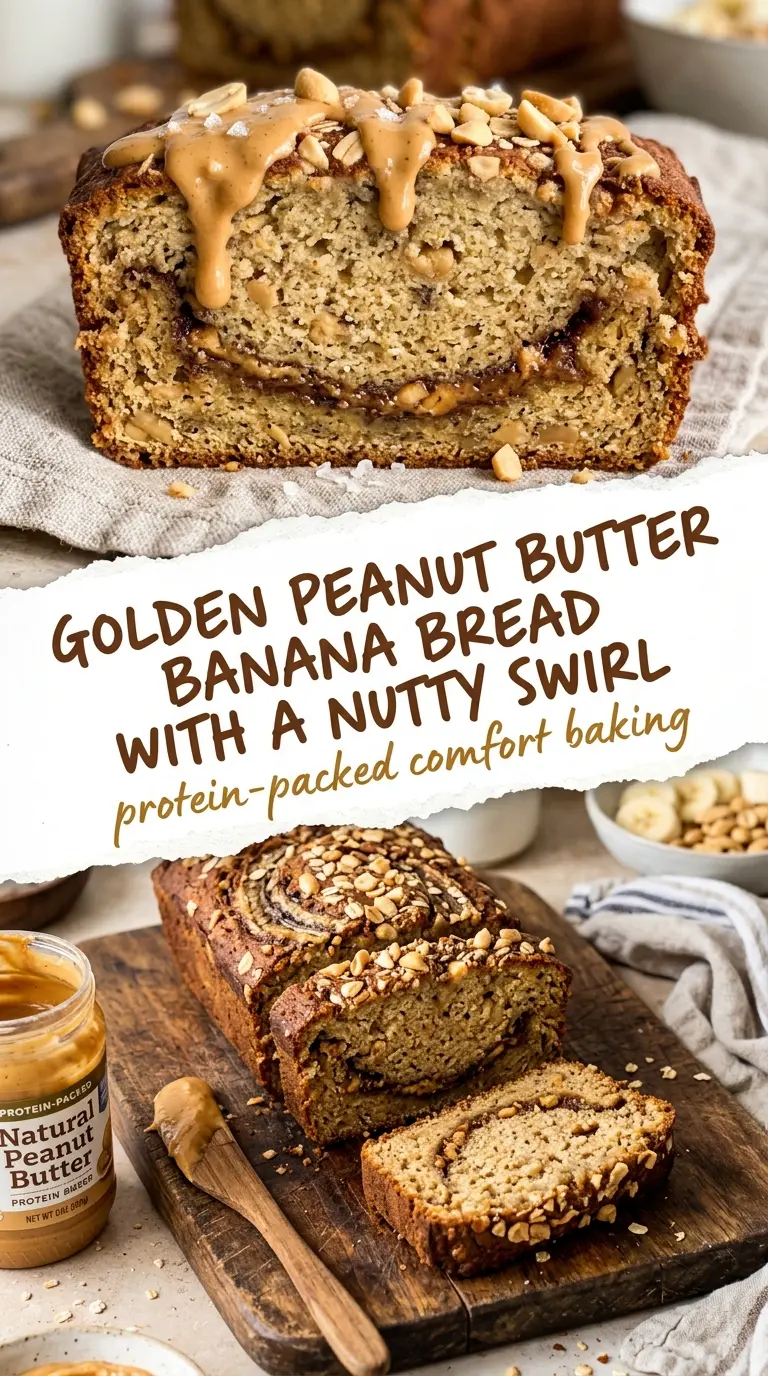
Peanut butter banana bread comes out with a tender crumb, a deep banana aroma, and little pockets of salty nuttiness that make each slice worth keeping around the kitchen for breakfast or an afternoon snack. The loaf stays moist without turning heavy, and the peanut butter gives it a richer finish than plain banana bread ever manages.
The trick here is using very ripe bananas and keeping the mixing gentle once the flour goes in. That keeps the loaf soft instead of tight. A smooth peanut butter blends cleanly into the batter, while natural peanut butter can make the texture a little thicker and more rustic, which is fine if that’s what you’re after.
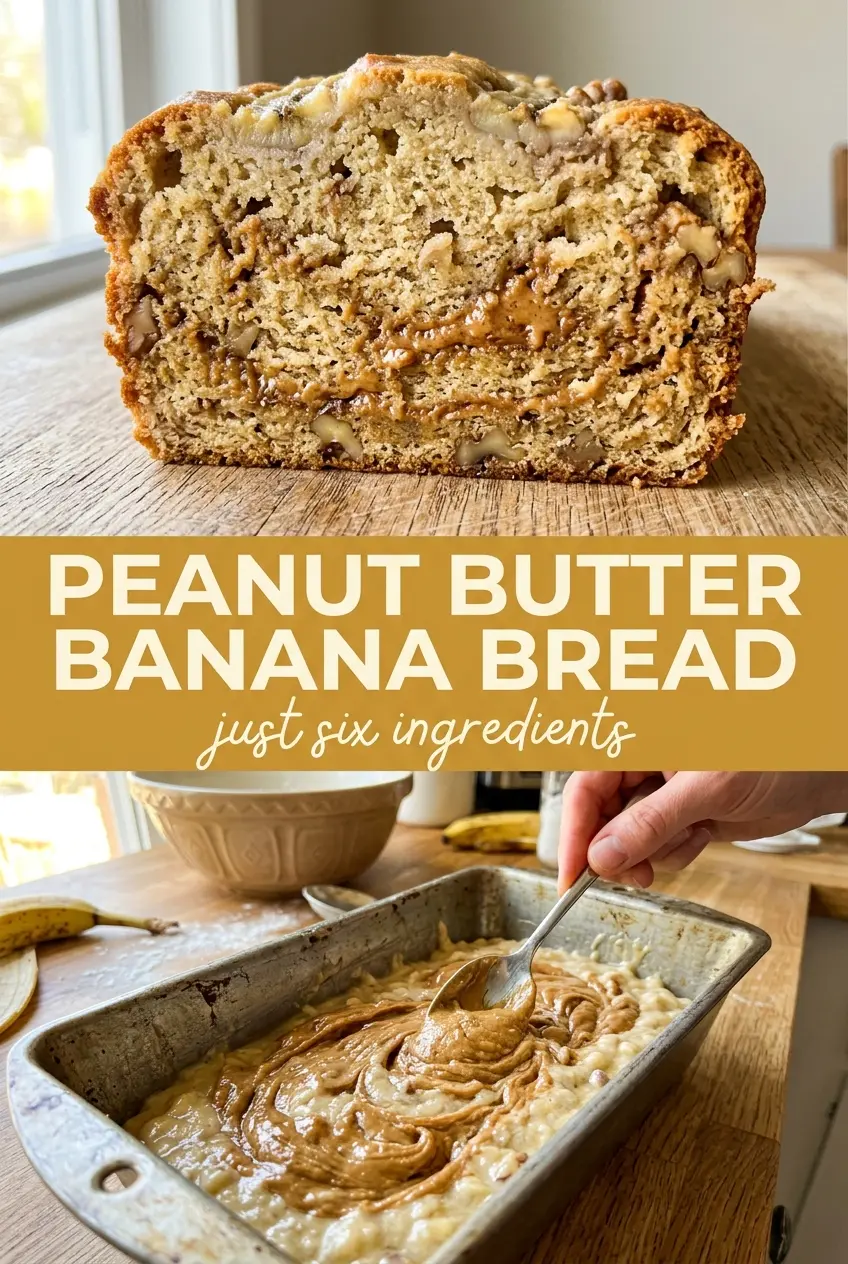
Below you’ll find the small details that matter most, from how to swirl extra peanut butter across the top to the baking cue that tells you the center is set without drying out the loaf.
The peanut butter swirled through the top stayed creamy, and the loaf was still moist the next day without getting gummy. I used super ripe bananas and it baked up with the perfect soft center.
Like this peanut butter banana bread? Save it to Pinterest for a tender loaf with a nutty swirl and no dry slices.
The Reason This Loaf Stays Soft Instead of Turning Dense
Most banana bread gets heavy because the batter is overmixed after the flour goes in. That develops the gluten too far and turns a quick bread into something closer to a brick. Here, the bananas and peanut butter already bring enough body to the batter, so the flour only needs a brief fold until the streaks disappear.
The other place people lose the texture is the oven. If the loaf stays in too long, the peanut butter can make the crumb dry on the edges before the center finishes. Pull it when a toothpick comes out clean or with a few moist crumbs, not wet batter, and let the rest happen in the pan.
What Each Ingredient Is Actually Doing in This Loaf
- Very ripe bananas — These bring the moisture and the natural sweetness. The darker and spottier they are, the better the flavor and texture. If your bananas aren’t quite there yet, roast them in the peel at 300°F until soft and darkened.
- Creamy peanut butter — This gives the loaf its nutty backbone and helps keep the crumb tender. Standard shelf-stable peanut butter blends in smoothly; natural peanut butter works too, but the loaf will bake up a little denser and less silky.
- Melted butter — Butter adds richness and a softer crumb than oil alone. Let it cool slightly before mixing so it doesn’t scramble the egg or make the bananas look greasy.
- Brown sugar — The molasses in brown sugar deepens the flavor and helps the bread stay moist. White sugar works in a pinch, but the loaf will taste flatter and lose some of that warm, caramel note.
- All-purpose flour — This gives the bread structure without making it chewy. Spoon and level it rather than scooping hard from the bag, because too much flour is one of the fastest ways to dry out quick bread.
- Baking soda — It reacts with the bananas and brown sugar to help the loaf rise. If it’s old, the bread will bake up flat and tight, so check the date if your baked goods have been coming out heavy.
How to Build the Batter Without Losing the Tender Crumb
Mix the wet ingredients until smooth
Start by whisking the bananas, peanut butter, melted butter, brown sugar, and egg together until the mixture looks mostly uniform and thick. A few small banana bits are fine, but the peanut butter should be fully dispersed so you don’t get dry pockets in the finished loaf. If the peanut butter is stiff, warm it just enough to loosen it before mixing.
Fold in the flour last and stop early
Add the flour and baking soda together, then fold just until no dry streaks remain. The batter should look thick and a little rough, not glossy and whipped. If you keep stirring past that point, the bread bakes up tougher and the top can dome with a tight, split crust.
Watch the center, not the clock alone
Scrape the batter into the loaf pan and bake until the top is deeply golden and a toothpick in the center comes out clean. Ovens vary, so start checking at the 55-minute mark. If the top browns too quickly while the middle is still loose, lay a piece of foil over it for the last few minutes.
How to Adapt This Loaf for Different Kitchens
Natural Peanut Butter Version
Use natural peanut butter if that’s what you keep on hand, but expect a slightly denser loaf with a more pronounced peanut flavor. Stir the jar well first so the oil is fully incorporated, or the batter can separate and bake unevenly.
Gluten-Free Swap
A 1:1 gluten-free baking flour usually works here, but the loaf will be a little more delicate when warm. Let it cool fully before slicing so the crumb has time to set, or it can turn crumbly at the knife.
Chocolate Chip Upgrade
Fold in a handful of chocolate chips for a sweeter, dessert-leaning loaf. The chocolate softens the peanut butter edge and makes the bread taste more like a bakery slice, especially if you add a few chips to the top before baking.
Storage and Reheating
- Refrigerator: Store slices in an airtight container for up to 4 days. The crumb firms up a bit in the fridge, but the flavor holds well.
- Freezer: Freeze tightly wrapped slices for up to 3 months. Separate them with parchment so you can thaw only what you need.
- Reheating: Warm a slice in the microwave for 10 to 15 seconds or in a toaster oven until just heated through. Don’t overheat it or the peanut butter can turn greasy and the bread goes dry around the edges.
Answers to the Questions Worth Asking
Peanut Butter Banana Bread
Ingredients
Equipment
Method
- Preheat the oven to 350°F and grease a loaf pan.
- Whisk together the mashed bananas, peanut butter, melted butter, brown sugar, and egg until smooth.
- Fold in the flour and baking soda until just combined.
- Pour the batter into the prepared loaf pan.
- Swirl a spoonful of extra peanut butter over the top if desired.
- Bake for 55-60 minutes, until a toothpick inserted in the center comes out clean.
- Cool in the pan for 10 minutes before transferring to a wire rack.