
Creamy cheesecake filling and spiced apple butter make a strong case for dessert without the oven. The crust sets up firm and buttery, the filling stays light but sliceable, and the apple butter brings enough warmth and depth that each bite tastes layered instead of flat. This is the kind of chilled dessert that looks polished on the table but doesn’t ask for much more than a bowl, a mixer, and patience in the fridge.
The texture depends on keeping the whipped cream fluffy and folding it in gently, because that’s what gives the filling its mousse-like lift. The apple butter should be swirled in, not beaten smooth, so you get ribbons of spiced fruit running through the cream cheese instead of a one-note tan filling. A full chill matters here. Four hours is the minimum, but overnight gives the crust time to firm up and the filling time to cut cleanly.
If you’ve ever had a no-bake cheesecake go soft in the center, the fix is usually in the ratios and the chilling. You’ll find both of those handled in a way that holds up, plus a few notes on making the swirl prettier and the slices neater.
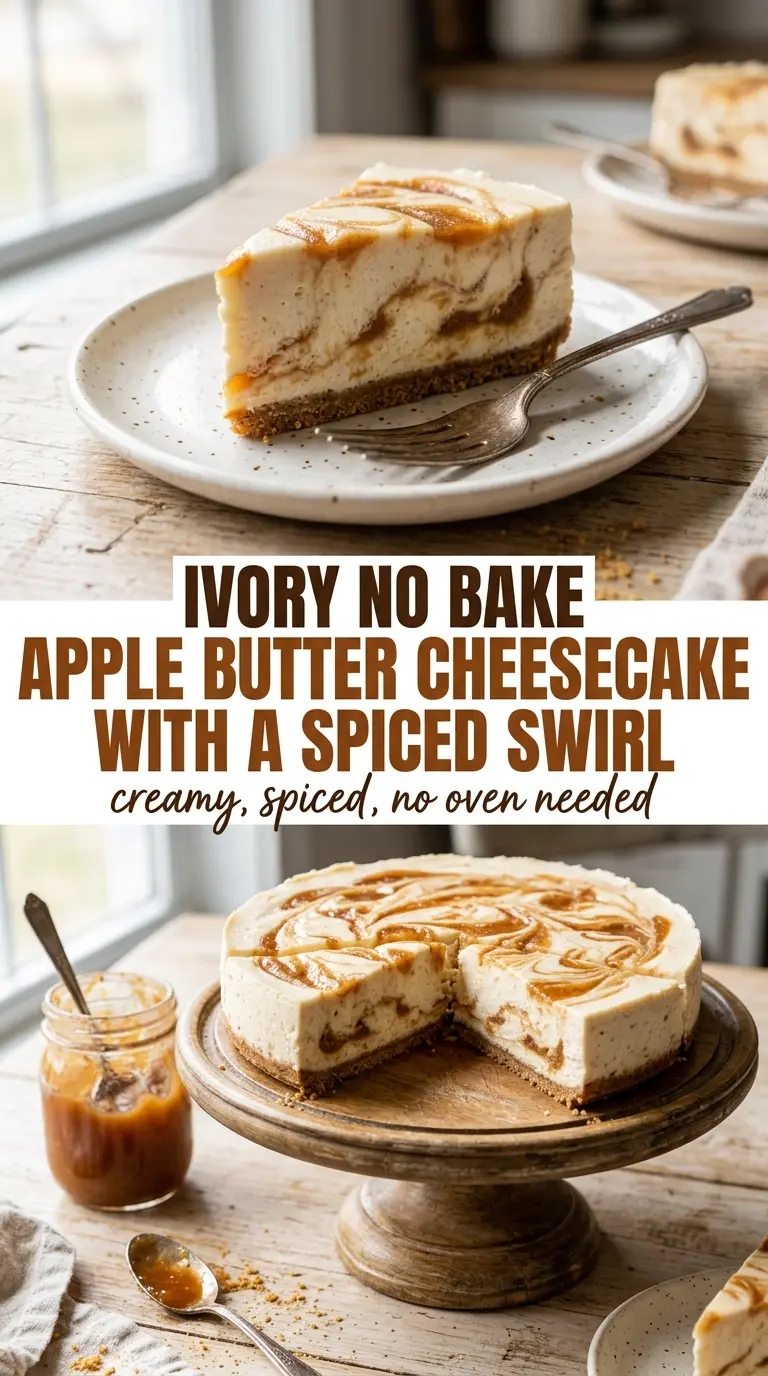
The apple butter swirl stayed beautiful after chilling, and the filling sliced cleanly without collapsing. I made it the night before, and the graham crust held together perfectly the next day.
Pin this no bake apple butter cheesecake for the make-ahead dessert that brings creamy filling, a buttery graham crust, and a pretty spiced swirl together without turning on the oven.
The Chilling Time Is What Gives This Cheesecake Its Shape
The biggest mistake with no-bake cheesecake is treating it like a faster baked cheesecake. It doesn’t set from heat. It sets from structure, which means the filling has to start with enough body and then stay undisturbed long enough to firm up. If you rush the chill, the center stays soft and the slices slump at the plate.
This version works because the cream cheese brings density, the whipped cream brings lift, and the powdered sugar helps the filling hold together without a grainy texture. The graham crust also matters more than people think. A crust pressed firmly into the pan and chilled before the filling goes in gives you a base that cuts clean instead of crumbling apart the second the knife hits it.
- Cream cheese — Use full-fat cream cheese and let it soften all the way. Cold cream cheese leaves little lumps that won’t disappear later, no matter how long you beat it. If yours is still cool in the center, the filling will look smooth at first and then turn speckled after folding.
- Heavy cream — Whip it to stiff peaks before folding it in. That whipped structure is what gives the cheesecake body without gelatin. A loose or underwhipped cream makes the filling too soft to slice cleanly.
- Apple butter — This is the flavor driver, so use one you actually like eating by the spoonful. Thicker apple butter gives stronger swirls and less risk of thinning the filling. If yours is loose, chill it first before swirling it in.
- Graham cracker crumbs — Fine crumbs pack best and give you the cleanest crust. Pre-crushed crumbs are fine here, but if they’re coarse, pulse them a few times so the crust doesn’t fall apart at the edges.
What Each Ingredient Is Actually Doing in This Dessert
- Graham cracker crumbs and melted butter — This is the only part that needs to feel like wet sand before it goes into the pan. If the mixture looks dusty, it won’t hold. If it looks greasy, there’s too much butter and the crust can smear when you slice it.
- Cream cheese — Beat it with the powdered sugar until it’s fluffy and completely smooth before anything else goes in. That early smoothing step matters because once the whipped cream is folded in, you don’t want to overwork the filling trying to fix lumps.
- Powdered sugar — It sweetens the filling and helps it stay silky. Granulated sugar won’t dissolve the same way, and you’ll feel the grit in every bite.
- Heavy cream — Freshly whipped cream is the difference between a light cheesecake and a dense pudding. It gives the filling enough lift to sit high in the pan while still cutting neatly after chilling.
- Apple butter — This adds the spiced apple flavor without watering down the filling the way thin applesauce would. If you want a stronger apple note, save a little for drizzling on top instead of mixing all of it into the filling.
- Cinnamon — A small amount is enough because apple butter already brings spice. It should round out the flavor, not turn the filling into pumpkin-pie territory.
Building the Layers Without Deflating the Filling
Pressing the Crust
Mix the crumbs with melted butter until every bit looks evenly coated, then press the mixture firmly into the bottom of the springform pan. Use the bottom of a measuring cup to compact it, especially around the edges where loose crumbs tend to break away. Chill the crust while you work on the filling so the butter can set back up before the heavier cream cheese mixture goes on top.
Whipping the Base
Beat the softened cream cheese and powdered sugar until the mixture looks pale, smooth, and a little fluffy. Scrape the bowl well, because a streak of unmixed cream cheese will leave a dense pocket in the finished slice. Stop when it looks satin-smooth, not once it starts turning runny from overbeating.
Folding in the Air
Add the whipped cream in two or three additions and fold gently with a spatula. The goal is to keep the volume you already built, not stir it into submission. If the filling starts looking loose or glossy like frosting, you’re mixing too hard and knocking out the air that helps it set.
Creating the Swirl
Stir the apple butter with the cinnamon just enough to combine them, then spoon it over the filling in ribbons. Drag a knife through once or twice for a marbled look, but stop before the whole bowl turns one color. Too much swirling blends away the contrast and also softens the filling more than you want.
Letting It Set
Spread the filling over the chilled crust, smooth the top, and refrigerate until firm. Four hours works in a pinch, but overnight gives you the cleanest slices and the best texture. If the center still wobbles like loose custard, it needs more time, not a warmer knife.
Three Ways to Change the Recipe Without Losing the Point
Gluten-Free Crust
Swap the graham crumbs for a gluten-free graham-style crumb or crushed gluten-free cookies. Keep the butter amount the same at first, then add a spoonful more only if the crumbs still look dry. The filling stays exactly the same, so this is an easy way to serve gluten-free guests without changing the texture of the cheesecake.
Dairy-Free Version
Use dairy-free cream cheese and a plant-based whipping topping that can hold stiff peaks. The texture will be a little softer and the flavor a touch less rich, but the apple butter still carries the dessert. Chill it fully and slice with a warm knife for the cleanest result.
Extra-Spiced Filling
Add a pinch of nutmeg or a little allspice if you want the filling to taste more like a cozy baked dessert. Keep the additions small so the apple butter still tastes like apple butter. Too much spice muddies the clean, creamy finish.
Storage and Reheating
- Refrigerator: Store covered for up to 4 days. The crust stays best in the first two days, while the filling may soften slightly by day four but still slices well.
- Freezer: Freeze individual slices tightly wrapped, then tucked into an airtight container for up to 1 month. Thaw overnight in the refrigerator; the texture is best when thawed slowly instead of at room temperature.
- Reheating: Don’t reheat this cheesecake. Serve it cold straight from the fridge, and if the slices are sticky, run your knife under hot water and wipe it dry between cuts.
Questions I Get Asked About This Recipe
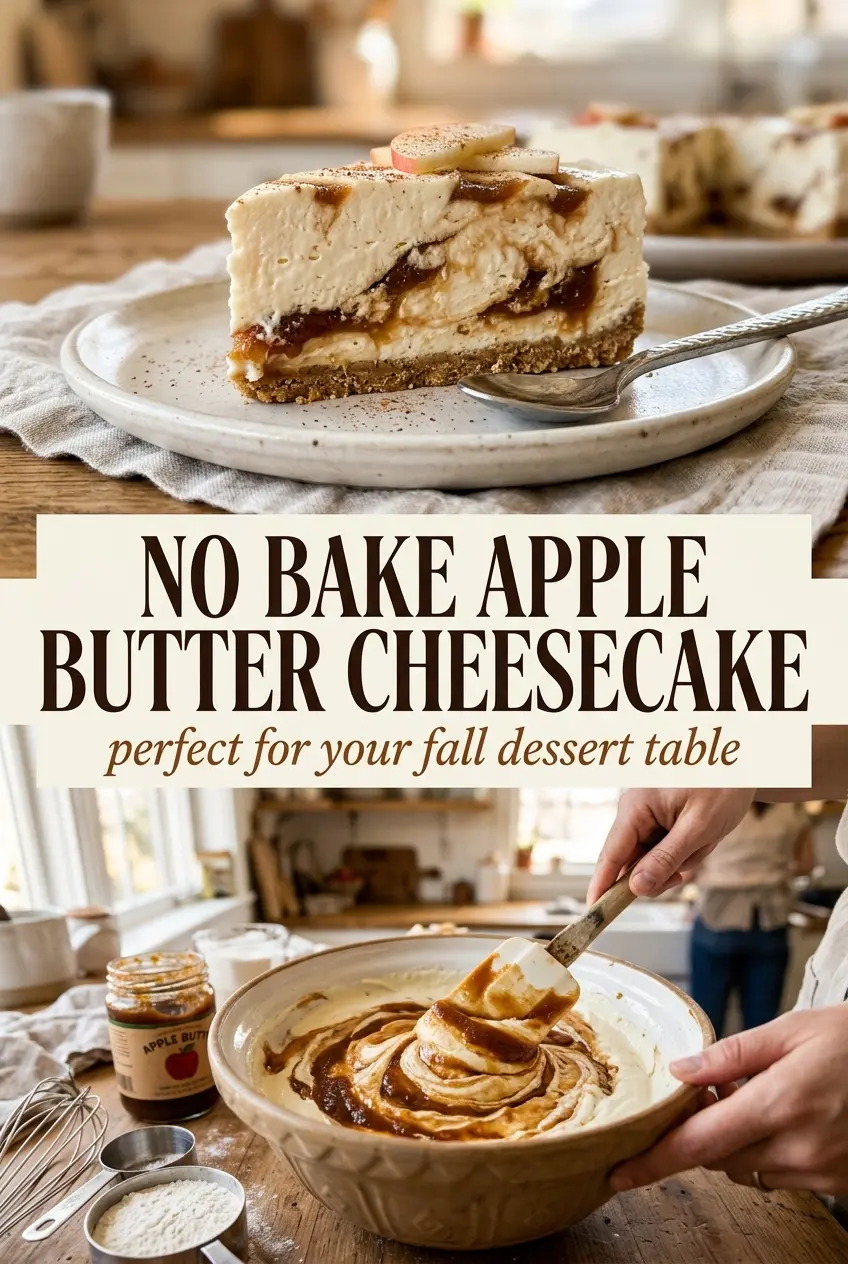
No Bake Apple Butter Cheesecake
Ingredients
Equipment
Method
- Mix the graham cracker crumbs and melted butter, then press firmly into the bottom of a springform pan. Chill the crust for 20 minutes while you make the filling.
- Beat the cream cheese and powdered sugar together until smooth and fluffy. Stop and scrape down the bowl as needed to remove lumps.
- Fold in the whipped cream until fully combined. Use gentle strokes to keep the mixture light.
- Swirl in the apple butter and cinnamon, leaving visible ribbons rather than fully mixing. Swirl just enough to distribute, then stop.
- Spread the filling over the chilled crust. Level the top with a spatula for even slicing.
- Refrigerate for at least 4 hours, or overnight, until fully set. Keep it covered to prevent fridge odors.
- Slice and serve chilled, with extra apple butter drizzled on top if desired. Wipe the knife clean between slices for neat edges.