
Mexican beef and rice skillet lands in that sweet spot between comforting and practical: one pan, big flavor, and enough substance to stand on its own without a stack of side dishes. The rice cooks right in the seasoned broth, so every grain picks up the smoky tomato, cumin, and chile flavor instead of staying plain in the middle of the dish. By the time the cheese melts over the top, you’ve got a skillet dinner that’s hearty, saucy, and spoonable.
What makes this version work is the order. Browning the beef first builds the base, and the onions and peppers soften just enough to disappear into the rice instead of staying crunchy. Uncooked rice goes straight into the skillet with the broth, which means the starch helps thicken everything as it simmers. That’s how you get a cohesive dinner instead of a loose pile of ingredients sitting in a pan.
If you’ve ever had a skillet meal turn gummy, undercooked, or dry, the sections below will help you avoid all three. There’s a simple fix for rice that needs a little more time, plus a few smart swaps if you want to adjust the heat, the cheese, or the protein.
The rice came out tender and the broth thickened up into this saucy, almost cheesy texture that coated everything. I added a little extra green chile and my husband went back for seconds before I even sat down.
Love the smoky beef, tender rice, and melted cheese? Save this Mexican beef and rice skillet for the nights when you want one-pan comfort with Tex-Mex flavor.
The Rice Needs Space to Absorb the Broth, Not a Crowd of Extra Liquid
The biggest mistake with skillet rice dishes is treating them like soup. If the pan is too crowded or the heat is too high, the liquid evaporates before the rice softens, and you end up with a dry bottom and crunchy grains on top. This recipe works because the rice simmers in just enough broth to cook through while still leaving a little sauciness behind.
Keep the simmer gentle once the lid goes on. A hard boil can break the rice on the outside before the center is tender, especially in a heavy skillet that holds heat well. If the lid doesn’t fit tightly, the rice can still cook, but you may need a splash of extra broth near the end to finish the job.
- Brown the beef first so the skillet has flavor before the rice ever goes in.
- Use uncooked long-grain white rice; parboiled or brown rice needs a different liquid ratio and timing.
- Let the cheese melt off the heat or over very low heat so it stays creamy instead of getting oily.
What Each Ingredient Is Actually Doing in This Dish
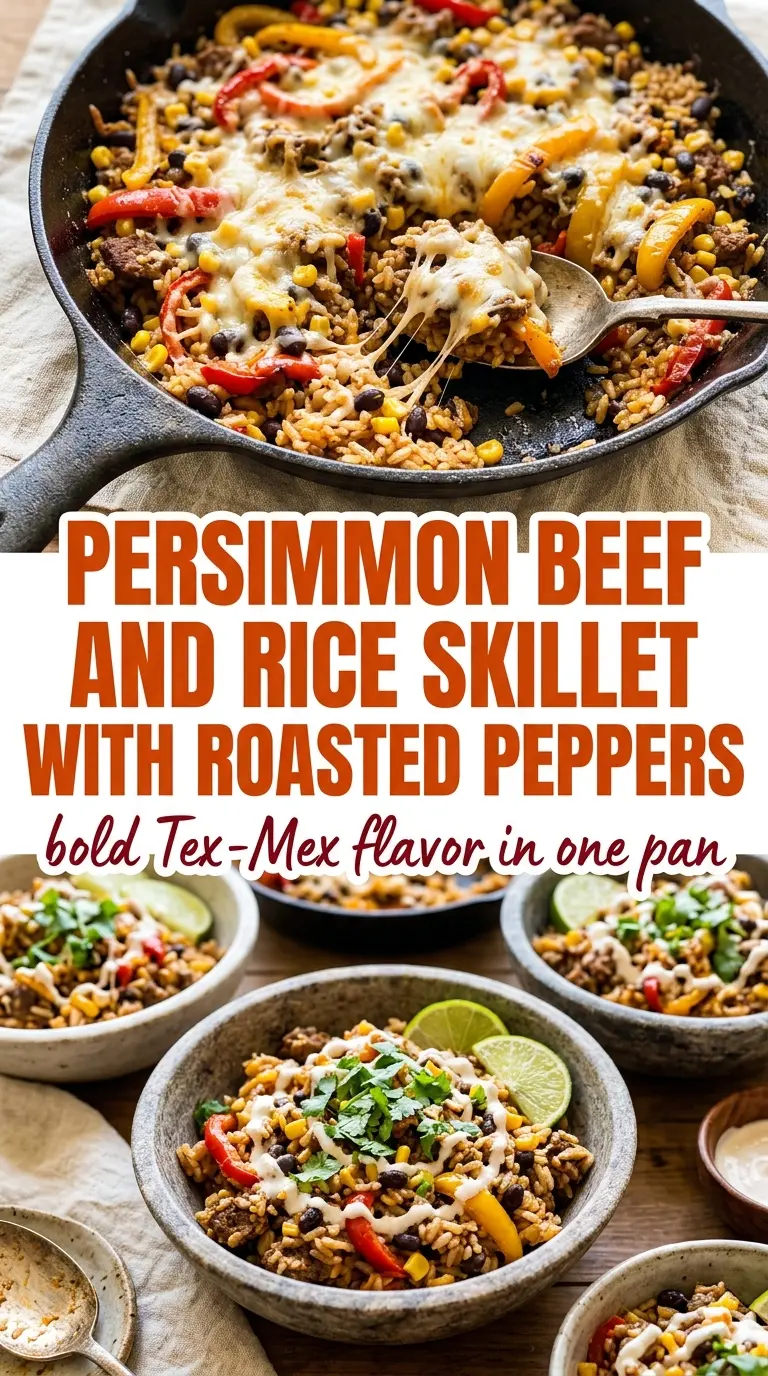
- Ground beef — This gives the skillet its savory backbone. An 85/15 blend brings enough fat for flavor without leaving the dish greasy. If you use leaner beef, keep a little extra oil in the pan so the onions don’t stick.
- Uncooked white rice — This is the ingredient that turns the pan into a full meal. It absorbs the seasoned broth as it cooks, which is why the rice tastes like part of the sauce instead of a separate side. Stick with regular long-grain white rice for the best texture.
- Fire-roasted diced tomatoes — These add smoky depth that plain diced tomatoes won’t give you. The fire-roasted version helps the skillet taste like it simmered longer than it actually did. If you only have regular diced tomatoes, add a pinch more chili powder and a tiny splash of smoked paprika.
- Black beans and corn — The beans bring body, and the corn adds little pops of sweetness that keep the dish from tasting flat. Canned or frozen corn both work. If you use frozen corn, toss it in straight from the freezer.
- Cheddar and Monterey Jack — Cheddar brings sharpness, while Monterey Jack melts smoothly and gives the top that stretchy finish. Using both keeps the topping from tasting one-note. Pre-shredded cheese works, but freshly shredded melts more evenly.
Building the Skillet in the Right Order
Browning the Beef First
Start with a hot skillet and let the beef sit long enough to pick up real color before you break it apart completely. You want browned edges, not gray steam. That browning is where the deep flavor comes from, and if you rush it, the whole dish tastes flatter.
Softening the Vegetables Without Losing Them
Add the onion and bell peppers after the beef cooks so they pick up some of the drippings. Two minutes is enough here; they should soften and smell sweet, but not collapse. If they cook too long before the rice goes in, they turn mushy by the end.
Letting the Rice Finish in the Broth
Once the tomatoes, beans, corn, chiles, rice, broth, and spices are in the pan, bring everything to a boil and then drop the heat right away. Cover the skillet and keep the simmer low and steady. If the pan dries out before the rice is tender, add a small splash of broth, cover again, and give it a few more minutes.
Melting the Cheese Without Breaking the Sauce
After the rice is tender, lift the lid and scatter the cheese over the top. Put the lid back on for just a few minutes so the heat melts it gently. High heat here can make the cheese separate, while a covered rest gives you that smooth, gooey finish.
How to Adapt This for a Lighter, Spicier, or Dairy-Free Version
Make it dairy-free
Skip the cheese and finish with avocado, chopped cilantro, or a spoonful of dairy-free sour cream. You lose the melt, but you keep the smoky, savory skillet base intact.
Make it spicier
Add more diced green chiles or a diced jalapeño with the onions and peppers. You can also stir in a little chipotle powder for heat with smoke, which fits this skillet better than straight cayenne.
Swap the beef for turkey
Ground turkey works, but it needs a little help from the pan because it carries less fat. Add an extra tablespoon of oil and season it well while it browns so the skillet still tastes full and savory.
Use brown rice only if you plan for it
Brown rice needs more liquid and a longer simmer, so this isn’t a straight swap. If you want to use it, expect the dish to take closer to 40 to 45 minutes and add broth as needed until the grains are tender.
Storage and Reheating
- Refrigerator: Store leftovers in an airtight container for up to 4 days. The rice will absorb more of the sauce as it sits, so expect a thicker texture the next day.
- Freezer: It freezes well for about 2 months, though the rice will soften a bit after thawing. Cool it completely first and pack it in flat, airtight containers for faster reheating.
- Reheating: Warm it on the stovetop over low heat with a splash of broth or water to loosen the rice. The common mistake is blasting it on high, which dries out the edges before the center heats through.
Questions I Get Asked About This Recipe
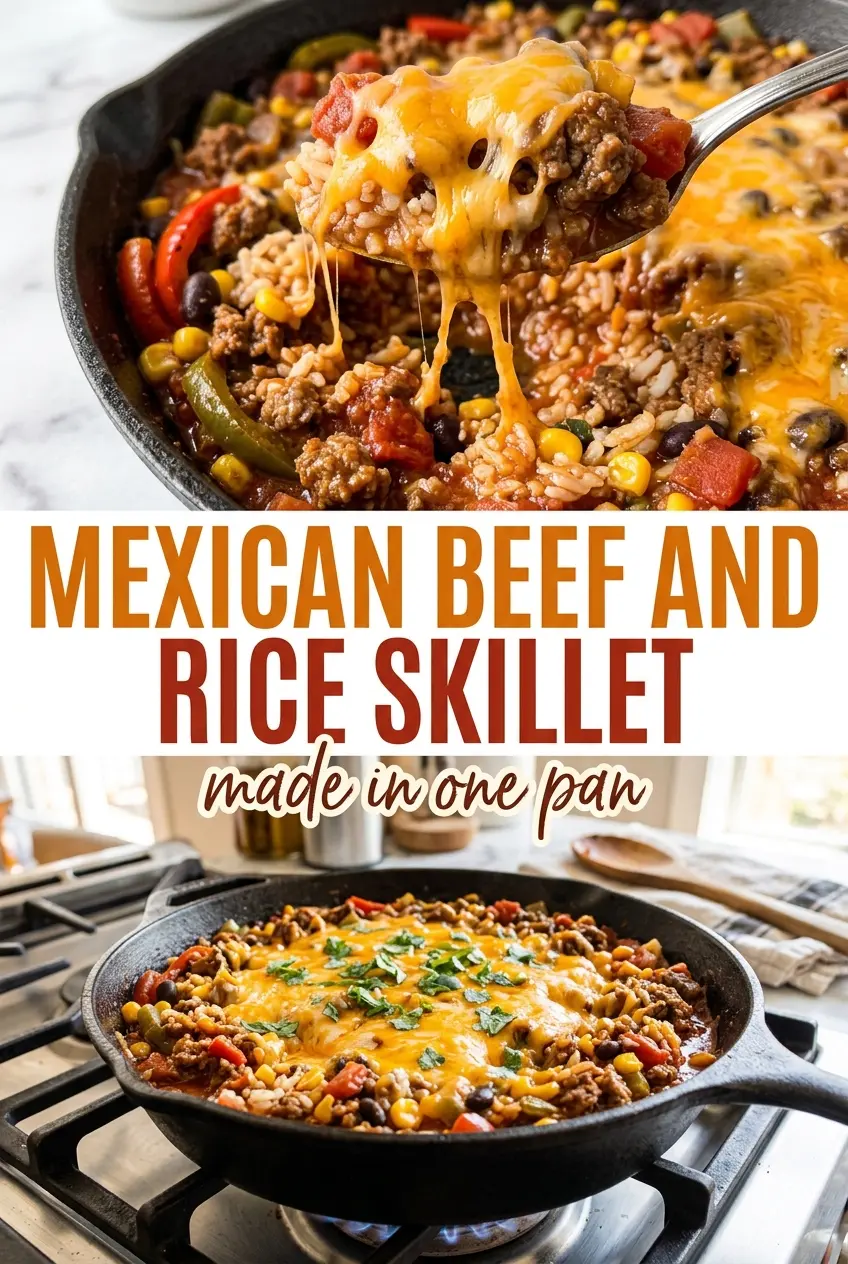
Mexican Beef And Rice Skillet
Ingredients
Equipment
Method
- Heat the olive oil in a large 12-inch skillet over medium-high heat, then add the ground beef and cook until browned, about 5 to 6 minutes, stirring occasionally until no pink remains.
- Add the chopped onion and diced green and red bell pepper and cook until softened, about 2 minutes more, stirring so the vegetables pick up beef drippings.
- Stir in the uncooked white rice, fire-roasted diced tomatoes, black beans, corn, diced green chiles, low-sodium chicken broth, ground cumin, chili powder, and kosher salt to taste until evenly combined.
- Bring the mixture to a boil, then reduce the heat to low, cover, and simmer for 20 to 25 minutes until the rice is tender and most of the liquid is absorbed.
- Remove the lid and top the skillet with the shredded cheddar and Monterey Jack cheese so it forms an even layer over the rice mixture.
- Cover again and cook for 3 to 5 more minutes until the cheese is fully melted and glossy.