
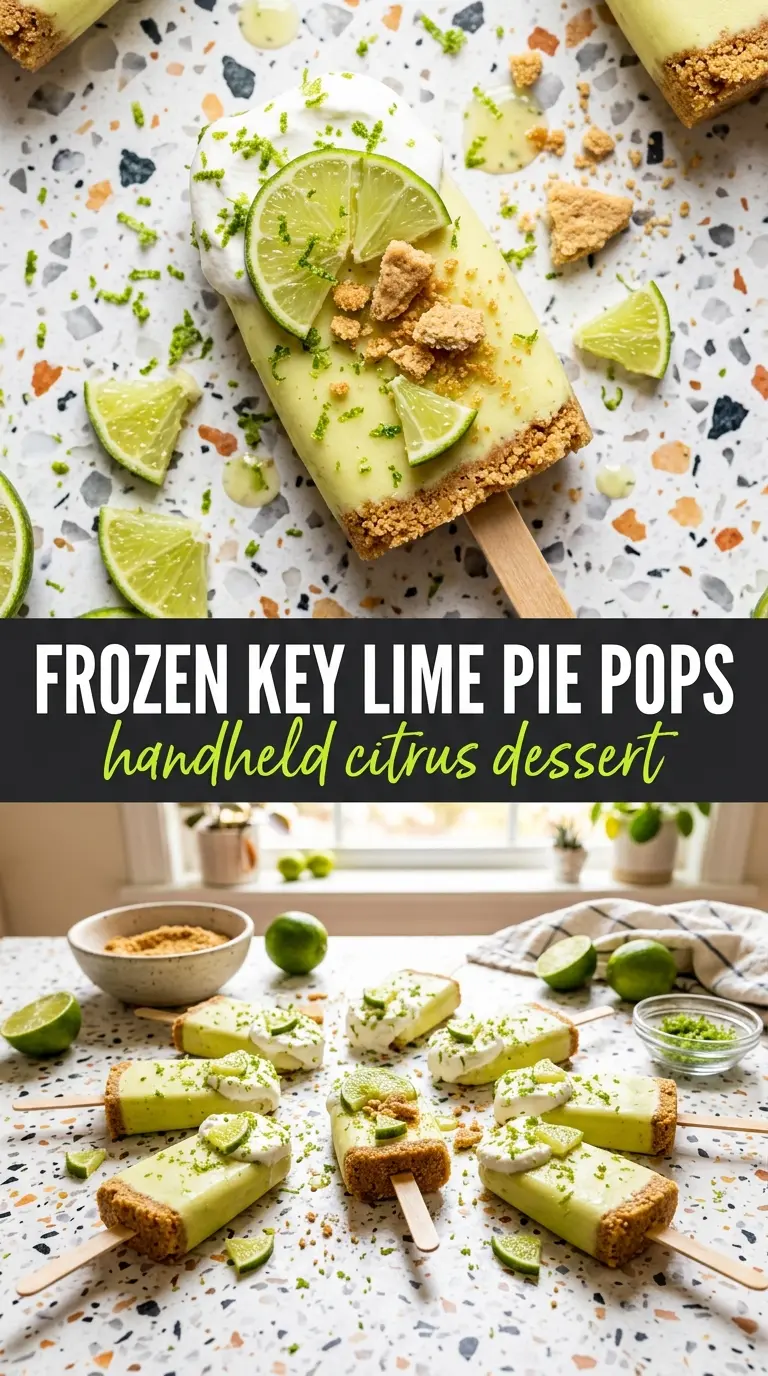
Frozen Key Lime Pie Pops land with that rare mix of cold, creamy, and sharply bright that makes you go back for another one before the first has even melted. The filling sets up smooth and rich, with enough key lime punch to cut through the sweetness, and the graham crumb coating gives each bite the same buttery finish you want from a pie crust without needing to turn on the oven.
What makes these work is the balance. Condensed milk brings body and sweetness, while the egg yolks help the base freeze with a softer, custard-like texture instead of turning icy. The key lime juice does more than flavor the mixture; it also gives the filling its structure when it hits the dairy and egg yolks together. The crumb coating goes on after freezing, which keeps it crisp enough to cling without dissolving into the pops.
Below, I’ve included the little details that matter most here: how to keep the filling smooth, why the sticks need to go in before the freeze, and how to get that graham coating to stick without making a mess.
The filling froze up creamy instead of icy, and the graham crumbs stuck right away after a quick dip. Mine tasted just like key lime pie on a stick.
Save these Frozen Key Lime Pie Pops for the days when you want bright citrus, a creamy frozen center, and that buttery graham crunch in one handheld bite.
The Reason These Pops Stay Creamy Instead of Freezing Hard
Frozen desserts can go two ways: smooth and scoopable, or dense and icy. The difference here is the combination of condensed milk, egg yolks, and acid. Condensed milk lowers the water content and keeps the base from freezing into a block, while the yolks add richness and help the texture stay soft enough to bite cleanly. The lime juice does the job of brightening the filling, but it also needs to be added in a way that lets the mixture stay emulsified.
If your pops turn out grainy, the base probably wasn’t whisked long enough before freezing, or the lime juice was added too abruptly. A smooth mixture should look glossy and slightly thickened before it goes into the molds. Once it freezes, you want a firm center that still gives a little when you bite into it, not a chalky slab.
- Don’t skip the yolks. They’re what give these pops that pie-filling body.
- Use key lime juice if you can. Regular lime juice works in a pinch, but the flavor is less floral and less sharp.
- Freeze until fully solid before coating. If the pops are even a little soft, the crumb coating will slide right off.
- Dip just before serving. The graham crumbs stay crisper when they’re not sitting on the frozen pops for too long.
What Each Ingredient Is Actually Doing in This Dish
- Egg yolks — These are what keep the filling from freezing hard. They add fat and emulsification, which gives the pops a custard-like texture instead of a sharp, icy snap.
- Condensed milk — This is the sweetness and structure in one ingredient. There isn’t a great substitute that does both jobs the same way, though you can use a sweetened dairy-free condensed milk if you need a nondairy version.
- Key lime juice — The flavor depends on it. Regular lime juice works, but key lime juice has a more concentrated, almost perfumed tartness that makes these taste like pie instead of just lime cream.
- Graham cracker crumbs — These are the crust stand-in, and they need the butter to cling. If you only have sheets, crush them finely so the coating sticks in an even layer.
- Melted butter — This binds the crumbs and gives the coating that toasted pie-crust taste. Use real butter here; margarine won’t give the same flavor or crisp finish.
- Popsicle sticks — Insert them before freezing so the pops set around them. If you wait, the center will be too firm to slide them in cleanly.
Building the Filling, Freezing It, and Getting the Crumb Coating to Stick
Whisking the base until it goes glossy
Whisk the egg yolks, condensed milk, and key lime juice until the mixture looks smooth and slightly thickened. You’re not trying to whip in a lot of air; you’re looking for a unified base with no streaks of yolk left behind. If the mixture looks curdled at this stage, the acid went in too fast or the ingredients were too cold. Keep whisking and it usually comes back together.
Filling the molds without trapping air pockets
Pour the mixture into the popsicle molds and tap the molds gently on the counter to release any hidden bubbles. Air pockets can leave hollow spots once the pops freeze, which makes them harder to unmold cleanly. Insert the sticks straight down so they sit centered and stable. If your molds are wobbly, freeze them on a small tray so they don’t shift in the freezer.
Freezing until the center is fully set
Let the pops freeze for about 4 hours, or longer if your molds are deep. They should feel solid all the way through before you try to remove them. If the center is even slightly soft, the pop can bend or crack when you unmold it. Run the mold under cool water for just a few seconds to loosen it, not long enough to melt the edges.
Coating them right before serving
Mix the graham crumbs with the melted butter until the texture looks like damp sand. Dip each frozen pop quickly so the crumbs cling before the surface starts to sweat. Work one at a time, because the cold surface is what helps the coating set. If the crumbs aren’t sticking, the pop may have been sitting out too long — pop it back in the freezer for a few minutes and try again.
Three Ways to Make These Pops Fit What You’ve Got
Dairy-Free Version
Use a dairy-free sweetened condensed milk made for baking, then swap in a plant-based butter for the crumb coating. The texture will still be creamy, but the flavor is a little less rich and the coating won’t taste quite as buttery. It’s still a good option if you need the dessert to stay fully dairy-free.
Regular Lime Instead of Key Lime
Regular lime juice works well if key limes aren’t available. The pops will taste a little less floral and slightly more bluntly tart, so the flavor reads more like a bright lime cream than a classic key lime pie. If you want to mimic the classic version a little more closely, add a small pinch of extra zest if you have it.
A Less Sweet Crumb Coating
If you want more contrast, mix the graham crumbs with a little extra butter and a pinch of salt. That small change pulls the sweetness back and makes the citrus flavor stand out more. You can also toast the crumbs in a dry pan first for a deeper, nuttier finish.
Storage and Reheating
- Refrigerator: Not ideal. These are best eaten straight from the freezer, and they soften fast at room temperature.
- Freezer: Store the unmolded pops in a single layer, then wrap them individually once solid. They keep well for about 2 weeks before the texture starts to lose its clean bite.
- Reheating: No reheating needed. If the coating is disappearing, the pops sat out too long; the fix is to return them to the freezer for a few minutes before serving.
Questions I Get Asked About This Recipe
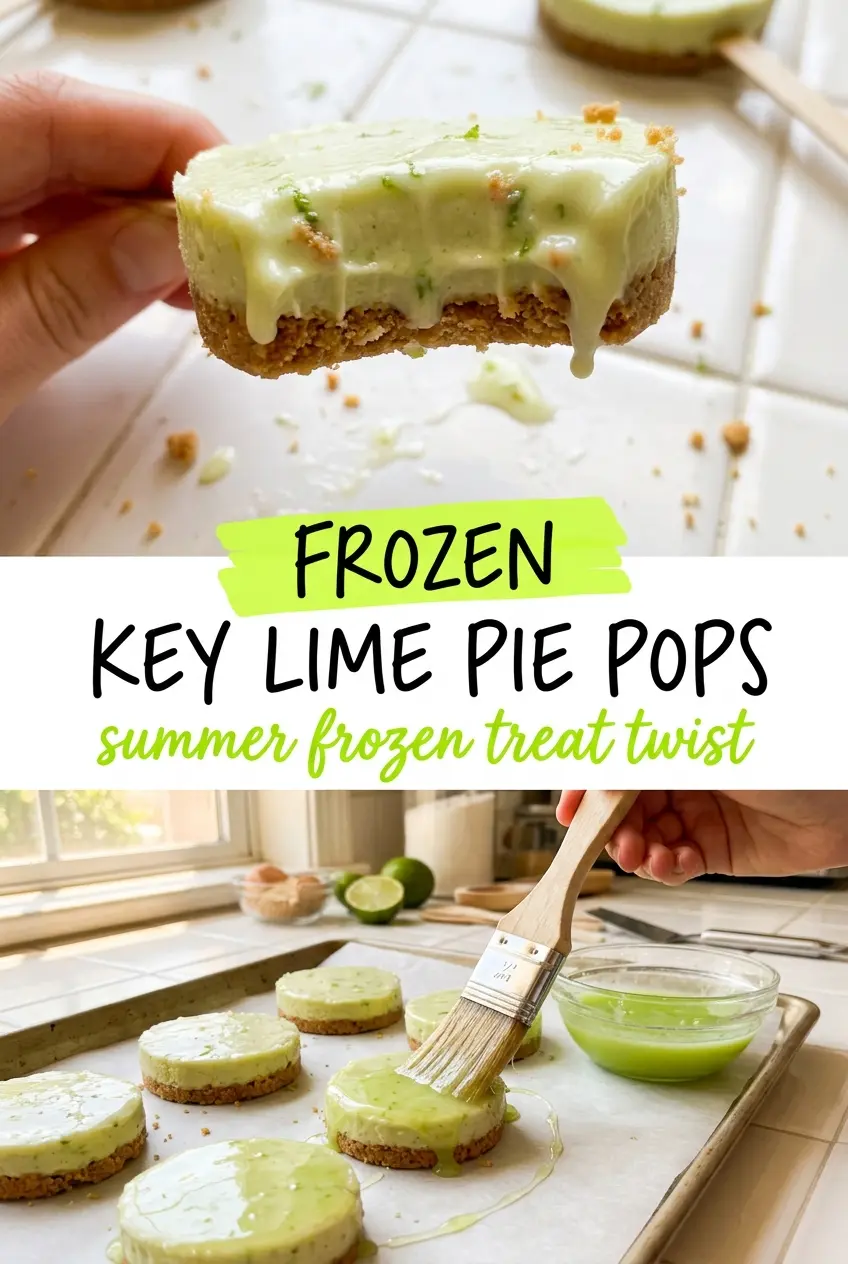
Frozen Key Lime Pie Pops
Ingredients
Equipment
Method
- Whisk the egg yolks, condensed milk, and key lime juice until smooth and fully combined, with no streaks of yolk visible.
- Pour the lime mixture into popsicle molds, inserting popsicle sticks as you fill so each pop will hold straight in the freezer.
- Freeze the molds for 4 hours until solid, with the centers fully set when gently pressed.
- Mix the graham cracker crumbs with the melted butter until evenly moistened and clumpy like damp sand.
- Dip each frozen pop into the graham mixture right before serving so the coating sticks while the outside is still icy-cold.