
Deep garnet elderberry jelly sets up with a clean, glossy finish and just enough tang to keep it from tasting one-note. The best batches spread smoothly on warm toast, hold their shape on a spoon, and carry that dark berry flavor all the way through instead of fading into plain sweetness. When it’s made well, the jar looks jewel-like on the shelf and tastes even better than it looks.
What makes this version work is the balance between the acid, the pectin, and the sugar. Elderberries need help to gel cleanly, and the lemon juice isn’t there just for flavor — it gives the pectin the acidic environment it needs to set properly. The sugar goes in all at once after the first boil, which keeps the batch from dragging on so long that the jelly darkens or the set weakens.
Below, I’m walking through the small details that matter most: how to keep the boil strong enough for a proper set, how to tell when the jelly has reached the right finish, and what to do if you want a clearer jar or a smaller batch. Those little choices are what turn a decent preserve into one you’ll keep making.
The jelly set on the first try and stayed beautifully clear after processing. I used the chilled plate test and got that little wrinkle right away, and the flavor is deep and tangy without being too sweet.
Like this glossy elderberry jelly? Save it to Pinterest for the year you want a deep, tangy preserve that sets cleanly and looks beautiful on the shelf.
The Sugar Has to Join a Full Boil, Not a Gentle Simmer
With jelly, the set is won or lost in the final minute. If the pot never reaches a real rolling boil after the sugar goes in, the pectin can’t do its job and you end up with syrup instead of jelly. On the other hand, boiling too long after the sugar is added can push the batch past the point where the flavor stays bright.
The sweet spot is a boil that doesn’t stop when you stir it. You want bubbles across the entire surface, not just around the edges, and you want that boil to come back fast after the sugar hits the pot. That strong finish is what gives you a spoonable jelly that sets in the jar instead of weeping later.
What Each Ingredient Is Actually Doing in This Dish
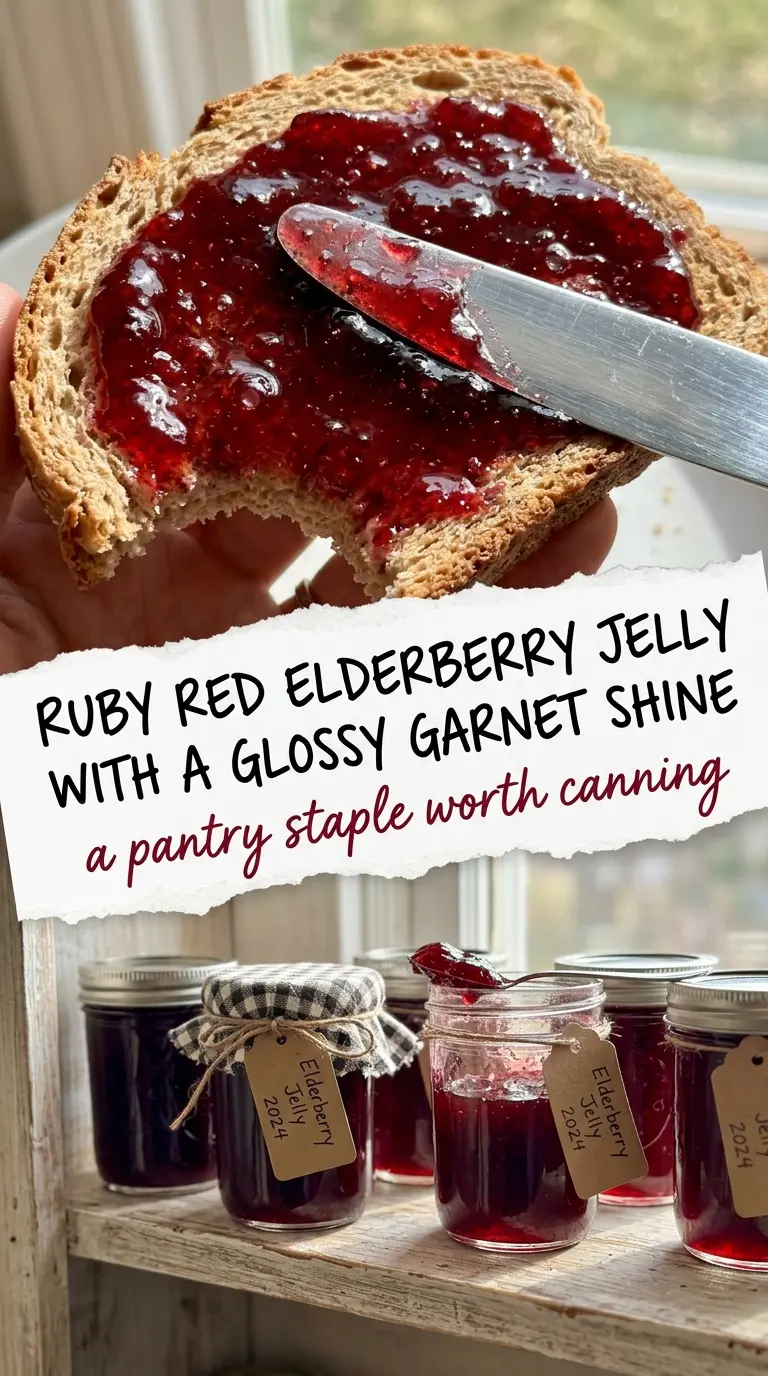
- Elderberry juice — This is the base of the entire recipe, and the clearest juice you can strain makes the prettiest jelly. A jelly bag or fine cheesecloth removes pulp and seeds, which keeps the final texture smooth. If your juice is cloudy, the jelly will still set, but the finished jars won’t look as polished.
- Lemon juice — The acid here matters for both flavor and structure. Bottled lemon juice is fine because the acidity stays consistent, which is what pectin needs for a reliable set. Fresh lemon juice works too, but measure it carefully and use the full amount.
- Powdered pectin — This recipe is built around standard powdered pectin, so use the full box rather than trying to stretch it. Different pectin types behave differently, and low-sugar or liquid versions won’t follow the same timing. If you swap brands, read the package directions closely because the boil time can change.
- Granulated sugar — The sugar is not just for sweetness; it’s part of the set. Granulated sugar dissolves cleanly and lets the jelly finish glossy instead of grainy. Reducing it changes the texture and usually means the jelly won’t firm up the same way.
How to Move Fast Once the Pot Starts Boiling
Getting the Base Hot Before the Sugar Goes In
Combine the elderberry juice, lemon juice, and pectin in a large pot and bring it to a hard boil while stirring constantly. You’re looking for bubbles that keep breaking across the surface even as you stir, not a lazy simmer that fades when the spoon moves through it. If the pectin doesn’t dissolve before the sugar goes in, you can get tiny gummy bits in the final jar.
The One-Minute Boil That Sets the Jelly
Add the sugar all at once and stir until it disappears, then bring the pot back to a full rolling boil and time it for exactly one minute. Don’t start the clock until the boil is back at full strength. If the boil weakens, the set can turn soft; if you keep going long past one minute, the flavor gets darker and the batch can tighten too much.
Jarring While the Jelly Is Still Moving
Skim off any foam, then ladle the hot jelly into prepared jars with 1/4-inch headspace. Work while the mixture is still hot and fluid, because jelly thickens fast as it cools and gets hard to pour cleanly. Wipe the rims before applying lids and bands, since even a thin smear of syrup can interfere with sealing.
Water Bath Processing for a Safe Seal
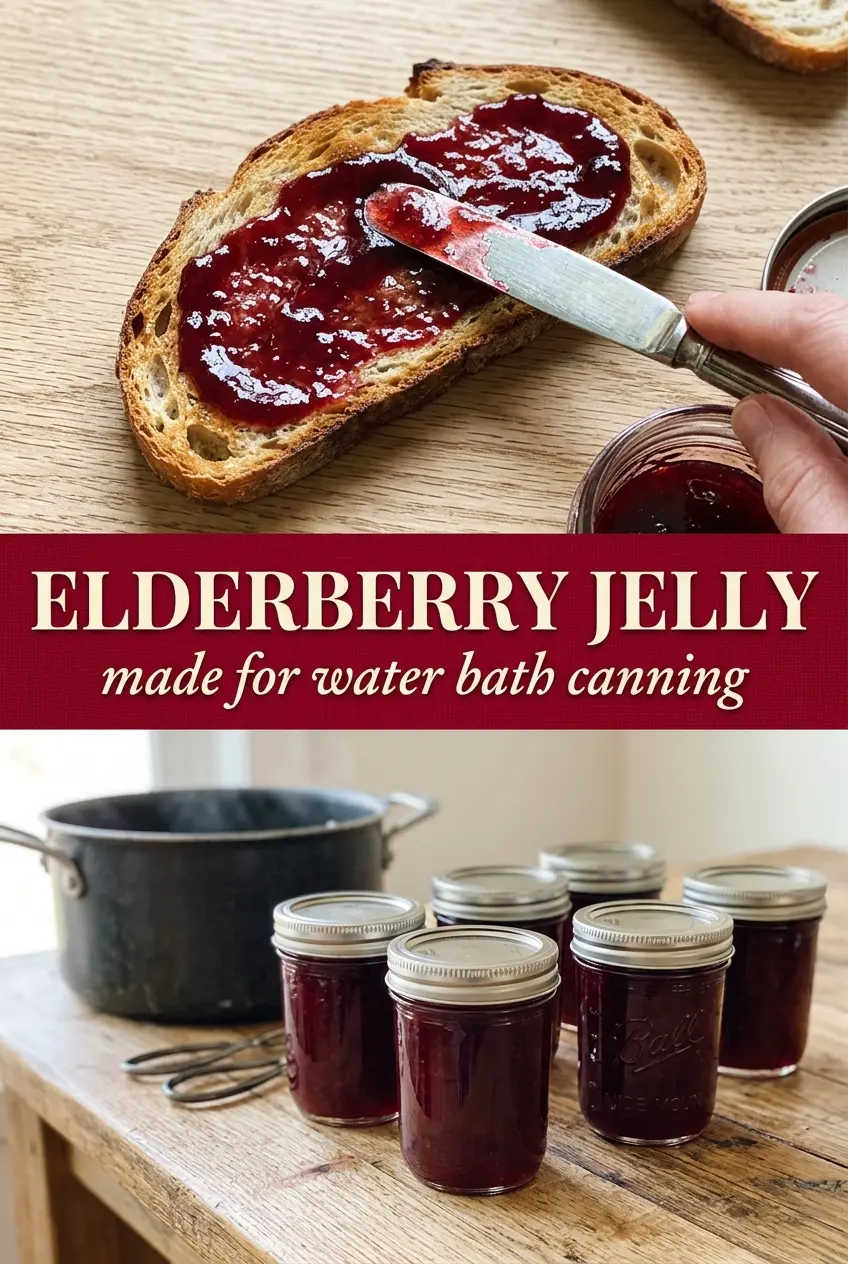
Process the filled jars in a water bath canner for 10 minutes. The water needs to stay at a steady boil the whole time, not a half-boil that drops as soon as the lid goes on. If you live at a higher altitude, the processing time changes, so use the canning guideline for your elevation rather than guessing.
How to Adapt This Jelly Without Losing the Set
For a clearer, more polished jar
Strain the elderberry juice through a jelly bag or several layers of cheesecloth without pressing hard on the solids. The less pulp you force through, the cleaner the color and texture will be. This takes a little longer, but it gives you that bright, glassy finish people notice right away.
For a lower-sugar version
This recipe is built around regular pectin and full sugar, so a straight reduction usually leaves you with loose jelly. If you want less sugar, switch to a pectin specifically designed for low-sugar jams and jellies and follow that package timing instead of this one. The flavor will be a little more tart, and the set may be softer.
For a mixed-berry variation
You can replace part of the elderberry juice with another strained berry juice, but keep the total liquid amount the same. That changes the flavor from pure, earthy elderberry to something brighter and more rounded. Keep the lemon juice in place so the pectin still sets properly.
Storage and Reheating
- Refrigerator: Unopened sealed jars keep for up to 1 year in a cool, dark pantry; once opened, refrigerate and use within 3 to 4 weeks. The texture may loosen slightly after opening, especially if the jar is dipped into often.
- Freezer: Fully processed jelly is best stored on the shelf rather than frozen. If you want to freeze a portion before canning, leave extra headspace and use freezer-safe containers, but expect a softer set after thawing.
- Reheating: Jelly doesn’t need reheating for serving. If you’re warming it for glazing or brushing over baked goods, use low heat and stop as soon as it loosens; boiling it again can dull the flavor and make the set unreliable.
Questions I Get Asked About This Jelly
Elderberry Jelly
Ingredients
Equipment
Method
- Sterilize jars, lids, and bands according to standard canning safety guidelines.
- Set a rack or towel inside a water bath canner and place it ready for processing.
- Combine the elderberry juice, lemon juice, and pectin in a large pot and stir until fully mixed.
- Bring to a rolling boil over high heat, stirring constantly, until the mixture can’t be stirred down.
- Add the sugar all at once and return to a full rolling boil, stirring constantly.
- Boil for exactly 1 minute at a full rolling boil, keeping the heat on high.
- Remove from heat and skim off any foam to keep the jelly glossy.
- Ladle the hot jelly into the prepared jars, leaving 1/4-inch headspace.
- Wipe rims clean, apply lids and bands, and tighten the bands evenly.
- Process in a water bath canner for 10 minutes, then remove jars and let cool undisturbed.