
These key lime cookies bake up soft in the center with just-set edges and a bright citrus finish that cuts through the butter in the best way. The glaze sinks in a little instead of sitting on top like frosting, so each bite gives you tender cookie first, then a sharp little hit of lime that keeps you going back for another. They’re the kind of cookie that disappears fast because they taste clean and fresh, not heavy or overly sweet.
What makes this version work is the balance between zest and juice. The zest carries the strongest lime flavor, while the juice brings the tang you notice in the glaze and the dough without thinning everything out. Brown sugar adds a little chew and keeps the texture soft, while the butter gives the cookies enough richness to stand up to the citrus. If you’ve ever had lime cookies that tasted flat, the missing piece was usually enough zest.
Below, I’ll walk through the part that matters most: how to keep the cookies soft instead of dry, and how to glaze them so they look glossy without turning sticky.
The cookies stayed soft for days, and the lime glaze set up beautifully instead of sliding off. I loved how the zest gave them that fresh key lime flavor without making them sour.
These soft key lime cookies with tangy glaze are the kind you’ll want to chill in the fridge for an afternoon snack and a late-night treat.
The Reason These Cookies Stay Soft Instead of Dry
The biggest mistake with citrus cookies is treating them like a flavor dump instead of a dough balance problem. Too much juice and not enough fat can make the dough loose and the baked cookies dry out fast because you’ve disrupted the structure before they even hit the oven. Here, the lime juice stays low enough to brighten the dough without thinning it, and the egg helps hold the cookies together as they bake.
Soft cookies also depend on baking them until the tops look set, not until they look deeply colored. If the edges are already turning dark in the oven, they’ve gone too far. Pull them when the centers still look slightly puffy and the tops have lost their raw shine. They’ll finish setting on the pan, and that carryover heat is what keeps them tender.
- Brown sugar — This brings moisture and a little chew. It’s part of why the cookies stay soft after cooling instead of turning crisp at the edges.
- Key lime zest — Zest carries the actual lime aroma. Regular lime zest works if that’s what you have, but key lime gives a sharper, slightly floral citrus note.
- Key lime juice — The juice adds tang, but don’t increase it much. More juice doesn’t mean more flavor here; it mostly means a softer dough and a less stable bake.
- Powdered sugar for the glaze — This matters because it dissolves quickly and gives you that smooth, thin coating. Granulated sugar won’t give the same finish.
Building the Dough So the Citrus Doesn’t Weigh It Down
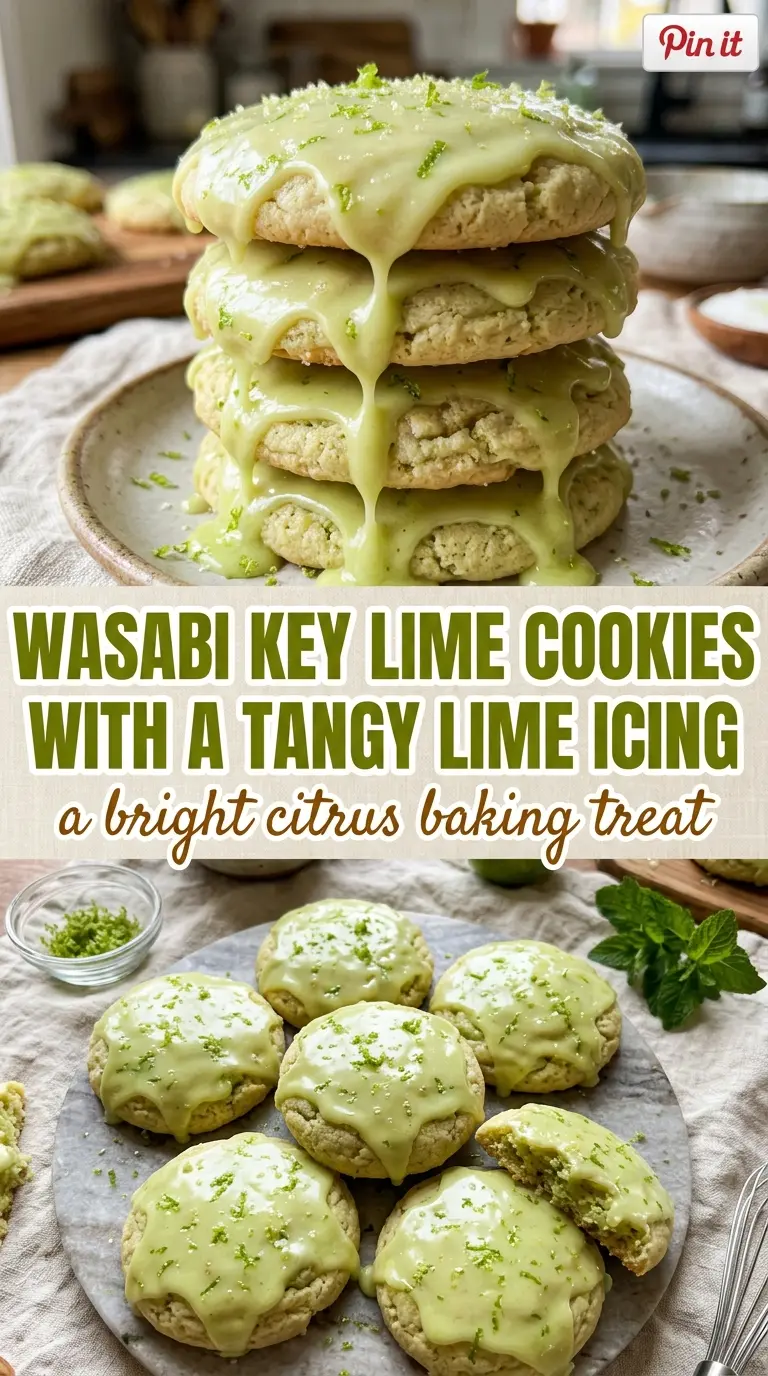
The butter and sugar need a full minute or two together before anything else goes in. That whipping step traps air, which helps the cookies bake up light instead of dense. Once the egg, zest, and juice are mixed in, add the dry ingredients just until the flour disappears. If you keep mixing after that point, the cookies can turn tough and lose the soft, cake-like middle that makes them so good.
The glaze is a separate little job, and it works best on cookies that have cooled all the way through. If they’re even a little warm, the glaze gets runny and disappears instead of staying glossy on top. A dip works better than spreading because it gives you a clean, even coat and keeps the lime punch concentrated where you want it.
Whipping the Butter and Sugar
Beat the butter with both sugars until the mixture looks pale and fluffy, not grainy and heavy. You’re building the texture here, and this is where the soft crumb starts. If the butter is too cold, it won’t aerate properly; if it’s melted, the cookies spread too much.
Bringing in the Lime
Beat in the egg, zest, and juice after the butter mixture is light. The dough may look slightly curdled for a moment, and that’s normal. The flour pulls it back together. Don’t panic and add extra flour right away, or the cookies can turn dry.
Baking Until Just Set
Scoop the dough with enough space between portions so the edges can relax without running together. Bake until the tops are dry and the edges are just lightly golden. If the cookies look fully done in the center while they’re still on the tray, they’re probably already overbaked.
Three Ways to Tweak These Cookies Without Losing the Lime
Make Them Gluten-Free
Use a 1:1 gluten-free baking blend that includes xanthan gum. The cookies will still be soft, but they may spread a touch more and lose a little of the chew you get from all-purpose flour. Let the dough rest for 10 minutes before scooping if the blend seems loose.
Use Regular Limes Instead of Key Limes
Regular limes work just fine here. The flavor will be a little brighter and less floral than key limes, but the cookies still land in the same sweet-tart place. Keep the zest amount the same and don’t add more juice than the recipe calls for.
Turn Them Into a Dairy-Free Cookie
Swap the butter for a high-quality plant-based butter stick, not a tub spread. The stick version behaves more like real butter in the oven and gives you better shape. The flavor is a little less rich, but the lime glaze covers that gap nicely.
Storage and Reheating
- Refrigerator: Store in an airtight container for up to 5 days. The glaze will stay set, though the cookies soften a little more by day two.
- Freezer: Freeze the unglazed cookies for up to 2 months. Thaw at room temperature, then glaze after they’re fully thawed so the topping stays smooth.
- Reheating: These don’t need reheating, but if you want that fresh-baked feel, warm an unglazed cookie for 5 to 8 seconds in the microwave. Glazed cookies can get sticky if heated too long.
Answers to the Questions Worth Asking
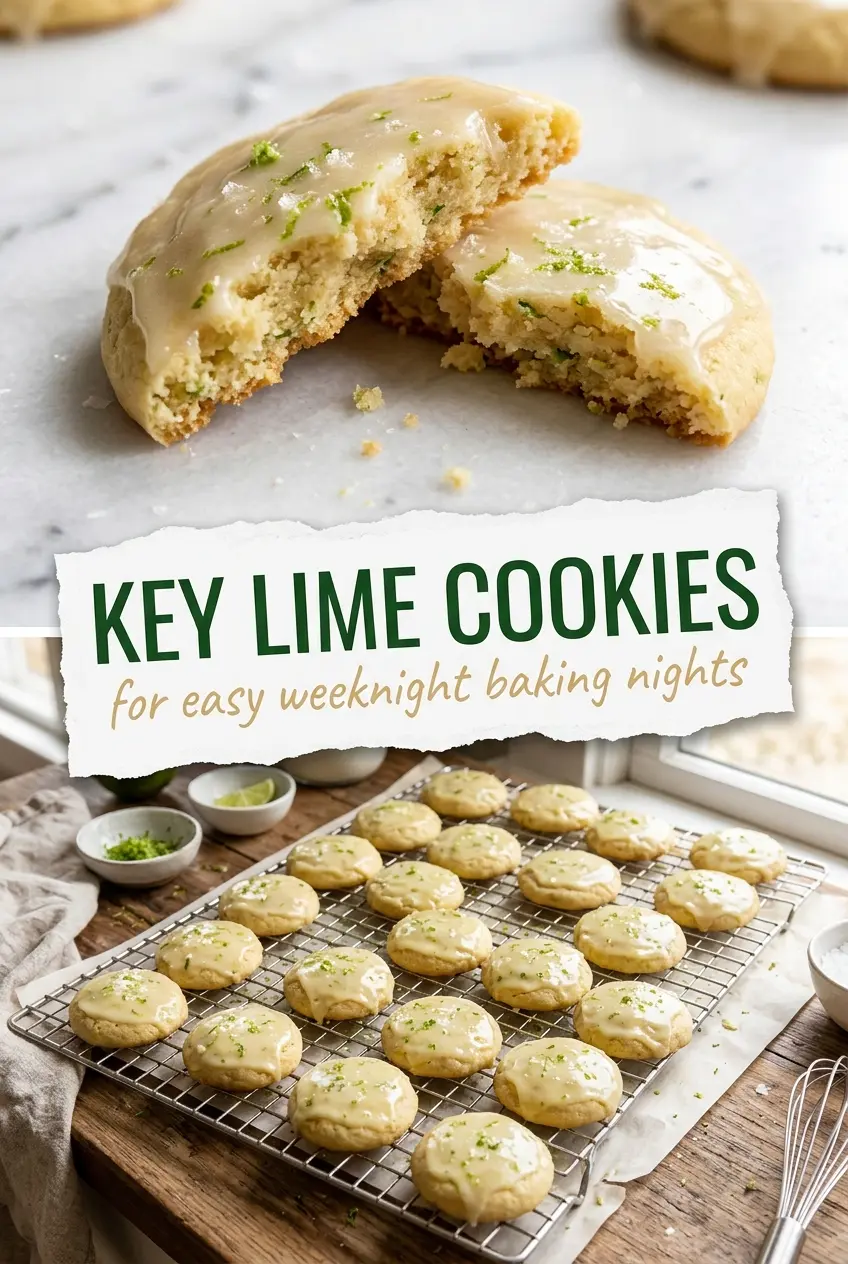
Easy Key Lime Cookies With Lime Glaze
Ingredients
Equipment
Method
- Preheat the oven to 350°F and line baking sheets with parchment paper (set up two sheets if needed).
- Whisk together the flour, salt, and baking soda in a small bowl until evenly combined and no streaks remain.
- In a mixing bowl, combine the butter, brown sugar, and granulated sugar, then beat on high for 1 to 2 minutes until light and fluffy.
- Beat in the egg, key lime zest, and key lime juice, then gradually mix in the dry ingredients until just combined.
- Scoop the dough onto the prepared sheets, leaving space between each cookie, then bake for about 10 minutes until the tops are dry and the edges are lightly golden.
- Whisk together the glaze ingredients—powdered sugar, key lime juice, and key lime zest—until smooth and pourable.
- Let the cookies cool completely, then dip the top of each cookie in the glaze and garnish with extra lime zest.