
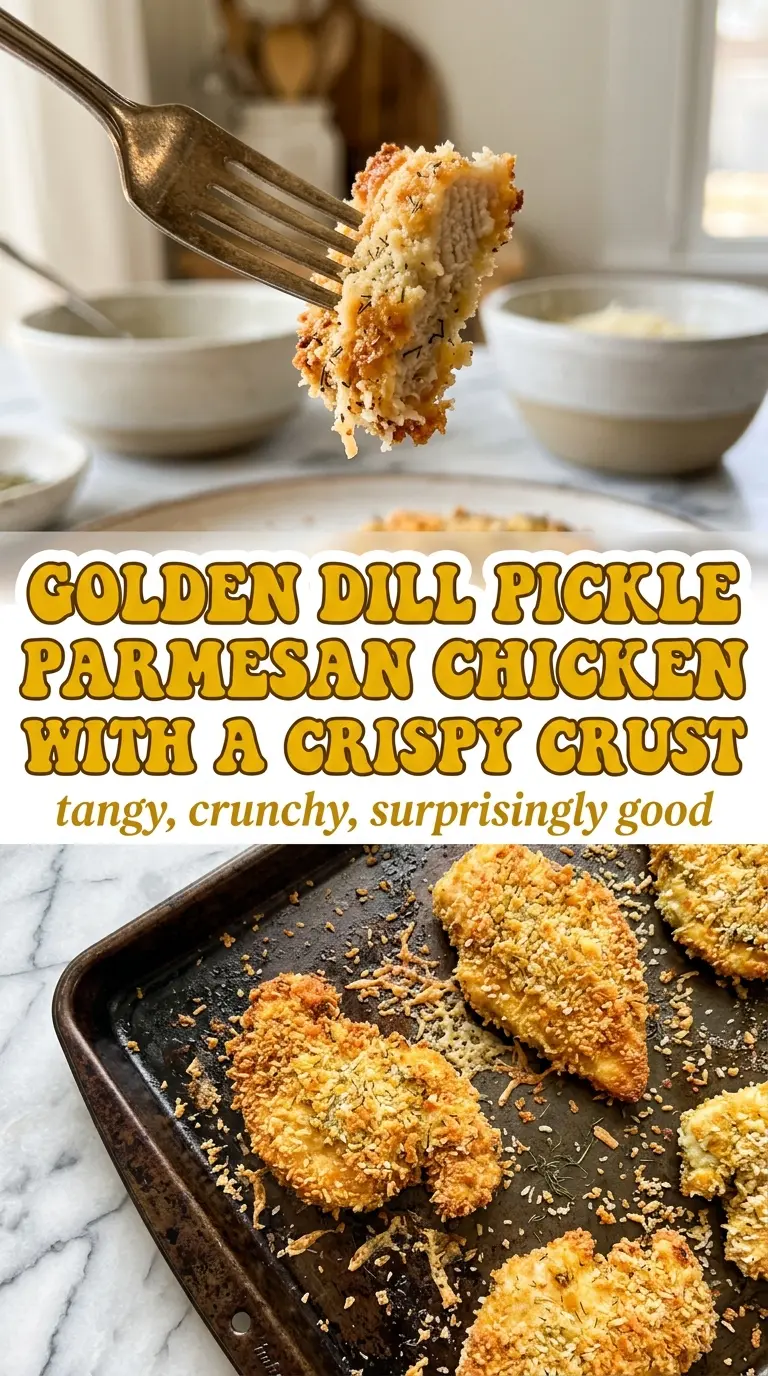
Crunchy dill pickle Parmesan chicken hits that rare sweet spot where the crust stays crisp, the chicken stays juicy, and every bite lands with a sharp, salty tang that keeps you going back for one more piece. The pickle brine does more than flavor the meat. It seasons it all the way through and helps the chicken stay tender under a coating that bakes up deeply golden instead of pale and dusty.
The trick here is balance. A short brine gives you a bright pickle note without turning the chicken sour, and the Parmesan-panko mixture adds enough fat and salt to round everything out. Panko matters because it stays light and crunchy in the oven, while the dried dill echoes the brine without making the coating taste one-note. Patting the chicken lightly dry after the soak is what keeps the crust from sliding off or steaming in the oven.
Below, I’ve included the part that makes this recipe work consistently, plus the swaps I’d use when you want to change the flavor or adapt it for what’s already in your kitchen.
The pickle flavor came through without overpowering, and the Parmesan crust stayed crunchy even after I let it sit for a few minutes. My husband said it tasted like a restaurant chicken cutlet with a fun twist.
Save this crunchy pickle-brined Parmesan chicken for nights when you want a crispy baked cutlet with a tangy, salty edge.
The Brine Is Doing More Than Adding Pickle Flavor
A lot of pickle chicken recipes stop at the novelty, but the brine matters here because it seasons the meat from the inside and changes the texture in a good way. Thirty minutes is enough to give you a clear tang; overnight pushes the flavor deeper and gives you a more seasoned cutlet. What you don’t want is an overly long soak on very thin chicken, because the surface can start to taste overly salty before it ever reaches the oven.
The other mistake is treating the coating like it can rescue a wet piece of chicken. It can’t. The brine needs to be drained off, and the chicken should be patted lightly dry so the egg clings in a thin layer instead of sliding around. That thin layer is what helps the panko and Parmesan form a crust that bakes up crisp instead of patchy.
What Each Ingredient Is Actually Doing in This Dish
- Chicken breasts — Pounding them thin gives you even cooking and more surface area for the crust. Thick chicken takes longer, which dries out the outside before the center is done.
- Dill pickle juice — This is the ingredient that makes the recipe taste like itself. Use the brine from a jar of dill pickles, not sweet pickles, or the flavor turns muddled and sugary.
- Panko breadcrumbs — Panko stays airy and crisp in the oven. Regular breadcrumbs will work in a pinch, but the crust comes out denser and less shattery.
- Parmesan cheese — The cheese adds salt, nuttiness, and helps the crust brown. Finely grated Parmesan melts into the coating better than big shreds, which can fall off before baking.
- Dried dill — This reinforces the pickle flavor without bringing extra moisture. If you only have fresh dill, use a little less because it can read greener and softer than the dried herb here.
- Egg — The egg is the glue between the brine and the crust. Beat it well so the coating goes on evenly instead of in thick streaks.
Build the Crust After the Brine Has Done Its Job
Let the Pickle Juice Season the Chicken First
Submerge the pounded chicken in the brine and give it at least 30 minutes. If you have time for overnight, the flavor goes deeper and the chicken tastes seasoned all the way through instead of just on the surface. Pull it from the fridge a little before breading so it isn’t ice-cold in the middle, which can slow down browning.
Set Up the Coating Before You Touch the Chicken
Mix the panko, Parmesan, and dill in a shallow dish, and beat the egg in another. This keeps the breading step clean and fast, which matters because the egg layer starts to get clumpy once it sits too long. If your coating looks dry and patchy on the chicken, the chicken was still too wet from the brine.
Bake Until the Crust Is Deep Gold and the Chicken Stays Juicy
Place the coated cutlets on parchment and bake at 400°F until the crust is deep golden and the chicken reaches 165°F at the thickest point, usually 20 to 25 minutes depending on thickness. If the top browns too fast before the center is done, the cutlets were too thick or your oven runs hot. A short rest after baking helps the juices settle so the coating stays crisp when you slice in.
Three Smart Ways to Change It Without Losing the Crunch
Gluten-Free Version
Use gluten-free panko and keep the rest of the process the same. The crust still gets crisp because the oven heat and thin chicken do the heavy lifting, but don’t expect the exact same flaky texture as standard panko. Let the coated chicken sit for a minute before baking so the crumbs hydrate slightly and adhere better.
Dairy-Free Swap
Skip the Parmesan and add 2 to 3 tablespoons of nutritional yeast plus a pinch more salt. You lose the sharp, nutty cheese flavor, but you keep a savory coating that still browns well. The crust will be a little lighter and less rich, so serve it with a punchy sauce or extra pickles on the side if you want more contrast.
Extra Tangy Pickle Flavor
Let the chicken brine overnight and add a teaspoon of pickle brine to the beaten egg before breading. That pushes the pickle note further without making the crust soggy. If the flavor starts tasting too sharp after baking, a little melted butter or a creamy dipping sauce balances it back out.
Storage and Reheating
- Refrigerator: Store leftovers for up to 4 days. The crust softens a bit, but the flavor holds up well.
- Freezer: It freezes best after baking and cooling completely. Wrap tightly and freeze for up to 2 months; reheat from frozen or thawed on a rack so the bottom doesn’t steam.
- Reheating: Use a 375°F oven or air fryer until hot and crisp again. The common mistake is microwaving, which turns the coating limp and pulls the crust away from the chicken.
The Questions That Trip People Up With This Dish

Crunchy Dill Pickle Parmesan Chicken
Ingredients
Equipment
Method
- Marinate the chicken breasts in dill pickle juice for at least 30 minutes, or up to overnight in the fridge, so the flavor penetrates the cutlets.
- When ready to bake, preheat the oven to 400°F and line a sheet pan with parchment for even browning and easier cleanup.
- Combine panko breadcrumbs, grated Parmesan cheese, and dried dill in a shallow dish to make the crisp coating mixture.
- Remove the chicken from the brine, pat lightly to reduce surface moisture, then season with salt and pepper.
- Dip each chicken piece in beaten egg, letting excess drip off, so the coating adheres.
- Coat the egged chicken in the panko mixture, pressing gently to help it stick.
- Place the coated chicken on the parchment-lined sheet pan and bake for 20-25 minutes at 400°F, until golden and cooked through.