
Shatteringly crisp baked Buffalo wings are one of those rare oven recipes that give you the crunch people expect from fried wings without the mess of hot oil. The skin turns deeply browned and crackly, then the hot sauce and butter cling to every ridge instead of sliding off into a puddle. You get that sharp Buffalo heat, a little richness, and a wing that still tastes like a wing, not a sauced-up tray of chicken.
The trick is in the dry coating and the rack. Baking powder draws moisture from the skin and helps it blister in the oven, while a wire rack keeps air moving all the way around each wing so the bottoms don’t steam. Patting the wings dry matters more than almost anything else here. If the skin goes into the oven damp, it needs to evaporate first before it can crisp, and that’s where people lose the texture.
Below, I’ve included the part that matters most if you want that true Buffalo-wing bite: how to keep the sauce glossy instead of greasy, plus a few useful swaps if you need to work around what’s in your kitchen.
The wings came out with that crackly skin I always chase, and the buffalo sauce stuck to every piece instead of pooling on the pan. My husband kept grabbing “just one more” until they were gone.
Crispy Baked Buffalo Wings with crackly skin and glossy sauce belong on your next game-day spread.
The Reason Baking Powder Gives You Fried-Wing Crunch in the Oven
The skin on chicken wings has to dry out before it can crisp, and baking powder helps that happen faster by changing the surface of the skin. That’s why this works better than flour or cornstarch for this style of wing. You’re not building a breading; you’re helping the skin blister, tighten, and brown.
The other part people miss is airflow. A wire rack keeps the wings lifted so the hot oven air hits every side, which means the bottom stays crisp instead of turning soft in its own steam. If you put them flat on a sheet pan, the contact points can still brown, but they won’t get the same all-over crunch.
What Each Ingredient Is Actually Doing in This Dish
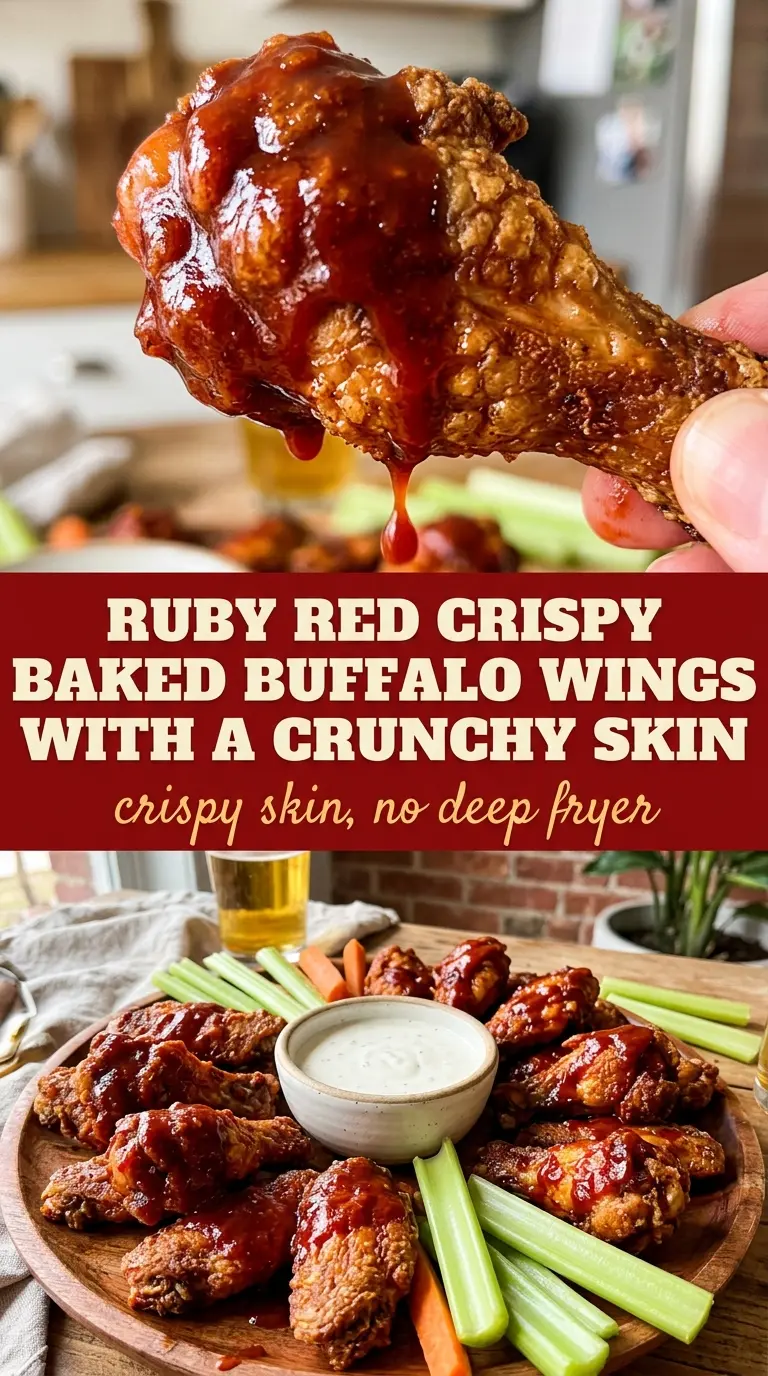
- Chicken wings — Split wings with the flats and drumettes both work. If they’re whole, cut them at the joints first so they cook at the same pace.
- Baking powder — Use aluminum-free if that’s what you keep in the pantry, but any plain baking powder works. Don’t use baking soda here; it tastes harsh and can over-brown the skin.
- Buffalo sauce — A classic hot sauce with a little vinegar bite is what you want. If your sauce is very thin, it’ll slide off more easily, so choose one that tastes sharp but not watery.
- Melted butter — This softens the heat and gives the sauce that glossy, clingy finish. If you skip it, the wings still taste good, but the sauce will read hotter and thinner.
- Ranch or blue cheese dressing — This matters more than it sounds like. The cool, creamy dip balances the heat and gives each bite a reset.
Getting the Wings Crisp Before the Sauce Goes On
Dry the skin first
Pat the wings dry with paper towels until the surface feels tacky rather than damp. Any moisture left on the skin has to cook off before browning can begin, and that’s what keeps wings pale and rubbery. Toss them right away with the baking powder and seasonings so the coating sticks evenly.
Use the rack and the high heat
Arrange the wings in a single layer on a wire rack set over a baking sheet. Give them space; crowded wings trap steam and soften each other. Bake at 450°F, flipping halfway through, until the skin looks deep golden and a little blistered at the edges. If the color is there but the texture still feels soft, give them a few more minutes.
Toss while they’re hot
Combine the buffalo sauce and melted butter, then toss the wings immediately after they come out of the oven. Hot wings absorb and cling to the sauce better, and the butter helps it coat instead of pooling. If you wait too long, the skin starts to cool and the sauce won’t settle into the crisp surface the same way.
Make Them Extra Spicy
Add a pinch of cayenne to the baking powder mixture or use a hotter buffalo sauce. The wings will still crisp the same way, but the heat will land harder and linger longer.
Dairy-Free Version
Swap the butter for melted ghee if dairy isn’t the issue, or leave it out and use a thicker hot sauce. You’ll lose a little shine and richness, but the wings still get that classic Buffalo edge.
Lower-Sodium Wing Night
Cut the salt in the coating by half and lean on the sauce and dip for the seasoning. The skin still crisps the same, but the final bite tastes cleaner and less aggressively salty.
Storage and Reheating
- Refrigerator: Store leftovers for up to 3 days. The skin will soften after chilling, but the flavor stays good.
- Freezer: Freeze cooked wings before saucing for the best texture, then sauce after reheating. Sauced wings can be frozen, but the skin won’t stay as crisp.
- Reheating: Reheat on a wire rack in a 400°F oven until hot and the skin tightens again, about 10 to 15 minutes. Microwaving turns the skin rubbery fast, so skip it if you want any crunch left.
Questions I Get Asked About This Recipe
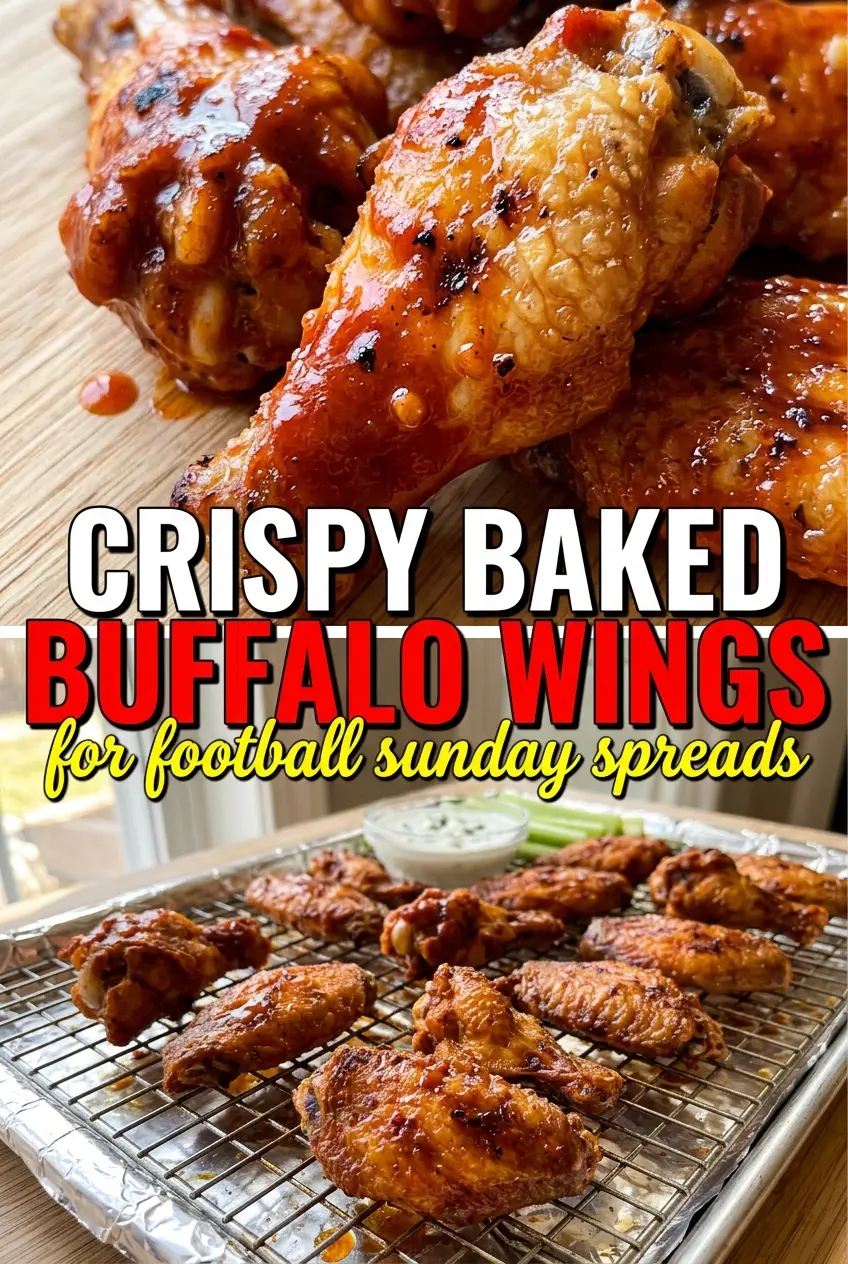
Crispy Baked Buffalo Wings
Ingredients
Equipment
Method
- Preheat the oven to 450°F and line a sheet pan with a wire rack.
- Pat the chicken wings dry, then toss with baking powder, salt, garlic powder, and paprika until evenly coated.
- Arrange the wings on the wire rack in a single layer with space between each piece.
- Bake for 45–50 minutes, flipping halfway, until deeply golden and crisp.
- Toss the hot baked wings with buffalo sauce and melted butter until fully coated and glossy.
- Serve immediately with ranch or blue cheese dressing.