
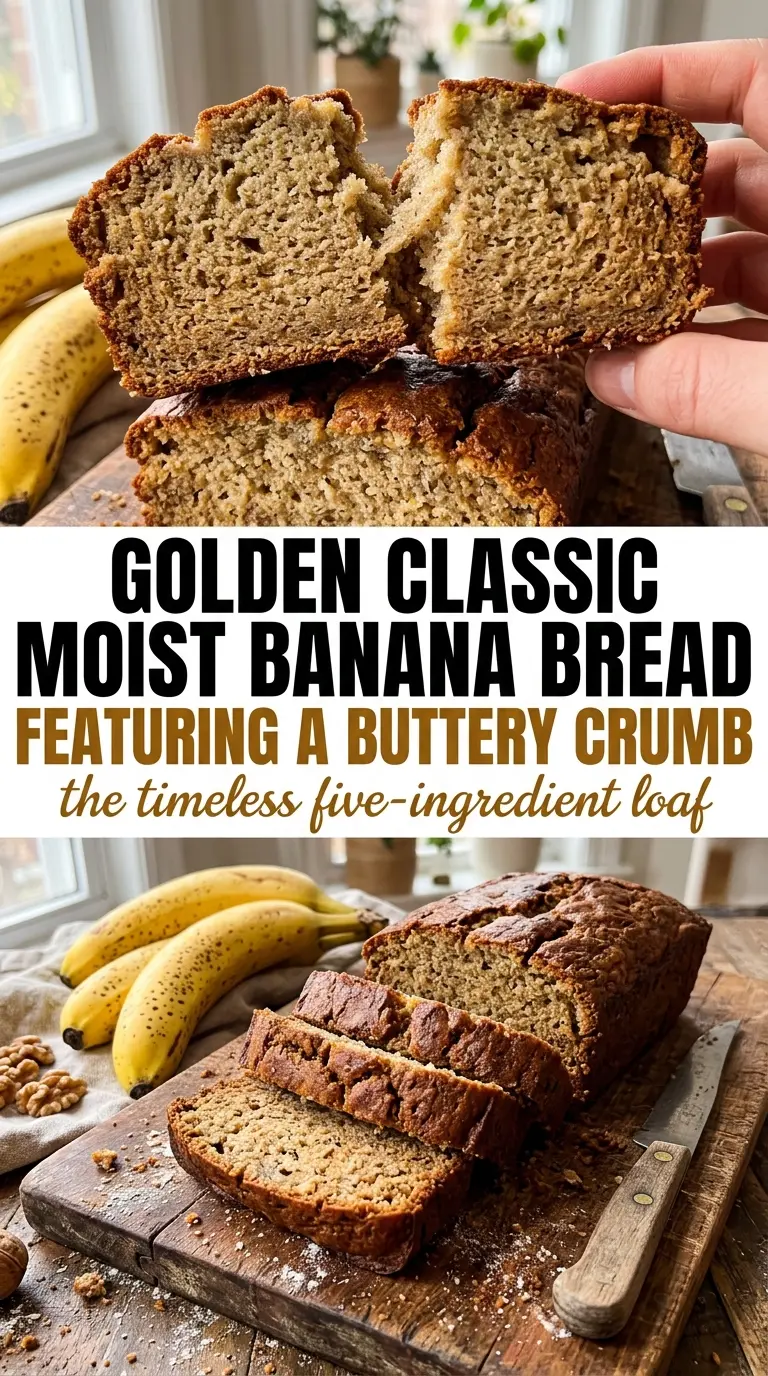
Banana bread earns its place in the rotation because it turns overripe fruit into a loaf with a soft, fragrant crumb and a deep banana flavor that gets better by the day. The top bakes into a tender golden crust while the inside stays moist without turning gummy, which is the whole challenge with banana bread done well.
The difference in this version starts with very ripe bananas and melted butter. Those two ingredients carry most of the flavor and tenderness, so there’s no need to complicate it. The batter comes together in one bowl, and the real trick is stopping as soon as the flour disappears. Overmixing is what turns a quick bread dense and rubbery instead of light and sliceable.
Below, I’ll walk through the small details that matter: how ripe the bananas should look, what the batter should feel like before it goes into the pan, and how to keep the loaf from drying out after baking. There’s also a simple storage note, because banana bread tends to disappear fast once it’s sliced.
I used bananas that were almost black and the loaf came out so moist with a really strong banana taste. It sliced cleanly after cooling and stayed soft for two days.
Save this classic moist banana bread for the next time your bananas go spotty and you want a soft, buttery loaf without any fuss.
The One Mistake That Makes Banana Bread Heavy
Banana bread goes wrong most often when the batter gets worked too much after the flour goes in. Once the flour hits the bowl, the goal changes from mixing to combining. Stir until the dry streaks disappear and stop there. A few small lumps are better than a loaf that bakes up tight and chewy.
The second mistake is baking it until it looks dry on top and calling it done. Banana bread keeps cooking from carryover heat after it leaves the oven, so the center should be set with just a little give. A toothpick should come out clean or with a few moist crumbs, not wet batter. If the loaf is browning too quickly before the middle is ready, tent it loosely with foil for the last 10 to 15 minutes.
What Each Ingredient Is Actually Doing in This Dish
- Very ripe bananas — The darker the peel, the sweeter and more concentrated the banana flavor. If your bananas still look yellow, the loaf will bake up bland and less moist.
- Melted butter — This gives the crumb a softer, richer texture than oil does in this specific recipe. Let it cool for a minute so it doesn’t scramble the egg.
- Baking soda — It reacts with the acidity in the bananas and helps the loaf rise. If it’s old, the bread will bake up flat, so check the date if your loaf has gone dense on you before.
- All-purpose flour — It gives the loaf structure without making it tough. If you swap in whole wheat flour, use half and half with all-purpose or the bread can turn heavy fast.
Building the Batter Without Beating It to Death
Mashing and Mixing the Wet Ingredients
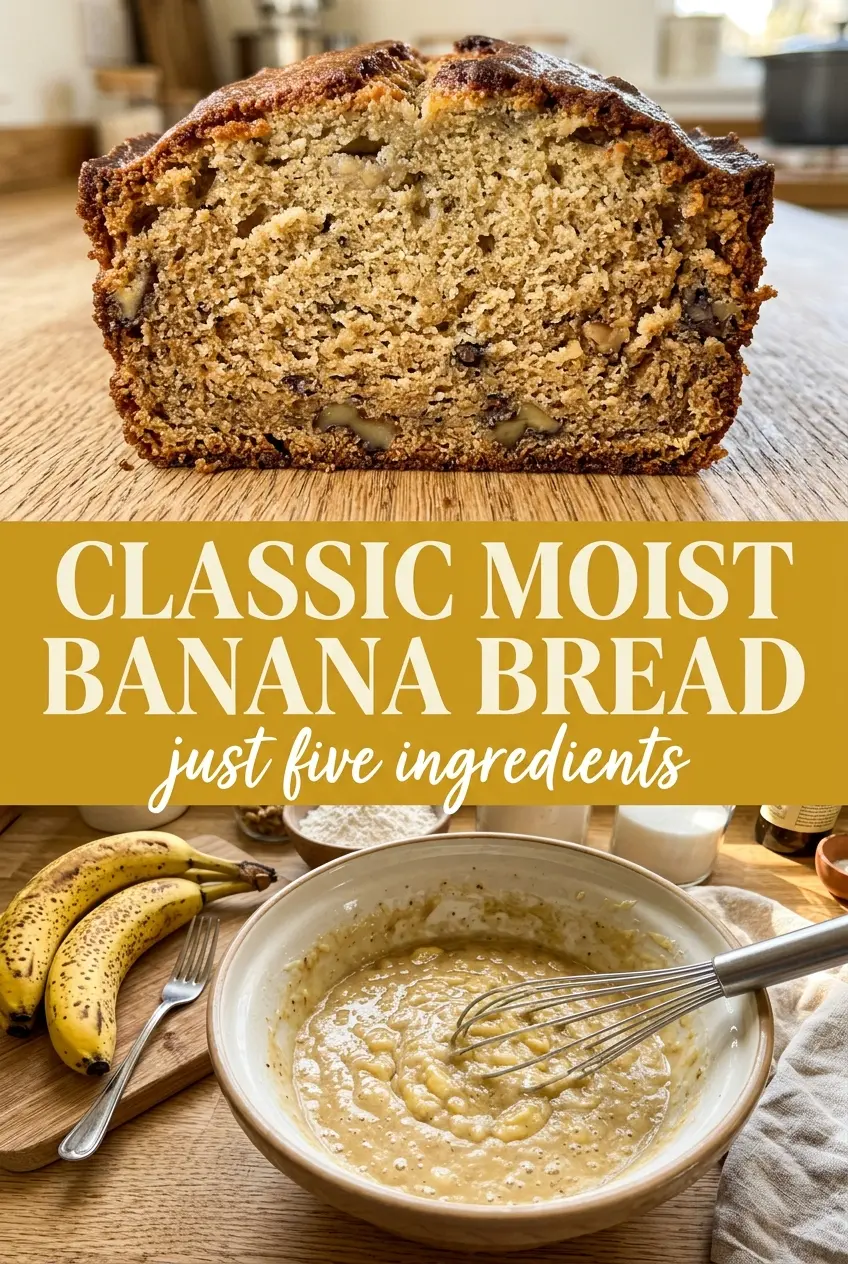
Mash the bananas in a large bowl until they’re mostly smooth with a few small soft bits left behind. Stir in the melted butter first, then add the sugar and egg until the mixture looks glossy and even. If the butter is too hot, it can cook the egg in streaks, so give it a minute to cool before it goes in.
Bringing in the Dry Ingredients
Sprinkle the flour and baking soda over the wet mixture and fold gently with a spatula. Stop as soon as you no longer see dry flour in the bowl. This batter should look thick and slightly lumpy, not silky like cake batter; that texture is what keeps the loaf tender instead of rubbery.
Baking Until the Center Is Set
Scrape the batter into a greased loaf pan and smooth the top lightly so it bakes evenly. Slide it into the oven and leave it alone for most of the bake time. The loaf is ready when the top is deep golden, the edges pull slightly from the pan, and a tester in the center comes out clean or with moist crumbs. Let it rest in the pan for 10 minutes before turning it out so the crumb can set without sticking.
Three Useful Ways to Change It Without Losing the Loaf
Dairy-Free Banana Bread
Swap the butter for melted coconut oil or a neutral oil. Coconut oil keeps the loaf rich but adds a faint coconut note; neutral oil keeps the banana flavor front and center. The texture will still be soft, though butter gives the crust a little more flavor.
Lower-Sugar Version
Drop the sugar to 1/2 cup if your bananas are very dark and sweet. The loaf will be a little less tender and less browned, but the banana flavor comes through cleanly. Don’t cut it much further or the crumb starts to taste flat instead of balanced.
Add-Ins That Still Bake Evenly
A handful of chopped walnuts or chocolate chips works well, but keep the total add-ins modest so the loaf stays light. Toss them with a spoonful of flour before folding them in; that helps keep them from sinking to the bottom. Heavy add-ins can drag the middle down and make the slice less even.
Storage and Reheating
- Refrigerator: Store tightly wrapped for up to 5 days. The crumb firms up in the fridge, so it’s best rewarmed before serving.
- Freezer: This freezes well. Wrap the cooled loaf or individual slices tightly in plastic, then foil, and freeze for up to 3 months.
- Reheating: Warm slices in the toaster oven or microwave just until heated through. Overheating dries banana bread out fast, so use short bursts if you’re microwaving.
Answers to the Questions Worth Asking
Classic Moist Banana Bread
Ingredients
Equipment
Method
- Preheat the oven to 350°F and grease a loaf pan, setting it up for an even bake. Place the pan on a sheet pan for stability.
- Mash the bananas until smooth, then stir in the melted butter until evenly combined. The mixture should look glossy and thick.
- Mix in the sugar and egg until smooth, with no streaks remaining. Stop once the batter looks uniform.
- Fold in the all-purpose flour and baking soda until just combined. Mix only until the dry flour disappears to keep the crumb tender.
- Pour the batter into the prepared loaf pan, smoothing the top for an even rise. Tap the pan lightly to settle the batter.
- Bake at 350°F for 55-60 minutes, until a toothpick inserted in the center comes out clean. The loaf should be golden and spring back slightly when pressed.
- Cool in the pan for 10 minutes before transferring to a wire rack. Let it finish cooling so the loaf slices cleanly.