
Chunky tomato salsa with a clean, bright bite is the kind of pantry project that pays off long after the kitchen cools down. The tomatoes cook down just enough to turn saucy without losing their shape, the jalapeños bring heat without taking over, and the vinegar keeps the whole batch lively and safe for the canner. What comes out of the pot tastes like real tomatoes first, salsa second, which is exactly what you want when you’re filling jars for the shelf.
The trick here is balance. Roma tomatoes hold their flesh better than juicier slicing tomatoes, so the salsa thickens without turning watery. Apple cider vinegar gives the acidity needed for safe canning and adds a rounded tang that fits right in with garlic, onion, and cilantro. A little sugar doesn’t make it sweet; it rounds out the sharp edges from the vinegar and peppers so the finished salsa tastes cooked in the best way.
You’ll find the points that matter most below: how to keep the salsa thick enough for canning, which ingredients do the heavy lifting, and what to change if your tomatoes are extra juicy or your peppers run hot.
I canned a batch last weekend and the texture was spot on — thick enough to scoop but still chunky, and the vinegar gave it that classic salsa tang without tasting harsh. My jars sealed fine and we opened the first one with eggs the next morning.
Save this tomato salsa for canning when you want jars of thick, tangy pantry salsa that starts with fresh garden tomatoes.
The Reason Tomato Salsa for Canning Stays Thick Instead of Turning Watery
Watery salsa usually starts with the tomatoes. Some varieties release a flood of juice the moment they hit heat, and if you rush the simmer, that liquid never has time to cook off. Roma tomatoes are the right call here because they hold their shape and give you a thicker finished jar without needing thickeners, which aren’t part of safe canning standards anyway.
The other mistake is crowding the pot with too much heat too early. A hard boil breaks the tomatoes down fast but can leave you with a loose, uneven texture and scorched bits on the bottom. A steady simmer lets moisture evaporate gradually while the onion, garlic, and peppers mellow into the background. Stir often enough to keep the bottom clean, especially once the salsa starts to thicken and bubble lazily instead of boiling freely.
What Each Ingredient Is Actually Doing in This Salsa
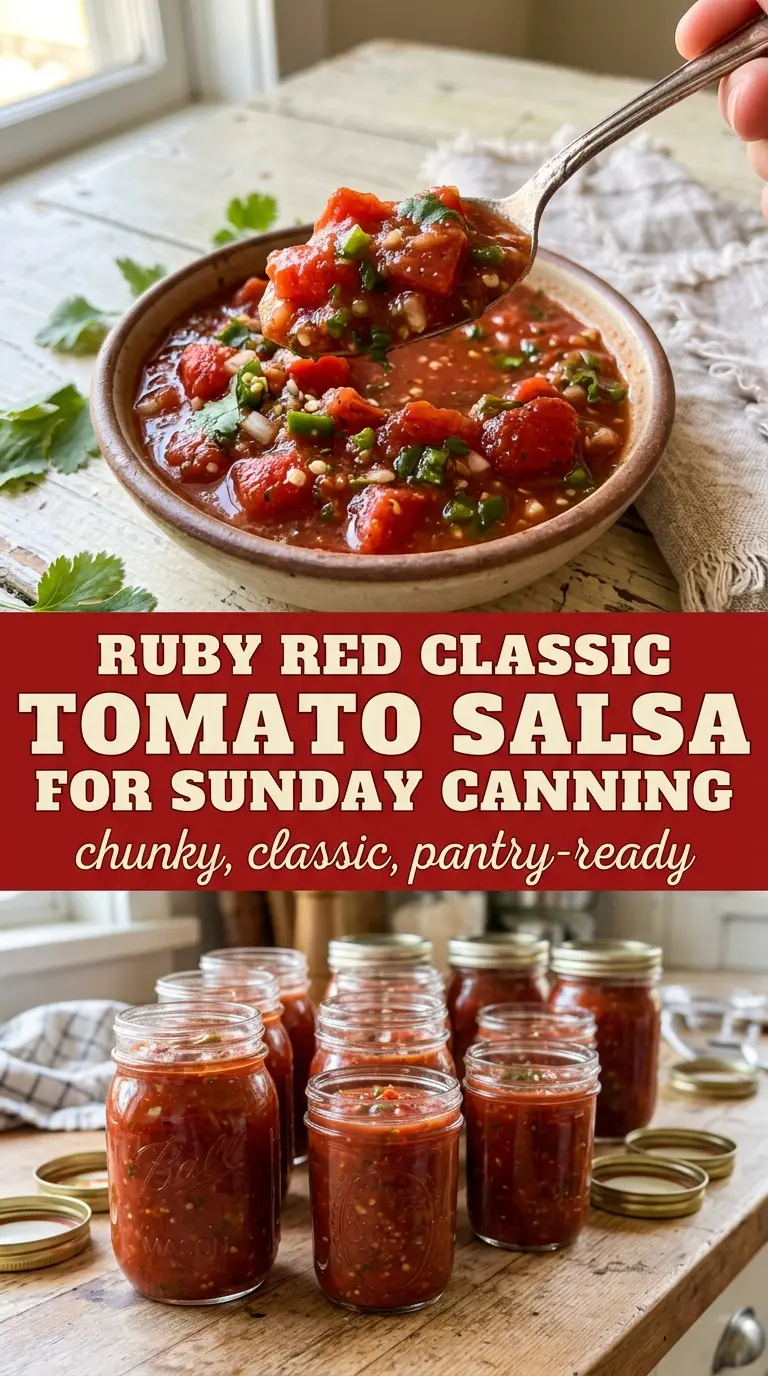
- Roma tomatoes — These give you the body of the salsa. If you use a juicier tomato, expect a longer simmer and a softer finish. Seeded tomatoes make the batch a little thicker, but you don’t need to remove every seed to get a good result.
- Apple cider vinegar — This is doing two jobs: acidity for safe canning and the bright sharpness that makes salsa taste finished. Don’t swap in random amounts of lemon juice or reduce it unless you’re following a tested canning formula that specifically allows that change.
- Jalapeños — They bring heat and that familiar green pepper note. For a milder salsa, remove the seeds and ribs before mincing. For more bite, leave some of the membrane in place. The flavor will be fresher and more direct than using dried heat.
- Onion and garlic — These are the backbone of the savory side of the salsa. Fresh garlic matters more than jarred here because the recipe cooks long enough for its raw edge to soften, but not so long that it disappears completely.
- Sugar — Just enough to round out the acid and make the tomatoes taste fuller. It doesn’t make the salsa sweet. If your tomatoes are especially ripe, you may not notice it in the final flavor, but it keeps the batch balanced.
- Fresh cilantro — Stir it in at the end so it stays bright. If you cook it for the full simmer, you lose the clean herbal finish that makes the jars taste fresh when you open them months later.
How to Cook It Down Without Losing the Fresh Tomato Bite
Building the Base
Combine the tomatoes, onion, jalapeños, and garlic in a large pot and start over medium heat. The first stage is about releasing juice and softening the aromatics, not rushing to a boil. You want the mixture to look glossy and loose at first, then progressively more unified as the tomatoes collapse. If the heat is too high right away, the bottom can catch before the top has had a chance to break down.
Bringing in the Acid
Stir in the apple cider vinegar, sugar, and salt once the vegetables have started to soften. This is where the salsa turns from chopped tomato mixture into something that tastes like salsa instead of just cooked vegetables. The vinegar should smell sharp but not harsh as it heats. Keep the pot at a simmer, not a rolling boil, so the acid stays integrated and the texture stays even.
Reducing to the Right Consistency
Simmer for 40 to 45 minutes, stirring occasionally and scraping the bottom as the liquid reduces. The salsa is ready when it looks thickened, the bubbles are slower and heavier, and a spoon drawn through the pot leaves a clear path for a second or two. If it still looks soupy, keep cooking. If you stop too soon, the jars can end up thinner than you expect after processing.
Finishing and Jarring
Stir in the cilantro just before canning so it stays fresh-tasting. Ladle the salsa into sterilized jars with 1/2-inch headspace, wipe the rims, and process according to safe water bath canning guidelines for your altitude and jar size. The most common mistake here is underfilling the simmer time and then trying to fix it with extra processing time. That doesn’t thicken the salsa the same way; it just cooks the tomatoes harder than necessary.
How to Adapt This for Heat, Mildness, or a Different Pantry Plan
Mild Salsa with Less Jalapeño Heat
Use the jalapeños with the seeds and ribs removed, or drop one pepper entirely if you want a softer finish. You’ll still get the green pepper flavor and the same canning structure, but the heat lands at the back of the palate instead of building in the bowl.
Hotter Salsa with a Deeper Burn
Leave some or all of the jalapeño seeds in place, or swap one pepper for a serrano if you want sharper heat. That change keeps the body of the salsa the same but shifts the finish from mild and tangy to bright and more assertive.
Dairy-Free, Gluten-Free, and Pantry-Friendly by Nature
This recipe already fits both dairy-free and gluten-free eating without any changes. That makes it a good shelf-stable option for mixed households, since the base ingredients stay simple and the flavor comes from fresh produce instead of add-ins.
Storage and Reheating
- Refrigerator: Once opened, keep jars refrigerated and use within 5 to 7 days. The salsa may loosen a little after chilling, but the flavor stays bright.
- Freezer: This salsa is better canned than frozen. Freezing can make the tomatoes soft and watery when thawed, so it’s not the best route for this recipe.
- Reheating: If you want it warm for nachos or eggs, heat only the amount you’ll use in a small saucepan over low heat. High heat cooks off the fresh tomato flavor and can make the texture dull.
Answers to the Questions Worth Asking
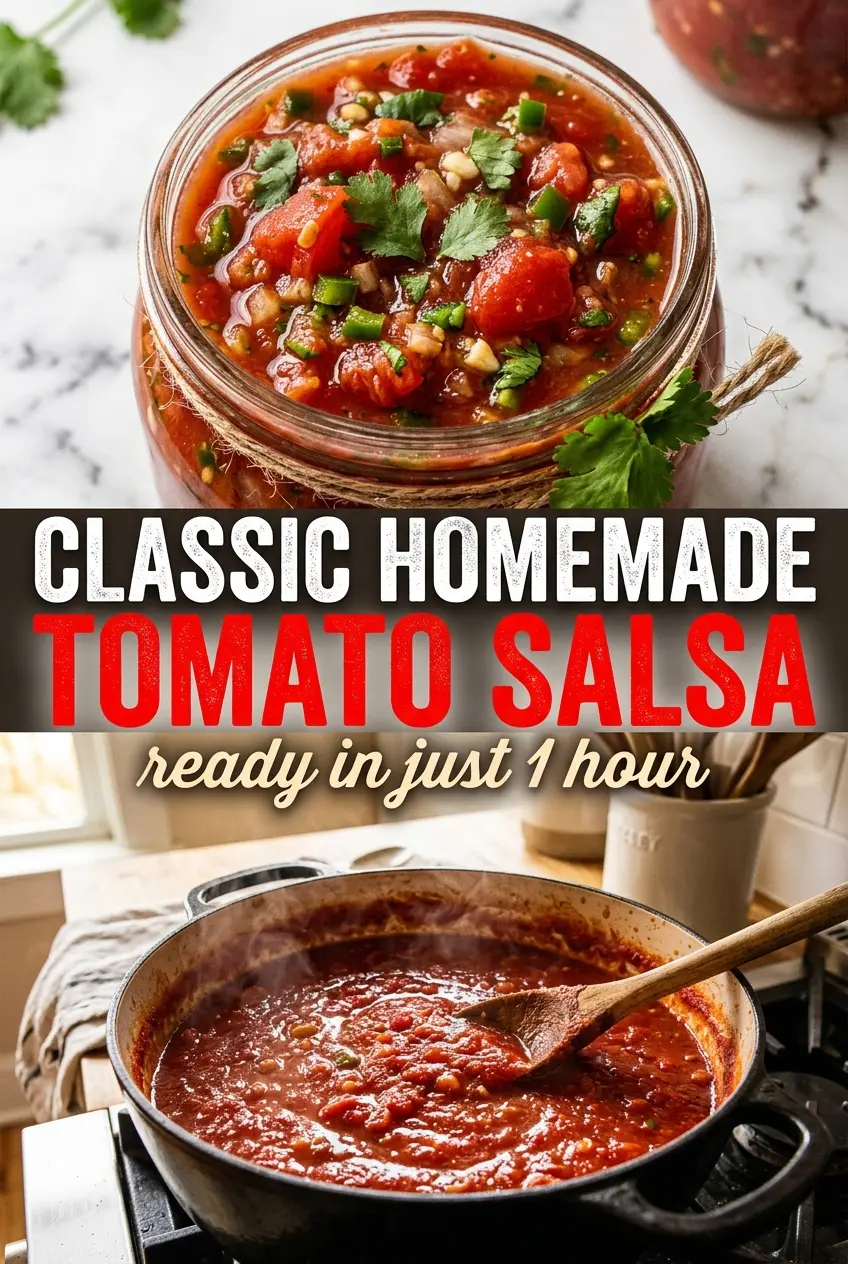
Classic Homemade Tomato Salsa for Canning
Ingredients
Equipment
Method
- Combine roma tomatoes, diced, diced onion, jalapeños, minced, and garlic cloves, minced in a large pot (Dutch oven). Heat over medium until hot, then bring to a simmer (about 10 minutes) so the salsa starts thickening.
- Stir in apple cider vinegar, sugar, and salt, then bring back to a steady simmer. Simmer for 40–45 minutes, stirring occasionally, until the mixture is thickened and chunky with reduced liquid.
- Stir in fresh cilantro, chopped just before canning. Keep the salsa hot on the lowest heat while you prepare jars.
- Ladle the hot salsa into sterilized jars, leaving 1/2-inch headspace. Wipe rims, apply lids, and process in a water bath canner following safe canning guidelines for salsa.