
Golden-seared chicken with Thai basil earns a permanent spot in the weeknight rotation because it hits fast, loud, and clean: crisp-edged chicken, hot chiles, garlicky shallots, and a savory sauce that clings instead of pooling in the pan. The basil goes in at the very end, so it stays fragrant and peppery rather than fading into the background. What you get is the kind of stir-fry that tastes like it came from a good wok station, not a shortcut dinner.
The trick here is getting everything ready before the heat goes on. Once the pan is hot, there’s no time to mince garlic or measure sauce, and that’s exactly when stir-fries go from glossy and balanced to scorched and rushed. This version uses chicken thighs for a reason: they stay juicy over high heat and pick up color without drying out. The sauce also leans on oyster sauce for body, soy and fish sauce for depth, lime for brightness, and just enough brown sugar to round off the heat.
Below, I’ve laid out the parts that matter most, including the one small timing detail that keeps the basil fresh and the sauce from getting muddy. If you’ve ever had Thai basil chicken that tasted flat or limp, this is the version that fixes that.
The sauce coated every piece of chicken and the basil stayed bright because it went in at the very end. I served it over jasmine rice and my husband said it tasted better than our takeout spot.
Thai basil chicken with fiery chiles and a glossy savory sauce belongs in your weeknight rotation.
The One Mistake That Makes Thai Basil Chicken Taste Flat
This dish lives or dies on heat management and timing. If the pan isn’t hot enough, the chicken steams and gives off liquid before it browns, which leaves you with a pale, watery stir-fry instead of those caramelized edges that carry the sauce. The other common miss is adding the basil too early. Thai basil doesn’t need to cook down; it needs a brief wilt off the heat so its aroma stays sharp and peppery.
The sauce is built to finish the pan, not drown it. Oyster sauce gives it body, soy and fish sauce give it salt and depth, and lime juice keeps the whole thing from tasting heavy. If the pan is crowded, the chicken cools the oil too fast and the garlic can burn before the meat cooks through, so use a wide pan and keep the ingredients moving.
What Each Ingredient Is Actually Doing in This Dish
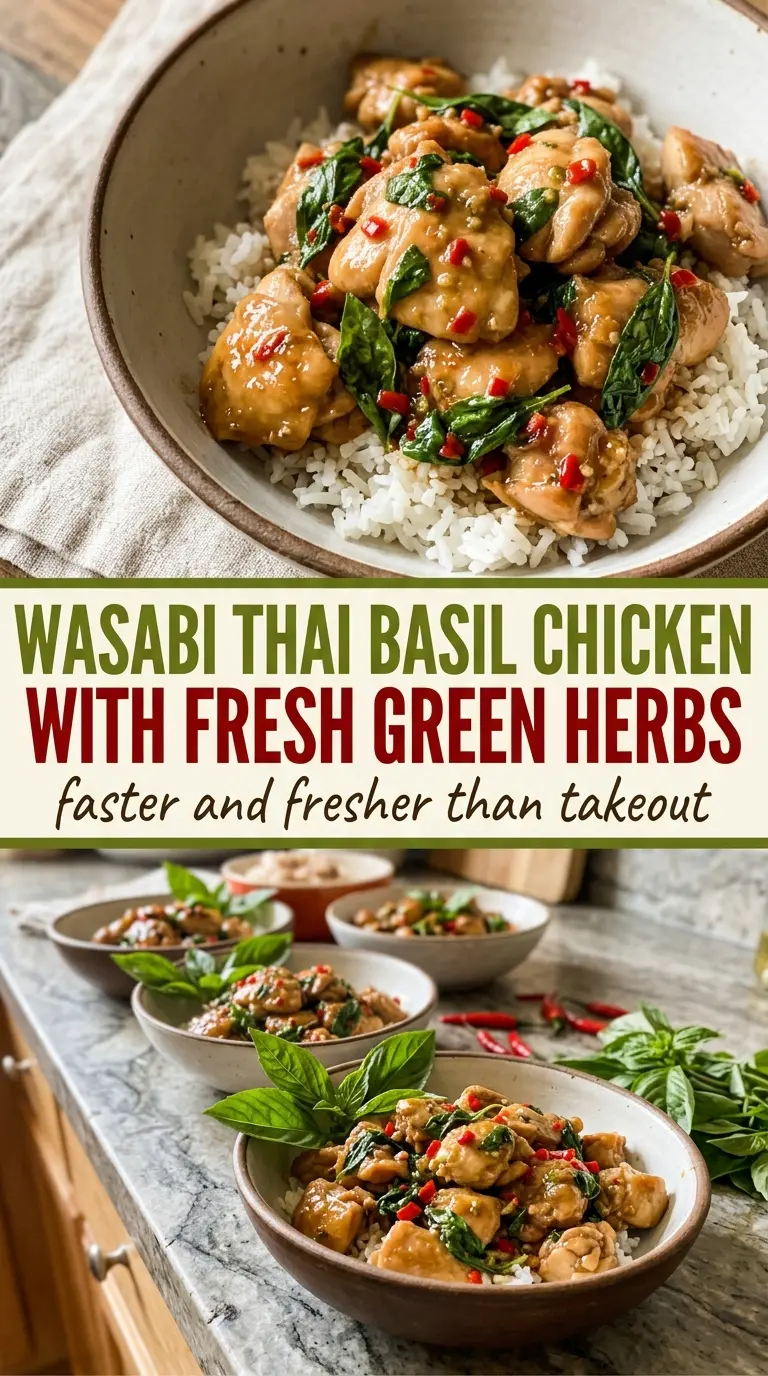
- Chicken thighs — Thighs stay tender over high heat and handle the quick sear better than breasts. If you use chicken breast, slice it thin and pull it as soon as it turns opaque so it doesn’t dry out.
- Thai basil — This is the ingredient that makes the dish taste like itself. Sweet Italian basil won’t give the same peppery, anise-like finish, though it can work in a pinch if that’s what you have.
- Thai chiles — They bring heat without muddying the sauce. If you want less fire, use fewer chiles; don’t skip them entirely or the dish loses its edge.
- Oyster sauce — This gives the stir-fry its glossy, slightly thick coating. There isn’t a perfect substitute, but hoisin can work if you thin it a little with water and expect a sweeter result.
- Fish sauce and soy sauce — Soy brings familiar saltiness, while fish sauce adds the deep savory note that makes the sauce taste layered instead of one-dimensional. If you need a fish-free version, use extra soy plus a small splash of mushroom seasoning or a pinch of salt.
- Lime juice and brown sugar — These keep the sauce balanced. Lime wakes up the savory notes, and the sugar softens the chile heat so the whole dish tastes rounded instead of harsh.
The 6 Minutes of Stir-Frying That Matter Most
Starting With a Hot, Ready Pan
Get everything cut, measured, and within reach before the burner goes on. The oil should shimmer quickly when it hits the pan, and the garlic should start sizzling right away, not sit there quietly. If the pan is only warm, the aromatics soften without browning and the whole dish loses that punchy, wok-style flavor. Keep the heat high and keep things moving from the first second.
Softening the Chiles, Shallots, and Garlic
Add the chiles, shallots, and garlic to the hot oil and fry them for just 1 to 2 minutes. You’re looking for softened shallots and garlic at the edges turning pale gold, not deep brown. If the garlic starts to darken fast, the heat is too aggressive or the pan is too dry, and the next ingredient needs to go in immediately. This stage builds the base of the sauce, so don’t rush past it.
Getting Color on the Chicken
Add the chicken and toss it through the aromatics until the pieces turn golden and cook through. Spread the chicken out a bit at first so it can catch the heat instead of steaming in a heap. If the pan looks crowded and the chicken releases a lot of juice, keep cooking until that liquid evaporates and the meat starts to sizzle again. That’s the moment when the flavor deepens.
Finishing With the Sauce and Basil
Pour in the whisked sauce and stir until every piece looks lacquered and glossy. The sauce should cling to the chicken, not collect in a puddle underneath it. Take the pan off the heat before you add the Thai basil, then fold it through just until it wilts. That keeps the leaves bright and prevents them from turning dark and slippery.
How to Adapt This for a Different Pantry or Diet
Make It Gluten-Free
Swap the soy sauce for a gluten-free tamari or certified gluten-free soy sauce. Oyster sauce can also contain gluten, so use a gluten-free oyster sauce if you can find it. The finished dish still tastes rich and savory, and the sauce keeps the same glossy texture.
Make It Dairy-Free Without Changing Anything Else
This recipe is already dairy-free, so there’s nothing to replace. That’s part of why it works so well for a fast dinner: the sauce gets its body from oyster sauce and its balance from lime and sugar, not from cream or butter.
Use Chicken Breast Instead of Thighs
Chicken breast works if that’s what you have, but slice it thin and cook it fast. Breast meat dries out sooner, so pull it as soon as it’s opaque and just cooked through, then add the sauce right away. You’ll get a leaner result with a little less richness.
Make It Less Spicy
Use one chile instead of three or four, or remove the seeds before slicing. You’ll still get that bright heat in the background, but the garlic, basil, and savory sauce will stay more prominent.
Storage and Reheating
- Refrigerator: Store leftovers for up to 3 days. The basil will darken a bit, but the flavor stays good.
- Freezer: It freezes reasonably well without the rice. Cool it completely, portion it into airtight containers, and freeze for up to 2 months. The basil loses some freshness, but the sauce and chicken hold up.
- Reheating: Warm it in a skillet over medium-low heat with a splash of water if the sauce has tightened up. The common mistake is blasting it over high heat, which dries out the chicken and can turn the basil dull.
Answers to the Questions Worth Asking
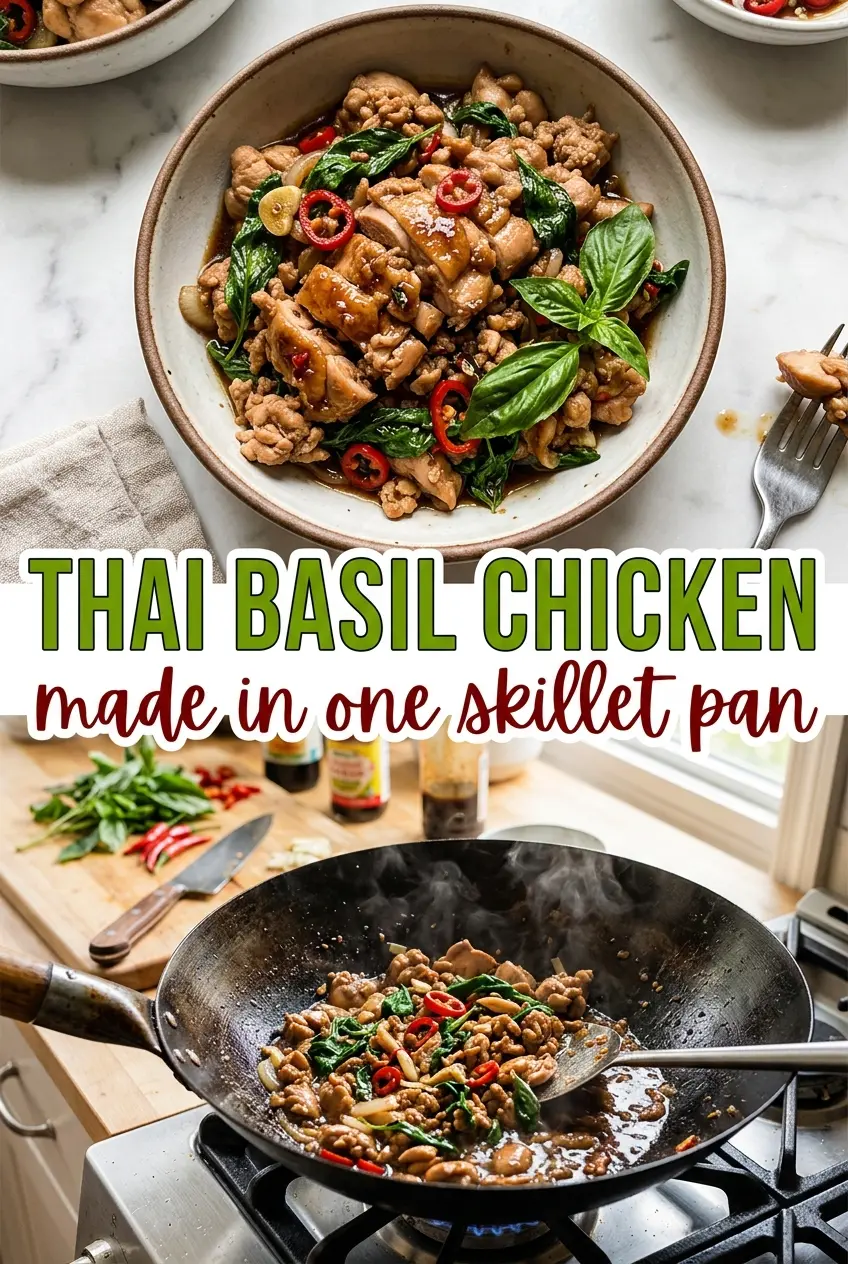
Chicken With Thai Basil
Ingredients
Equipment
Method
- Have all ingredients prepped and the sauce measured out before turning on the heat.
- In a wok or large frying pan over high heat, add the canola oil, Thai chiles, shallots, and garlic, and fry for 1 to 2 minutes until softened and just starting to brown.
- Add the sliced chicken thighs and cook, tossing, until golden brown and cooked through.
- Whisk together the oyster sauce, soy sauce, fish sauce, lime juice, and brown sugar, then pour into the pan and stir until everything is evenly coated and heated through.
- Remove from heat and fold in the fresh Thai basil leaves until just wilted.
- Serve hot over steamed rice.