
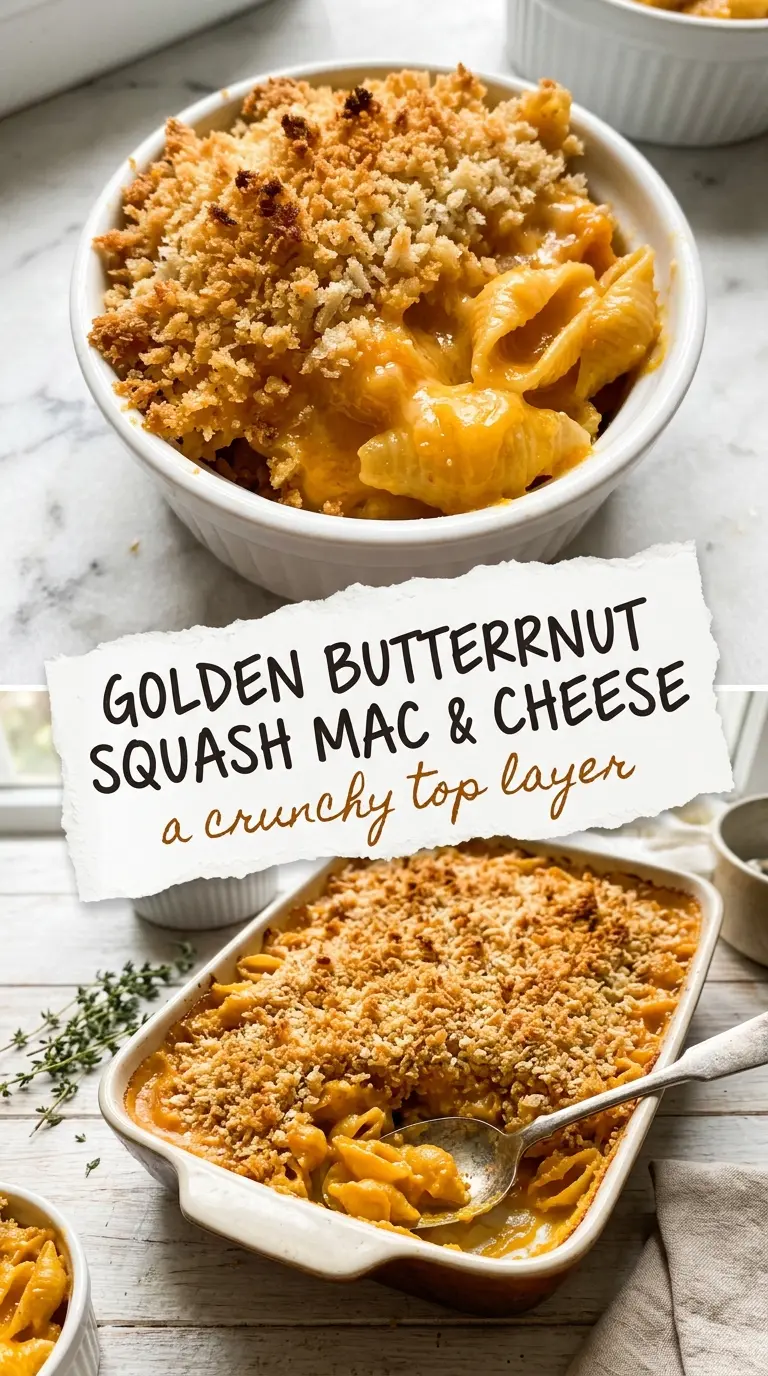
Butternut squash mac and cheese lands with that same creamy comfort people want from the classic version, but the sauce has a deeper, rounder sweetness and a richer color that comes straight from the squash. The puree makes the cheese sauce feel plush without turning heavy, and the pasta gets coated in something that clings instead of sliding off the noodles. It’s the kind of dinner that tastes like it took more effort than it did.
The trick is to cook the squash until it’s soft enough to blend smooth, then work it into a simple white sauce before the cheese goes in. That order matters. If the squash is even a little firm, you’ll end up with grainy bits instead of a silky sauce. Sharp cheddar gives the dish its backbone, while a little paprika or cayenne keeps the sweetness in check and keeps every bite from tasting flat.
Below you’ll find the little technique choices that keep the sauce smooth, plus a few swaps if you need to work with what’s in the fridge. If you’ve ever had mac and cheese go gluey or dull, this version solves both problems without making the method fussy.
The squash blended right into the sauce and it stayed creamy even after baking. My kids didn’t pick out a single veggie, and the sharp cheddar kept it from tasting sweet.
Save this butternut squash mac and cheese for a creamy, cozy dinner that hides the squash in the silkiest way.
The Squash Needs to Be Silky Before It Meets the Cheese
Mac and cheese goes wrong fast when the added vegetable still has any grain to it. Butternut squash needs to be cooked until it breaks apart with no resistance, then mashed or blended until it disappears into the sauce. If you rush that part, you won’t get a smooth orange cheese sauce — you’ll get a sauce with tiny fibrous bits that never fully melt into the pasta.
The second thing to watch is the heat under the milk and cheese. Flour thickens the sauce, but the cheese should go in after the sauce has already come together. High heat can make cheddar turn greasy or stringy, especially once the squash is in the mix. Keep the burner low and give the sauce a minute to settle before adding the cheese.
- The squash puree is doing more than adding color. It gives the sauce body, which means you can use less cheese than a standard mac and still get a rich result.
- Sharp cheddar matters here because it stands up to the natural sweetness of the squash. Mild cheddar can taste flat once it’s mixed in.
- If your squash is watery from steaming, let it sit for a minute after cooking, then mash it well or blend it smooth so the sauce stays thick instead of thinning out.
- Paprika or cayenne isn’t there to make the dish spicy. It keeps the sauce from tasting one-note and gives the squash a little contrast.
What Each Ingredient Is Actually Doing in This Dish
- Butternut squash — This is the ingredient that gives the sauce its velvety body and gentle sweetness. Roasting adds a deeper, nuttier note than steaming, but either works as long as the squash is fully tender.
- Butter and flour — These build the roux, which thickens the sauce so it coats the pasta instead of pooling at the bottom of the bowl. Cook it for a full minute so the flour taste disappears, but don’t let it brown.
- Milk — Whole milk gives the most balanced texture, but 2% works if that’s what you have. Lower-fat milk can still work here because the squash helps carry the richness.
- Sharp cheddar — This is the flavor anchor. Pre-shredded cheese will melt, but block cheese melts cleaner because it doesn’t have the anti-caking coating that can make sauces a little grainy.
- Paprika or cayenne — Use paprika for warmth and color, cayenne for a subtle kick. You only need enough to keep the sauce from leaning too sweet.
- Elbow pasta — Elbows trap the sauce inside and around the curves. Small shells also work well if that’s what’s in the pantry.
Building the Sauce Before the Pasta Goes In
Cooking the Squash Until It Blends Cleanly
Steam or roast the squash until a fork slides in with no pressure at all. That softness matters because the squash has to disappear into the sauce, not sit in it as soft cubes. If you’re roasting, let the edges take on a little color; that extra browning gives the finished mac and cheese more depth. Cool the squash for a minute before blending so it doesn’t steam itself into a watery puree.
Making the Roux Without Browning It
Melt the butter over low heat, whisk in the flour, and cook until the mixture bubbles and looks smooth, not sandy. You’re not chasing color here. You’re cooking out the raw flour taste and creating the base that holds the milk and squash together. If the mixture clumps, the heat is too high or the flour wasn’t fully whisked in before the liquid went in.
Thickening, Then Melting the Cheese Off Heat
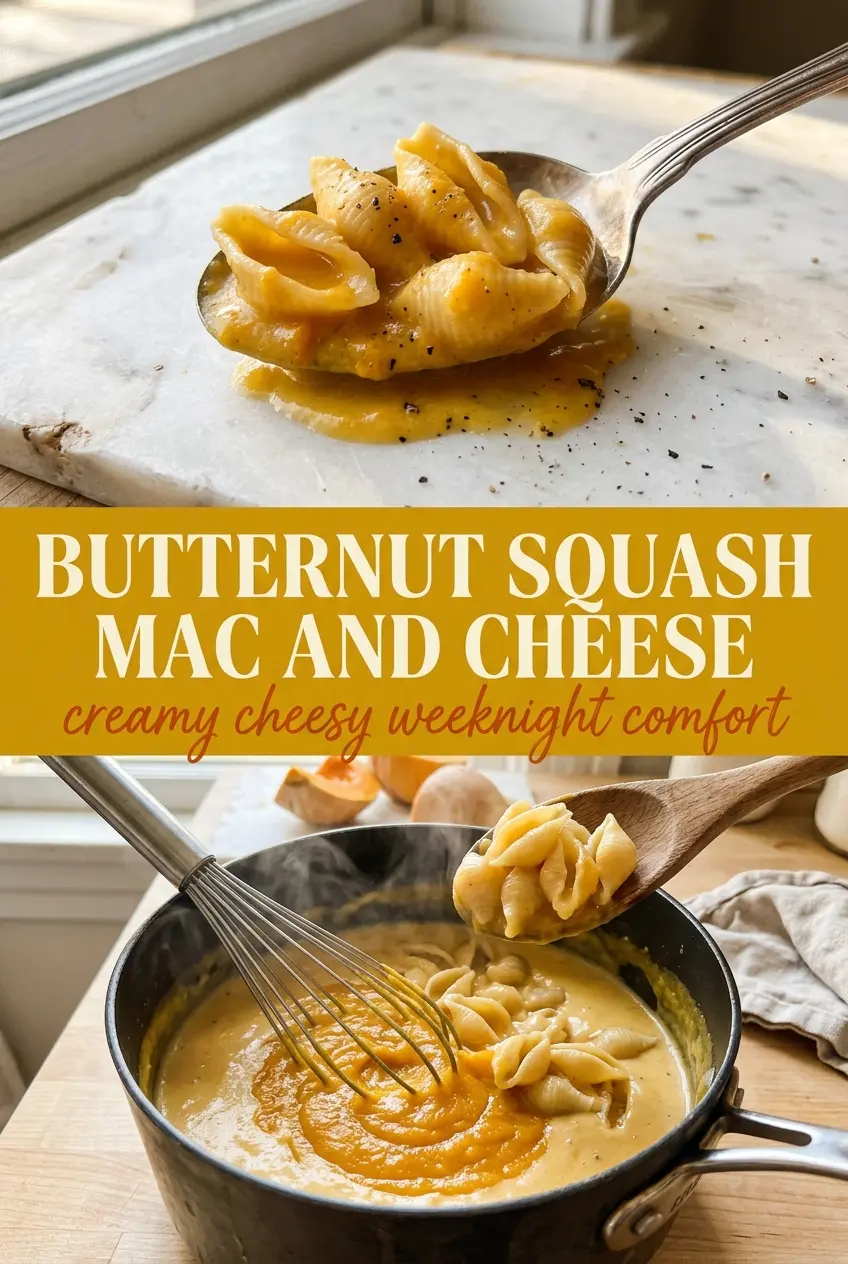
Add the milk gradually while whisking so the sauce stays smooth and glossy. Once it thickens enough to coat the back of a spoon, mash or blend in the squash until the sauce looks uniform and silky. Pull the pan off the heat before stirring in the cheddar. Cheese melts from residual heat; if the burner is too hot, the sauce can break and turn greasy in a matter of seconds.
Finishing the Pasta in the Sauce
Fold the drained pasta into the sauce while it’s still warm so every piece gets coated before the sauce starts to set. If the sauce seems a little thick, loosen it with a splash of milk instead of more cheese. The finished texture should be creamy and spoonable, with the sauce clinging to the pasta instead of becoming stiff.
How to Adapt This for Dairy-Free, Extra Cheesy, or a Bigger Batch
Dairy-Free Version
Use olive oil or dairy-free butter for the roux, unsweetened oat milk or cashew milk for the liquid, and a meltable dairy-free cheddar-style shreds. The sauce won’t taste exactly the same, but the squash still gives it plenty of body and keeps it creamy instead of thin.
A Little More Sharpness
Stir in a small spoonful of Dijon mustard or add a second handful of sharp cheddar at the end. That keeps the squash from reading too sweet and gives the sauce a cleaner, more savory finish.
Gluten-Free Swap
Use your favorite gluten-free elbow pasta and thicken the sauce with a measure-for-measure gluten-free flour blend in place of the all-purpose flour. The texture stays close to the original as long as you cook the flour long enough to lose that raw taste.
Storage and Reheating
- Refrigerator: Keep in an airtight container for up to 4 days. The sauce will thicken as it chills.
- Freezer: It freezes, but the texture is a little less silky after thawing. Freeze in portions and expect to stir in a splash of milk when reheating.
- Reheating: Warm it gently on the stove or in the microwave at medium power with a tablespoon or two of milk. High heat is the mistake that turns the sauce grainy or dry.
Answers to the Questions Worth Asking
Butternut Squash Mac And Cheese
Ingredients
Equipment
Method
- Preheat the oven to 400°F, then spread the cubed butternut squash on a sheet pan and roast for 20 to 25 minutes until fork-tender and lightly caramelized.
- Transfer the roasted squash to a bowl and mash or blend until completely smooth, then set aside.
- Bring a pot of salted water to a rolling boil, then cook the elbow pasta according to package directions until tender.
- Drain the pasta well and set aside while you make the cheese sauce.
- Melt the butter in a saucepan over low heat, whisking until glossy.
- Whisk in the all-purpose flour and cook for 1 minute until bubbling but not browned.
- Whisk in the milk gradually, then cook for 3 to 5 minutes until thick enough to coat the back of a spoon.
- Whisk the smooth squash puree into the milk mixture until fully combined and creamy.
- Stir in the shredded sharp cheddar cheese and cook until melted and smooth, then season with paprika or cayenne, black pepper, and salt to taste.
- Fold the drained pasta into the cheese sauce until every piece is coated, then serve warm.