
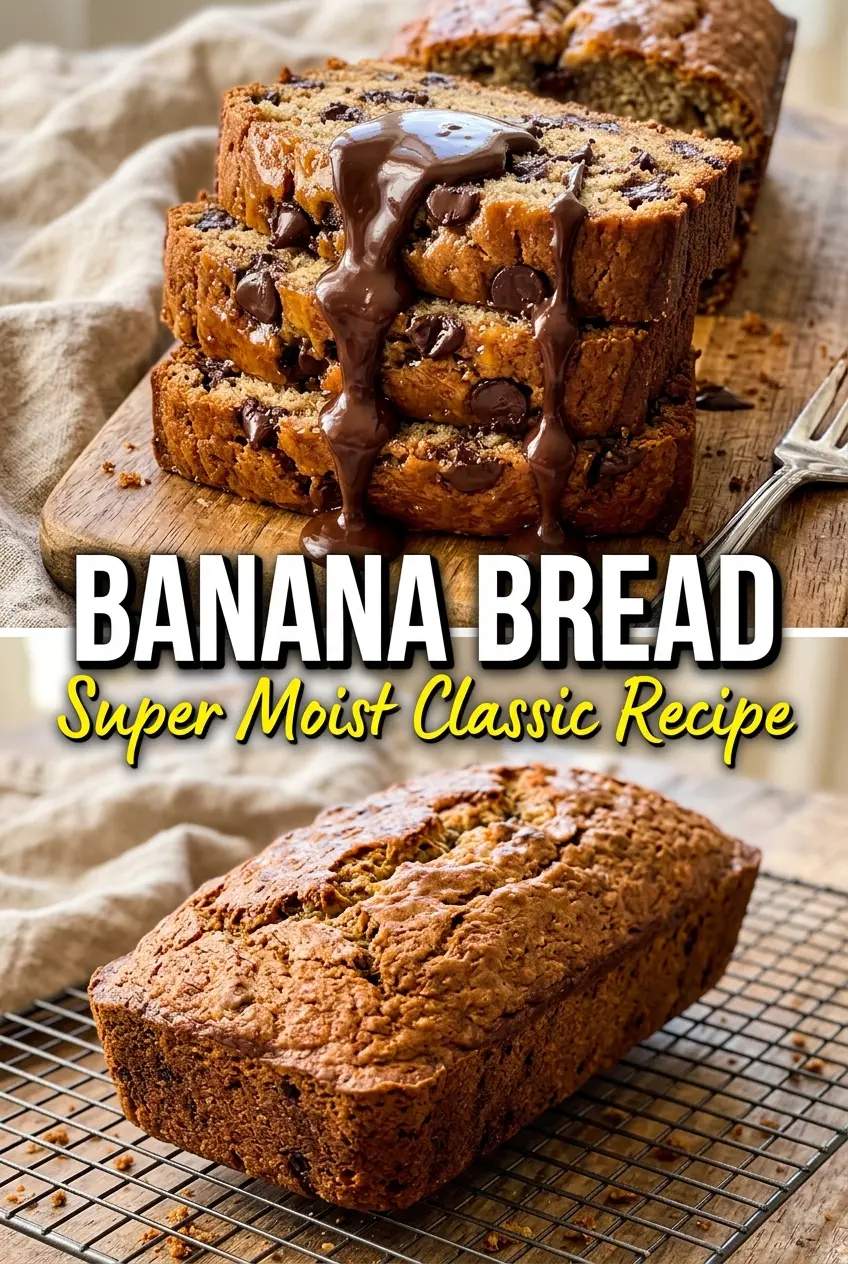
Tender banana bread earns its place in the rotation because it delivers a moist, dense crumb and a deep banana flavor without turning gummy in the middle. The crust bakes up golden and lightly crackly, while the center stays soft enough to slice cleanly once it cools. It’s the kind of loaf that tastes even better on day two, when the vanilla and caramelized banana notes settle in and become more pronounced.
What makes this version work is the balance between very ripe bananas, melted butter, and just enough flour to hold everything together. Blackened bananas bring more sweetness and a stronger aroma, and melted butter gives the loaf a richer, more tender texture than oil. The mixing order matters too: once the flour goes in, stop as soon as the streaks disappear so the crumb stays soft instead of tight.
Below, you’ll find the small details that keep banana bread from sinking, drying out, or sticking to the pan. I’ve also included the swaps I’d actually use when the bananas are ripe but the pantry isn’t perfect.
The loaf came out with that deep banana smell and the middle stayed moist after cooling. I used almost-black bananas like you suggested, and the slices held together without crumbling when I packed them for lunch.
Like this banana bread? Save it to Pinterest for the times when you need a moist, buttery loaf that uses up ripe bananas fast.
The Banana Ripeness Window That Gives You the Best Loaf
The biggest mistake with banana bread is using bananas that are yellow and merely soft. Those fruit still taste fresh, which sounds fine until you bake them and end up with a loaf that’s bland instead of deeply banana-forward. The best loaves start with bananas that are heavily speckled or almost black on the outside, because the starch has broken down and the flavor has concentrated.
Melted butter helps here too. It coats the flour less aggressively than softened butter would, which gives you a tender crumb with fewer chances of overmixing. The batter should look thick and a little rough, not glossy and pourable. If it looks like cake batter, the bananas were too small or the flour got undermeasured.
What Each Ingredient Is Actually Doing in This Loaf
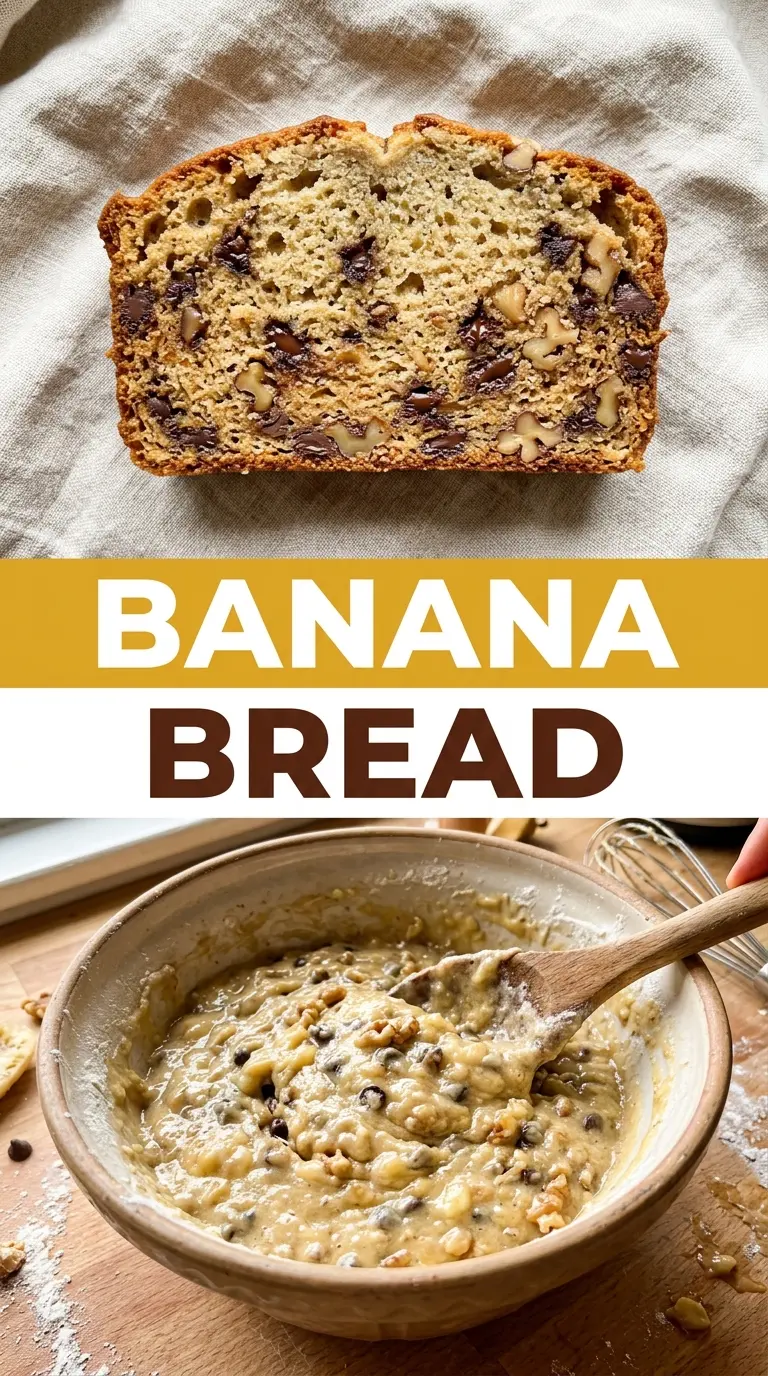
- Very ripe bananas — These bring moisture, sweetness, and the signature banana flavor. Don’t swap in firm bananas unless you’re willing to lose most of that flavor. If yours aren’t ripe enough, roast them in the peel at 300°F until the skins darken and the flesh softens.
- Melted butter — Butter gives the loaf a richer taste and a denser, more satisfying crumb than oil. You can use neutral oil in a pinch, but the bread will taste flatter and stay a little softer. Melt it first, then let it cool for a minute so it doesn’t scramble the egg.
- Sugar — Sugar sweetens the loaf, but it also helps with browning and moisture. Brown sugar works if you want a deeper molasses note, though it will make the crumb a touch softer and more damp. If you reduce the sugar, expect a less tender loaf with a thinner crust.
- Flour — All-purpose flour gives the loaf enough structure to hold those soft bananas without turning heavy. Measure it lightly; packing the cup will dry the bread out. For a slightly heartier loaf, replace up to half with whole wheat flour, but the texture will be tighter.
- Baking soda — This is what gives the bread lift and helps it brown. It needs the acidity from the bananas to work, so don’t substitute baking powder here. If the soda is old, the loaf can bake up flat and dense.
The Mixing Order That Keeps Banana Bread Tender
Start With the Bananas and Butter
Mash the bananas first so they’re mostly smooth with a few small lumps left for texture. Stir in the melted butter before anything else; it blends into the fruit and gives the batter a stable base. If the butter is too hot, it can cook the egg later, so let it cool briefly after melting.
Build the Wet Mixture
Add the sugar, egg, and vanilla and stir just until combined. At this stage the batter should smell sweet and look loose and glossy. If you beat it hard, you’ll incorporate too much air and the loaf can dome and then sink in the center after baking.
Fold in the Dry Ingredients Last
Sprinkle in the baking soda, salt, and flour, then fold until the last streaks disappear. The batter should still look a little shaggy; that’s normal. Overmixing after the flour goes in develops gluten and gives you a tough, rubbery loaf instead of a tender one.
Bake Until the Center Sets
Scrape the batter into a greased loaf pan and bake at 350°F until the top is deep golden and a toothpick comes out with only a few moist crumbs. If the top browns too fast before the center is done, lay a piece of foil loosely over it for the last part of the bake. Let it cool for at least 10 minutes in the pan before turning it out, or it may break while it’s still fragile.
Three Practical Ways to Adjust This Banana Bread
Dairy-Free Banana Bread With Oil
Replace the butter with the same amount of neutral oil. The loaf will still be moist, but you’ll lose the buttery flavor and a little of the rich, bakery-style aroma. Use this swap when dairy is the issue and you care more about texture than richness.
A Less Sweet Loaf That Still Tastes Finished
You can cut the sugar to 1/2 cup if your bananas are extremely ripe. The bread will bake up a little less caramelized and the crust won’t be as crisp, but the banana flavor comes through more cleanly. Don’t reduce it much further unless you’re planning to serve it with butter or jam.
Whole Wheat for a Heavier, Toastier Slice
Swap up to half the all-purpose flour with whole wheat flour for a nuttier taste and a little more structure. The crumb will be denser and slightly drier, so don’t push it to 100% unless you’re ready for a much more rustic loaf. A spoonful of extra mashed banana can help bring the moisture back.
Storage and Reheating
- Refrigerator: Store in an airtight container for up to 4 days. The crumb firms up a little in the fridge, but the flavor stays good.
- Freezer: Banana bread freezes well. Wrap individual slices or the whole loaf tightly in plastic, then foil, and freeze for up to 3 months.
- Reheating: Warm slices in a toaster oven or microwave just until soft and fragrant. Overheating dries the crumb fast, especially if the bread was chilled first.
Answers to the Questions Worth Asking
Banana Bread
Ingredients
Equipment
Method
- Preheat the oven to 350F and grease a loaf pan so it won’t stick.
- Mash the very ripe bananas until soft, then stir in the melted butter.
- Mix in the sugar, egg, and vanilla until the batter looks evenly combined.
- Add the baking soda and salt, then mix briefly so they’re fully incorporated.
- Fold in the flour just until no dry flour remains to keep the crumb tender.
- Bake at 350F for 60 minutes, until the loaf is set and the top is golden.
- Cool for 10 minutes before slicing so the loaf firms up for clean pieces.