
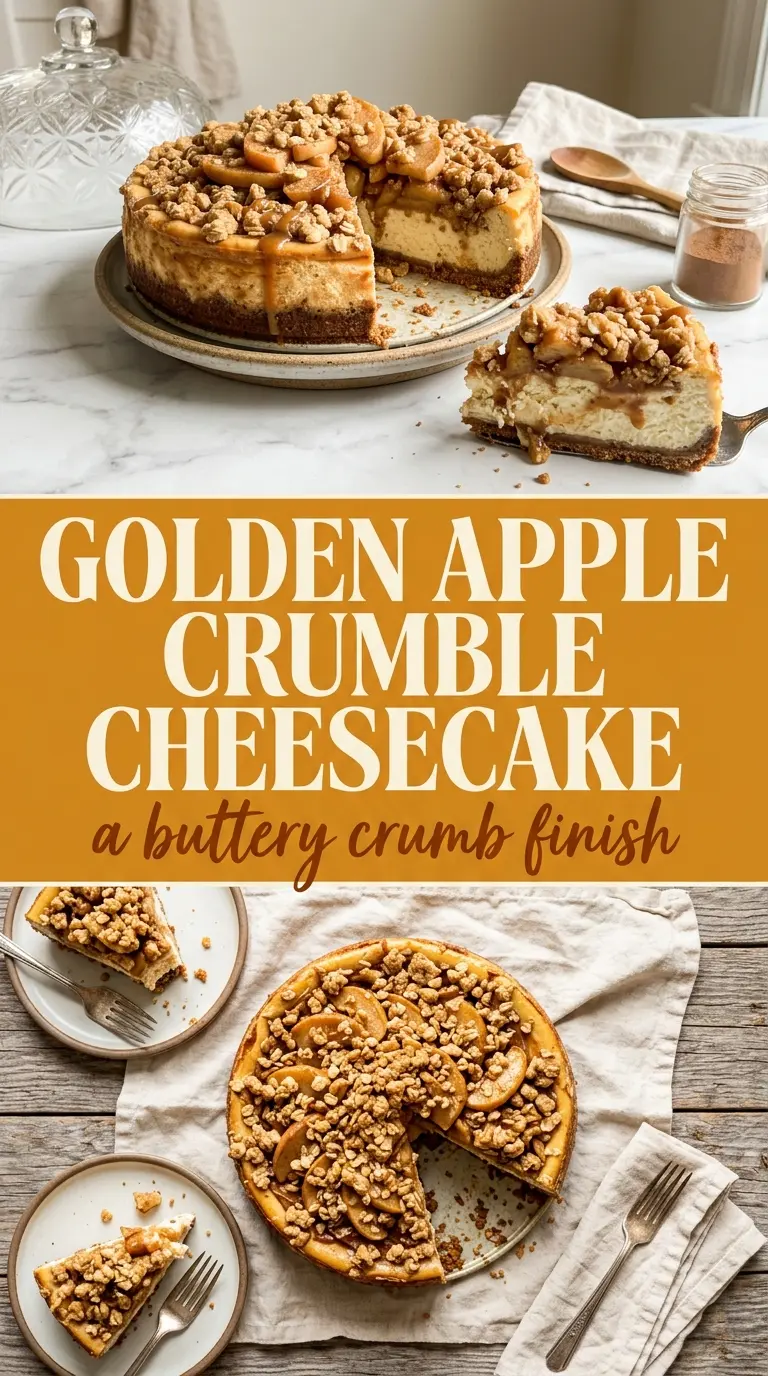
Apple crumble cheesecake lands in that sweet spot where a classic baked cheesecake turns into something with a little more texture, a little more warmth, and a lot more payoff at the table. The filling stays dense and creamy, the apples cook down just enough to hold their shape, and the oat crumble bakes up crisp so every slice gives you contrast instead of one-note richness. It’s the kind of dessert that gets quieter as people eat, because nobody wants to talk with a fork in hand.
What makes this version work is the layering. The crust gets a short bake first so it stays firm under the cheesecake filling, and the filling itself relies on low-speed mixing so you don’t whip in extra air and cause cracks. The apple topping is cooked separately, which keeps the fruit tender and the juices controlled instead of leaking into the cheesecake. Then the crumble is baked on its own so it stays crunchy instead of turning damp on top of the fruit.
Below, I’ve laid out the part that matters most: how to keep the cheesecake smooth, how to avoid a runny apple topping, and when to add the crumble so it still tastes crisp at serving time.
The cheesecake set up beautifully and the apple layer stayed in place instead of turning watery. I chilled it overnight, and the crumble was still crisp the next day.
Save this apple crumble cheesecake for when you want silky cheesecake, cinnamon apples, and a crunchy oat topping in one dessert.
The Trick to Keeping Cheesecake, Apples, and Crumble From Competing With Each Other
Apple crumble cheesecake sounds simple until you try to stack three desserts into one pan and end up with a soggy crust, a cracked filling, or a topping that disappears into the fruit. The fix is in the timing. Each layer needs to be treated like it has its own job, not mixed together and hoped for the best. That means baking the crust first, baking the crumble separately, and giving the cheesecake enough time to set before the apples go on top.
The other mistake people make is rushing the filling. Cheesecake batter traps air easily, and that air expands in the oven, then collapses as the cake cools. That’s how you get a sunken middle and cracks across the surface. Low-speed mixing keeps the batter dense and smooth, which gives you that clean slice when you cut into it later.
What Each Ingredient Is Actually Doing in This Dish
- Cream cheese — Full-fat cream cheese gives this dessert its structure and richness. Low-fat versions hold more water and can bake up looser, so I wouldn’t swap them here.
- Sour cream — This keeps the filling tangy and soft without thinning it out. If you’re out of sour cream, plain full-fat Greek yogurt works, but the texture will be a little less plush.
- Apples — Use a firm baking apple that holds shape, like Granny Smith, Honeycrisp, or a mix. Softer apples turn mushy once they hit the saucepan.
- Quick oats — They help the crumble pack together just enough to clump while still baking crisp. Old-fashioned oats work in a pinch, but the topping will be chunkier and a little rougher.
- Cornstarch — This is what keeps the apple juices from turning the topping into syrup. If you skip it, the fruit layer can slide around when sliced.
Building the Layers in the Right Order
Baking the Crust First
Mix the graham cracker crumbs, melted butter, and sugar until the crumbs look evenly damp, like wet sand. Press the mixture firmly into the bottom of the springform pan so there aren’t loose patches at the edges. A short bake at this stage matters because it sets the butter and gives the crust enough strength to support the filling without softening into paste.
Mixing the Filling Without Whipping in Air
Beat the cream cheese, sugar, and salt until smooth before adding the sour cream and vanilla. Once the eggs go in, switch to low speed and mix only until they disappear into the batter. If you keep beating after the eggs are in, the batter takes on too much air and the cheesecake is more likely to puff, crack, and sink in the center.
Cooking the Apples and Toasting the Crumble
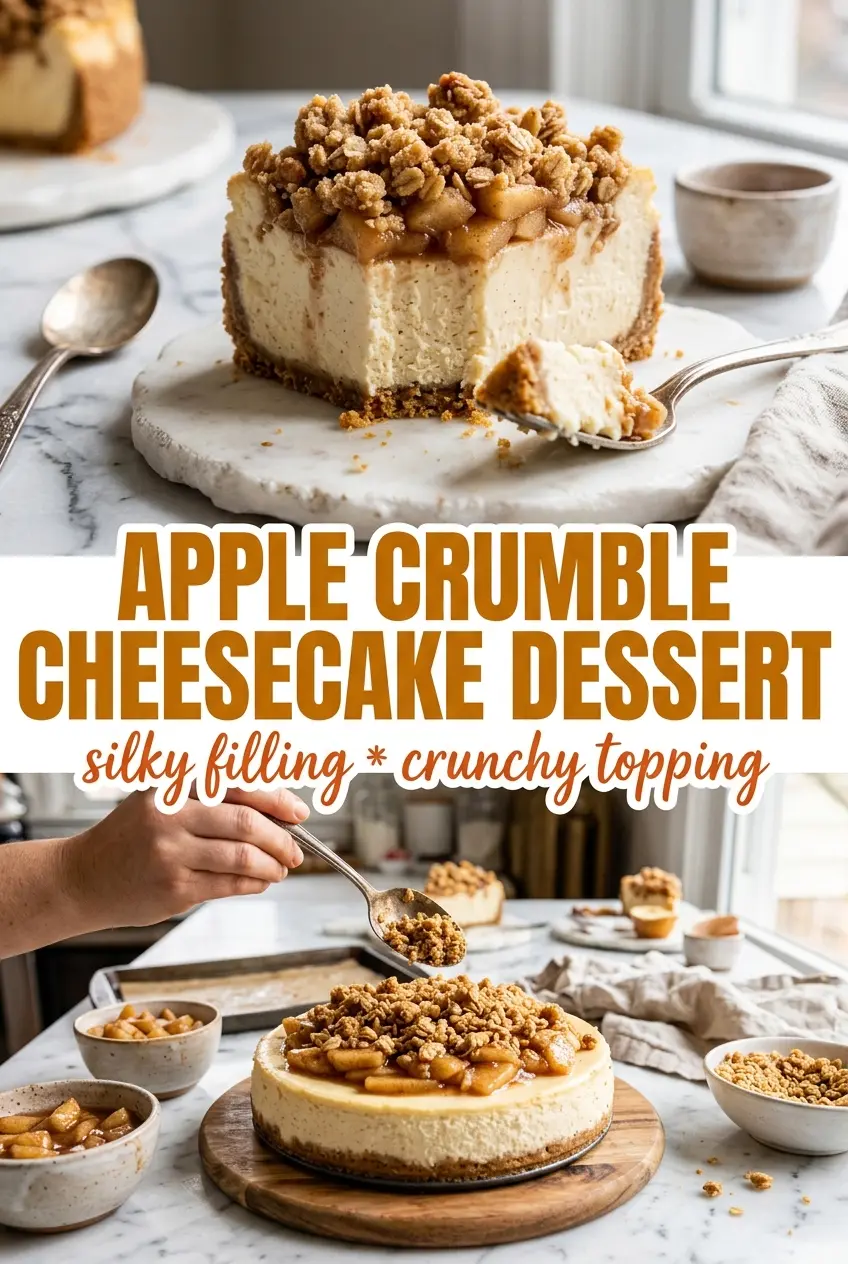
Cook the apples with butter, brown sugar, cinnamon, and cornstarch over low heat until the slices soften and the pan juices thicken slightly. You want the apples tender but not collapsed. For the crumble, stir the dry ingredients with the melted butter until clumpy, then bake it until the edges turn golden and the oat smell gets nutty. That separate bake is what keeps the topping crisp after it sits on the chilled cheesecake.
Cooling and Finishing the Assembly
Let the cheesecake cool completely before it goes into the fridge, then chill it for at least four hours so the center firms up fully. If you add the apples too soon, they can melt the top layer and the slices won’t hold clean edges. Spoon on the cooled apple topping and add the crumble right before serving for the best texture.
How to Adapt This for Different Kitchens and Different Eaters
Dairy-Free Cheesecake Filling
Use dairy-free cream cheese and a thick unsweetened coconut or almond-based yogurt in place of the sour cream. The texture will be a little softer and the flavor slightly less tangy, but it still slices well if you chill it thoroughly overnight.
Gluten-Free Version
Swap in gluten-free graham crackers for the crust and use a 1:1 gluten-free flour blend in the crumble. The cheesecake filling and apple layer are already naturally gluten-free, so the texture change stays mostly in the base and topping.
Make It Ahead for a Dinner Party
Bake the cheesecake a day in advance and chill it uncovered until fully cold, then cover it lightly. Cook the apples and make the crumble separately, then assemble just before serving so the topping keeps its contrast instead of softening overnight.
Storage and Reheating
- Refrigerator: Store covered for up to 4 days. The crumble will soften a bit, but the cheesecake itself stays creamy.
- Freezer: The plain baked cheesecake freezes well for up to 1 month, tightly wrapped without the apple topping or crumble. Thaw it in the fridge overnight, then add the toppings after it’s fully defrosted.
- Reheating: This dessert is best served chilled or at cool room temperature, not warmed. If you want to take the edge off the fridge chill, let a slice sit out for 15 to 20 minutes; microwaving softens the crust and makes the topping weepy.
Questions I Get Asked About This Recipe
Apple Crumble Cheesecake
Ingredients
Equipment
Method
- Preheat the oven to 325°F. Combine the graham cracker crumbs, melted butter, and sugar, then press into the bottom of a springform pan and bake for 10 minutes, then cool.
- Beat the cream cheese, sugar, and salt until smooth, then mix in the sour cream and vanilla.
- Add the eggs one at a time, mixing on low just until combined, then pour over the crust.
- Bake at 325°F for 50-60 minutes until the center is just set, then cool completely and chill for at least 4 hours.
- Cook the sliced apples with butter, brown sugar, cinnamon, and cornstarch in a saucepan over low heat, stirring until soft.
- Combine the quick oats, all-purpose flour, brown sugar, and cinnamon, then stir in the melted butter until crumbly.
- Spread the crumble on a sheet pan and bake at 325°F for 10-12 minutes until golden.
- Spread the cooled apple topping over the chilled cheesecake and sprinkle with the crumble before serving.