
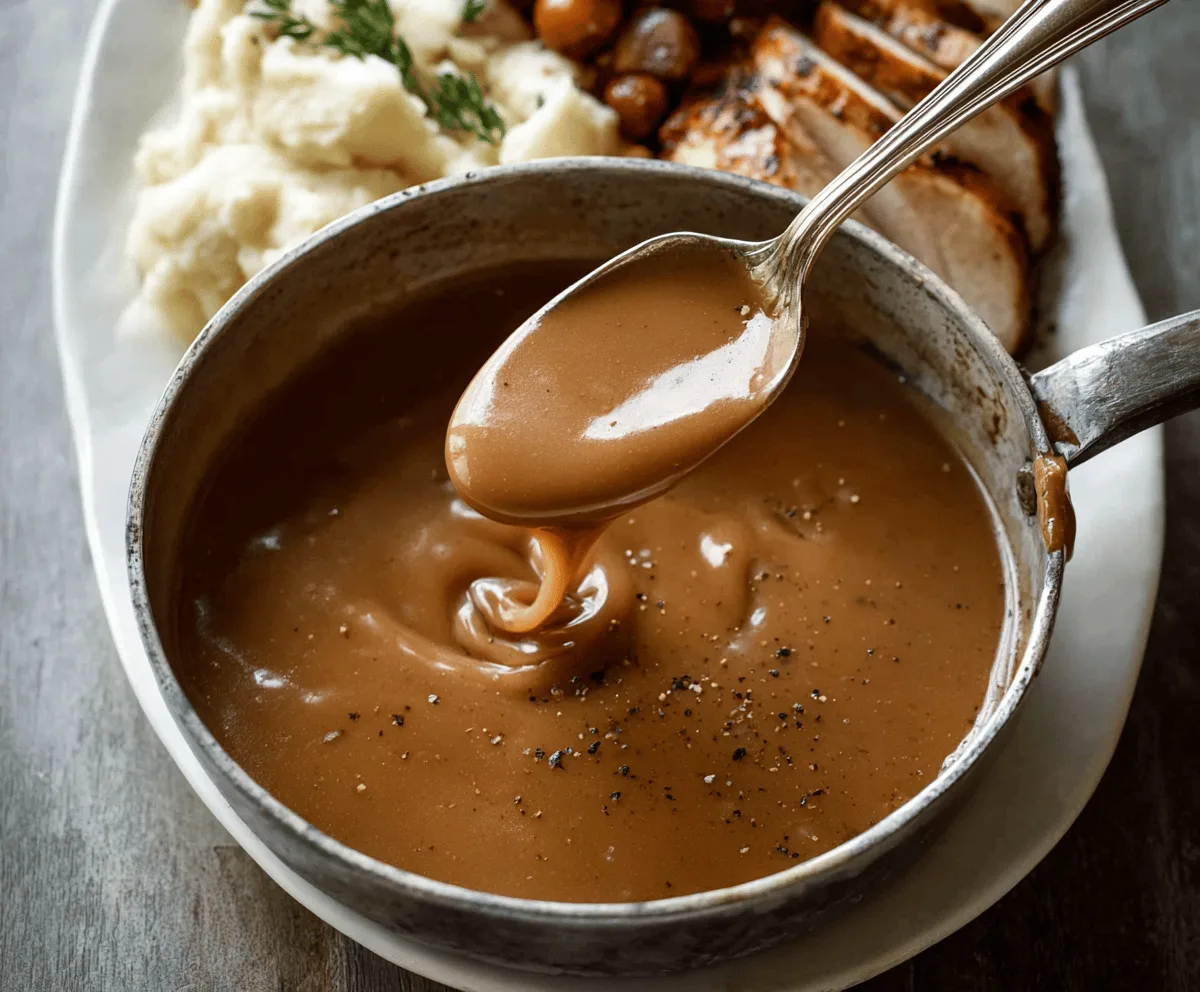
This gravy recipe is a classic, rich, and smooth sauce that brings a comforting warmth to any meal. Made with simple ingredients like pan drippings, flour, and broth, it has a deep flavor that pairs perfectly with roasted meats, mashed potatoes, or even biscuits. It’s the kind of gravy that turns a simple dinner into something special and satisfying.
Whenever I make gravy, I like to use the drippings left from roasting a chicken or turkey because it adds so much natural flavor and a little bit of that homemade touch. If you don’t have drippings, using butter and broth still works beautifully and keeps it quick and easy. I also find that whisking the flour into the fat before adding the broth really helps to get that perfectly smooth texture with no lumps — that little trick always makes me feel like a kitchen pro.
My favorite way to enjoy this gravy is pouring it generously over a cozy plate of mashed potatoes, with a side of green beans or carrots. It’s amazing how just a simple sauce like this can make the whole meal feel more festive and comforting. Plus, it’s easy enough to whip up on a weeknight but good enough to serve for holiday dinners, so I keep this recipe close to hand all year round.
Key Ingredients & Substitutions
Butter or Pan Drippings: Butter gives a rich base, but pan drippings from roasted meat add more meaty flavor. If avoiding dairy, try using olive oil or vegan butter.
Flour: All-purpose flour thickens the gravy smoothly. For gluten-free options, use cornstarch or a gluten-free flour blend, but add it slowly to avoid clumps.
Broth: Using warm broth helps the gravy stay smooth. Beef broth gives a deep flavor, chicken broth keeps it lighter, and vegetable broth works well for a vegetarian version.
Worcestershire or Soy Sauce: These add a boost of savory depth, but they’re optional. Soy sauce is a good vegan option.
How Do I Make My Gravy Smooth and Free of Lumps?
The key to smooth gravy is making a good roux and adding broth slowly.
- Whisk melted butter and flour constantly over medium heat until golden brown for flavor.
- Add warm broth bit by bit while whisking fast to avoid lumps.
- If lumps form, use a whisk or blend with an immersion blender to smooth it out.
- Simmer gently after combining to thicken and develop flavor.
Patience and steady whisking are your best friends here. This technique makes your gravy velvety and perfect every time.
Equipment You’ll Need
- Medium saucepan – I like it because it heats evenly and is just the right size for making gravy.
- Whisk – helps you stir smoothly and prevent lumps as you add broth and thicken the gravy.
- Measuring cups and spoons – keep everything accurate, especially when measuring flour and broth.
- Optional: Immersion blender – great if you want an ultra-smooth gravy, especially if lumps form.
Flavor Variations & Add-Ins
- Use turkey or chicken broth instead of beef for a lighter or different flavor profile, especially nice in poultry dishes.
- Add a splash of red wine or balsamic vinegar to give a little tang and complexity to the gravy.
- Stir in sautéed mushrooms, onions, or garlic for added earthiness and texture.
- Mix in a teaspoon of Dijon mustard or herbs like thyme for a savory twist.
Classic Brown Gravy Recipe
Ingredients You’ll Need:
- 4 tablespoons unsalted butter (or reserved pan drippings)
- 1/4 cup all-purpose flour
- 2 cups beef, chicken, or vegetable broth (preferably warm)
- Salt, to taste
- Freshly ground black pepper, to taste
- Optional: 1 teaspoon Worcestershire sauce or soy sauce for added depth
How Much Time Will You Need?
This gravy takes about 10 minutes total from start to finish. The preparation and cooking happen quickly, making it a perfect last-minute addition to any meal.
Step-by-Step Instructions:
1. Melt the Butter or Use Pan Drippings:
In a medium saucepan, melt the butter over medium heat. If you have reserved drippings from roasted meat, you can use them instead of butter for a richer flavor.
2. Make the Roux:
Whisk in the flour to the melted butter to form a smooth paste, called a roux. Keep whisking constantly for 2–3 minutes until it turns a golden brown color and smells nutty. This gives your gravy a deep, rich flavor.
3. Add Broth Gradually:
Slowly pour in the warm broth a little at a time while whisking continuously to prevent lumps. Continue whisking until the mixture starts to thicken.
4. Simmer and Thicken:
Let the gravy gently simmer for 3–5 minutes, stirring often, until it reaches the consistency you like.
5. Season and Finish:
Add salt and freshly ground black pepper to your taste. If you like, stir in Worcestershire sauce or soy sauce to add an extra layer of savory depth.
6. Serve:
Remove the gravy from heat and pour it over mashed potatoes, roasted meats, or your favorite side dishes. Enjoy it warm and comforting!
Can I Use Pan Drippings Instead of Butter?
Absolutely! Pan drippings add extra flavor and richness. Just use them in place of some or all of the butter when making your roux for a deeper, meatier taste.
How Can I Fix Lumpy Gravy?
If lumps form, whisk vigorously over low heat or use an immersion blender to smooth it out. Adding broth slowly while whisking also helps prevent lumps from forming.
Can I Make This Gravy Ahead of Time?
Yes! You can make the gravy up to 2 days ahead and store it in the fridge. Reheat gently on the stove, adding a splash of broth if it becomes too thick.
How Do I Adjust the Thickness of My Gravy?
For thicker gravy, cook it a bit longer to reduce the liquid. If it’s too thick, whisk in extra warm broth a little at a time until you reach your preferred consistency.